WFSZ16 03

Arjan


Another week on the zagato. Started making a jig for the front subframe mountingpoints
(#1)
Arjan


All 4 points secured in place
(#2)
Arjan


Adjusting the height
(#3)
Arjan


Oops. That chassisrail is bent and doesn’t line up with the jig
(#4)
Arjan


So i drilled the spotwelds to gain access
(#5)
Arjan


First dent knocked oud
(#6)
Arjan


The front of the innerwing was pushed in by the chassisrail so i cut it out
(#7)
Arjan


And made a new front panel
(#8)
Arjan


Repaitlring the firewall
(#9)
Arjan


Made a template
(#10)
Arjan


And welded in
(#11)
Arjan


Passengerside innerwing had a lot of damage, dents and stresscracks
(#12)
Arjan


Half of the spotwelds were allready broken loose
(#13)
Arjan


Luckily Huib had a complete passengersidecorner from a coupe in stock that he kindly donated for the zagatoproject
(#14)
Arjan


I carefully drilled out all spotwelds from the firewall
(#15)
Arjan


And drilled out the spotwelds for the chassisrail on the original firewall
(#16)
Arjan


Fixated the front 4 subframepoints to the rest of the car
(#17)
Arjan


Some more rustdamage on the driverside innerwing
(#18)
Arjan

(#19)
Arjan


Repaired
(#20)
Arjan


Started to build the front end up again to check for fitting and alignment
(#21)
Arjan


Starting to look like a car again
(#22)
Huib


New hinges for doors made by Justin.
(#24)
Wim Meekel
Top!
(#25)
Huib


De scharnieren zijn verstuurd, hierbij de tracking code: 3SKABA851936585
(#26)
Huib
Pins are 0,5 mm oversize to compensate for wear on the door part. Hole there has to be reamed to 8,5.
(#27)
Arjan


First trialfit of all the new panels
(#28)
Arjan


Adjusted and modified the new hinges
(#29)
Arjan

(#30)
Arjan


Making the new panel for the inside of the frontwing
(#31)
Arjan

(#32)
Arjan


Cut out the old pocket of the old panel to allow the door to open
(#33)
Arjan


Tacked in the new panel
(#34)
Arjan

(#35)
Arjan


Fitting the doors
(#36)
Arjan

(#37)
Arjan


Rearranged the jig and fixated because it appeared to have moved a little bit in the past weeks
(#38)
Huib


The front end is extremely distorted. Wainer making jigs from an other Fulvia Zagato.
(#40)
Huib

(#41)
Huib

(#42)
Arjan


Another small week on the zagato. I put the frontclip on the car but i couldn’t get it to line up nice because the chassislegs are now in the correct position and the insideparts of the frontclip were all bent and rotten
(#44)
Arjan


So i started to take the front clip apart in all seperate pieces
(#45)
Arjan


The scuttle cleaned up nice
(#46)
Arjan


Headlightbowls and supportbrackets were bent and prevously very badly repaired and patched up
(#47)
Arjan

(#48)
Arjan


So i hammered the best pieces flat to have a template for the new pieces. Checked and measured everything on the white zagato in the workshop
(#49)
Arjan


A bit of stretching and shrinking before tipping over the edge to create a nice and sharp line
(#50)
Arjan


One side done
(#51)
Arjan


Fabricated all the brackets and supports
(#52)
Arjan


Start of the new bottompart of the bonnethingesupportpanel
(#53)
Arjan


And again a bit of shrinking to make the correct curve
(#54)
Huib

(#58)
Arjan


Another week on the zagato. The bonnethinges were bent and had a lot of play on the hingepins making it impossible to make everything line up constantly
(#60)
Arjan


So i fabricated new hinges from 2mm thick steel
(#61)
Arjan


And new supportplates to go inbetween the hinges and the lower part of the frontpanel
(#62)
Arjan


Making a template for the new headlightbowls
(#63)
Arjan


Marking the edged
(#64)
Arjan


Roughly in shape. I will cut the holes for the headlights and frames when it is clear which headlights will be used
(#65)
Arjan


Marking the steel to fabricate a new toppane for the front
(#66)
Arjan

(#67)
Arjan


A bit of shrinking to get the correct curve
(#68)
Arjan


Finished toppanel including the frontcorners of the frontwings
(#69)
Arjan


Making a template of the frontwingtopsection. The wings that were on the car were already a patchwork of precious repairs, rusty and damaged so they will be fabricated new
(#70)
Arjan


Wheeling the panel to create the concave shape of the top before tipping over the edges
(#71)
Arjan

(#72)
Arjan

(#73)
Arjan


Making a template of the lower valance. Only half of it so i can mirror the other half to create a symmetric front. So i made the template of the least deformed side of the old part
(#74)
Arjan


Transferring the template on steel
(#75)
Arjan

(#76)
Arjan


And wheeling the panel to create the right compound curve en close up the reliefcut i made in the cornersections
(#77)
Arjan


Reliefcut closed and the corner formed and welded it up
(#78)
Arjan


Needs a bit more shape so wheeling it again with a rounder lower wheel
(#79)
Wim Meekel
Dank weer! Alle stappen zijn goed te volgen op deze manier 👍
(#80)
Arjan


Another week on the zagato. I started to make a gutter curved to match the curve of the bonnet
(#81)
Arjan


Carefully welded it to the wingtop to control heatdistortion
(#82)
Arjan


Making themplates of the wing in 4 pieces to make it a little easier to handle and control the stretching and shrinking
(#83)
Arjan


First the front uppersection
(#84)
Arjan

(#85)
Arjan


Made the lip on the wheelarch
(#86)
Arjan


Rounded the front corner
(#87)
Arjan


Welded uo and smoothed
(#88)
Arjan


Rearsection is easier with less shapes so that can be made in one piece
(#89)
Arjan

(#90)
Arjan


Basic shape. Wheeled it to get the curve
(#91)
Arjan

(#92)
Arjan


Joined the rearsection to the front uppersection
(#93)
Arjan


Screwed it with a little selftapper every 50mm to the wingtop and then doublecut it to buttweld the pieces together. Very careful and slowly to control heatdistortion again
(#94)
Arjan


All welded up
(#95)
Arjan


Another week om the zagato. Start of a new rearsection of the left frontwing. Cut out the template and made the folds
(#101)
Arjan


Wheeling to get the shape
(#102)
Arjan


New front uppersection
(#103)
Arjan


Wheeled for the shape
(#104)
Arjan


And made the wheelarch
(#105)
Arjan


New topsection and the shaped gutter to line up with the curve of the bonnet
(#106)
Arjan


Joined all the sections to make a complete wing
(#107)
Arjan

(#108)
Arjan


Shaping the lower frontsection
(#109)
Arjan


And joined it to the right frontwing
(#110)
Arjan


Same on the left wing
(#111)
Arjan


The wingsupport needed to be replaced. It was bent and welded to heavy on the innerwing
(#112)
Arjan


So i cut it out
(#113)
Arjan


And made a new piece for the inner wing
(#114)
Arjan


And a couple of new wingsupports
(#115)
Arjan


New bonnethinges roughly cut out of 8mm steelplate with the plasmacutter
(#116)
Arjan


And shaped them with the beltsander
(#117)
Arjan


New plates for the hinges where they are bolted to the bonnet
(#118)
Arjan


This week started with finishing the new bonnethinges
(#120)
Arjan


And started putting the front back together
(#121)
Arjan

(#122)
Arjan

(#123)
Arjan


Then tried the complete frontclip together
(#124)
Arjan


Amd on the car. The white zagato turned out to be a little off here and there so my templates were not as perfect as i would have wished
(#125)
Arjan


First some finetuning on the frontvalance
(#126)
Arjan


The frontpieces perfected
(#127)
Arjan


Bonnethinges on the bonnet to try that on tr car for fitment
(#128)
Arjan


Nice and square
(#129)
Arjan


Valance on. Still a bit oversize here and there
(#130)
Arjan


Made a new lip to line up with the grille
(#131)
Arjan


Almost perfect
(#132)
Arjan


Drivers side wing on
(#133)
Arjan


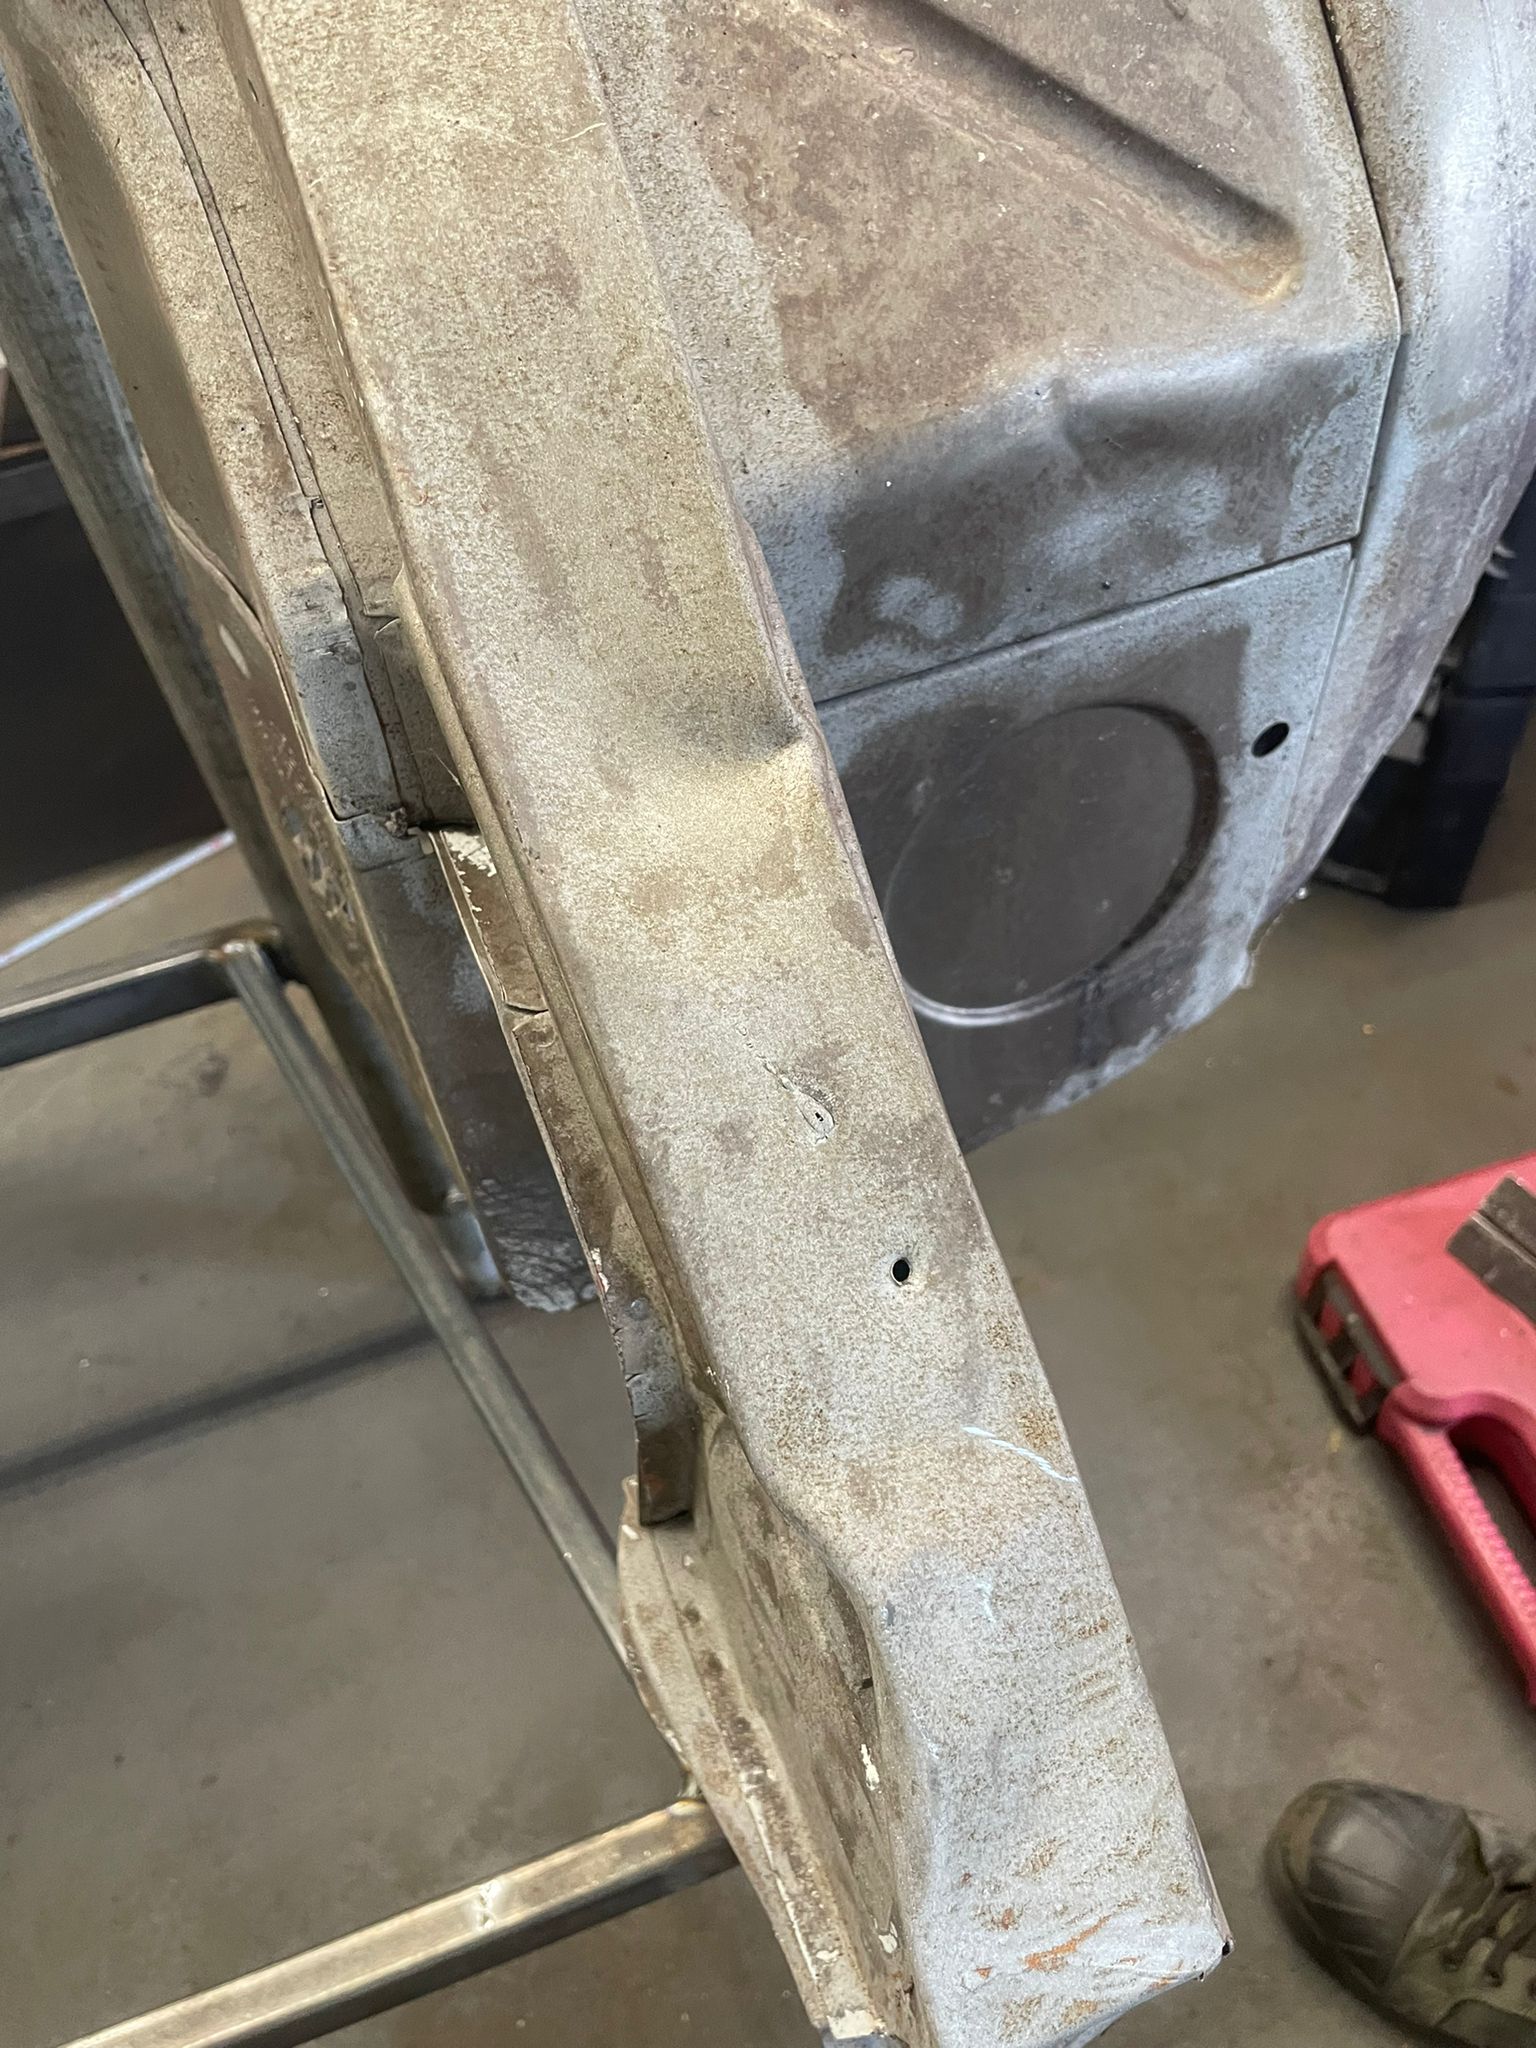
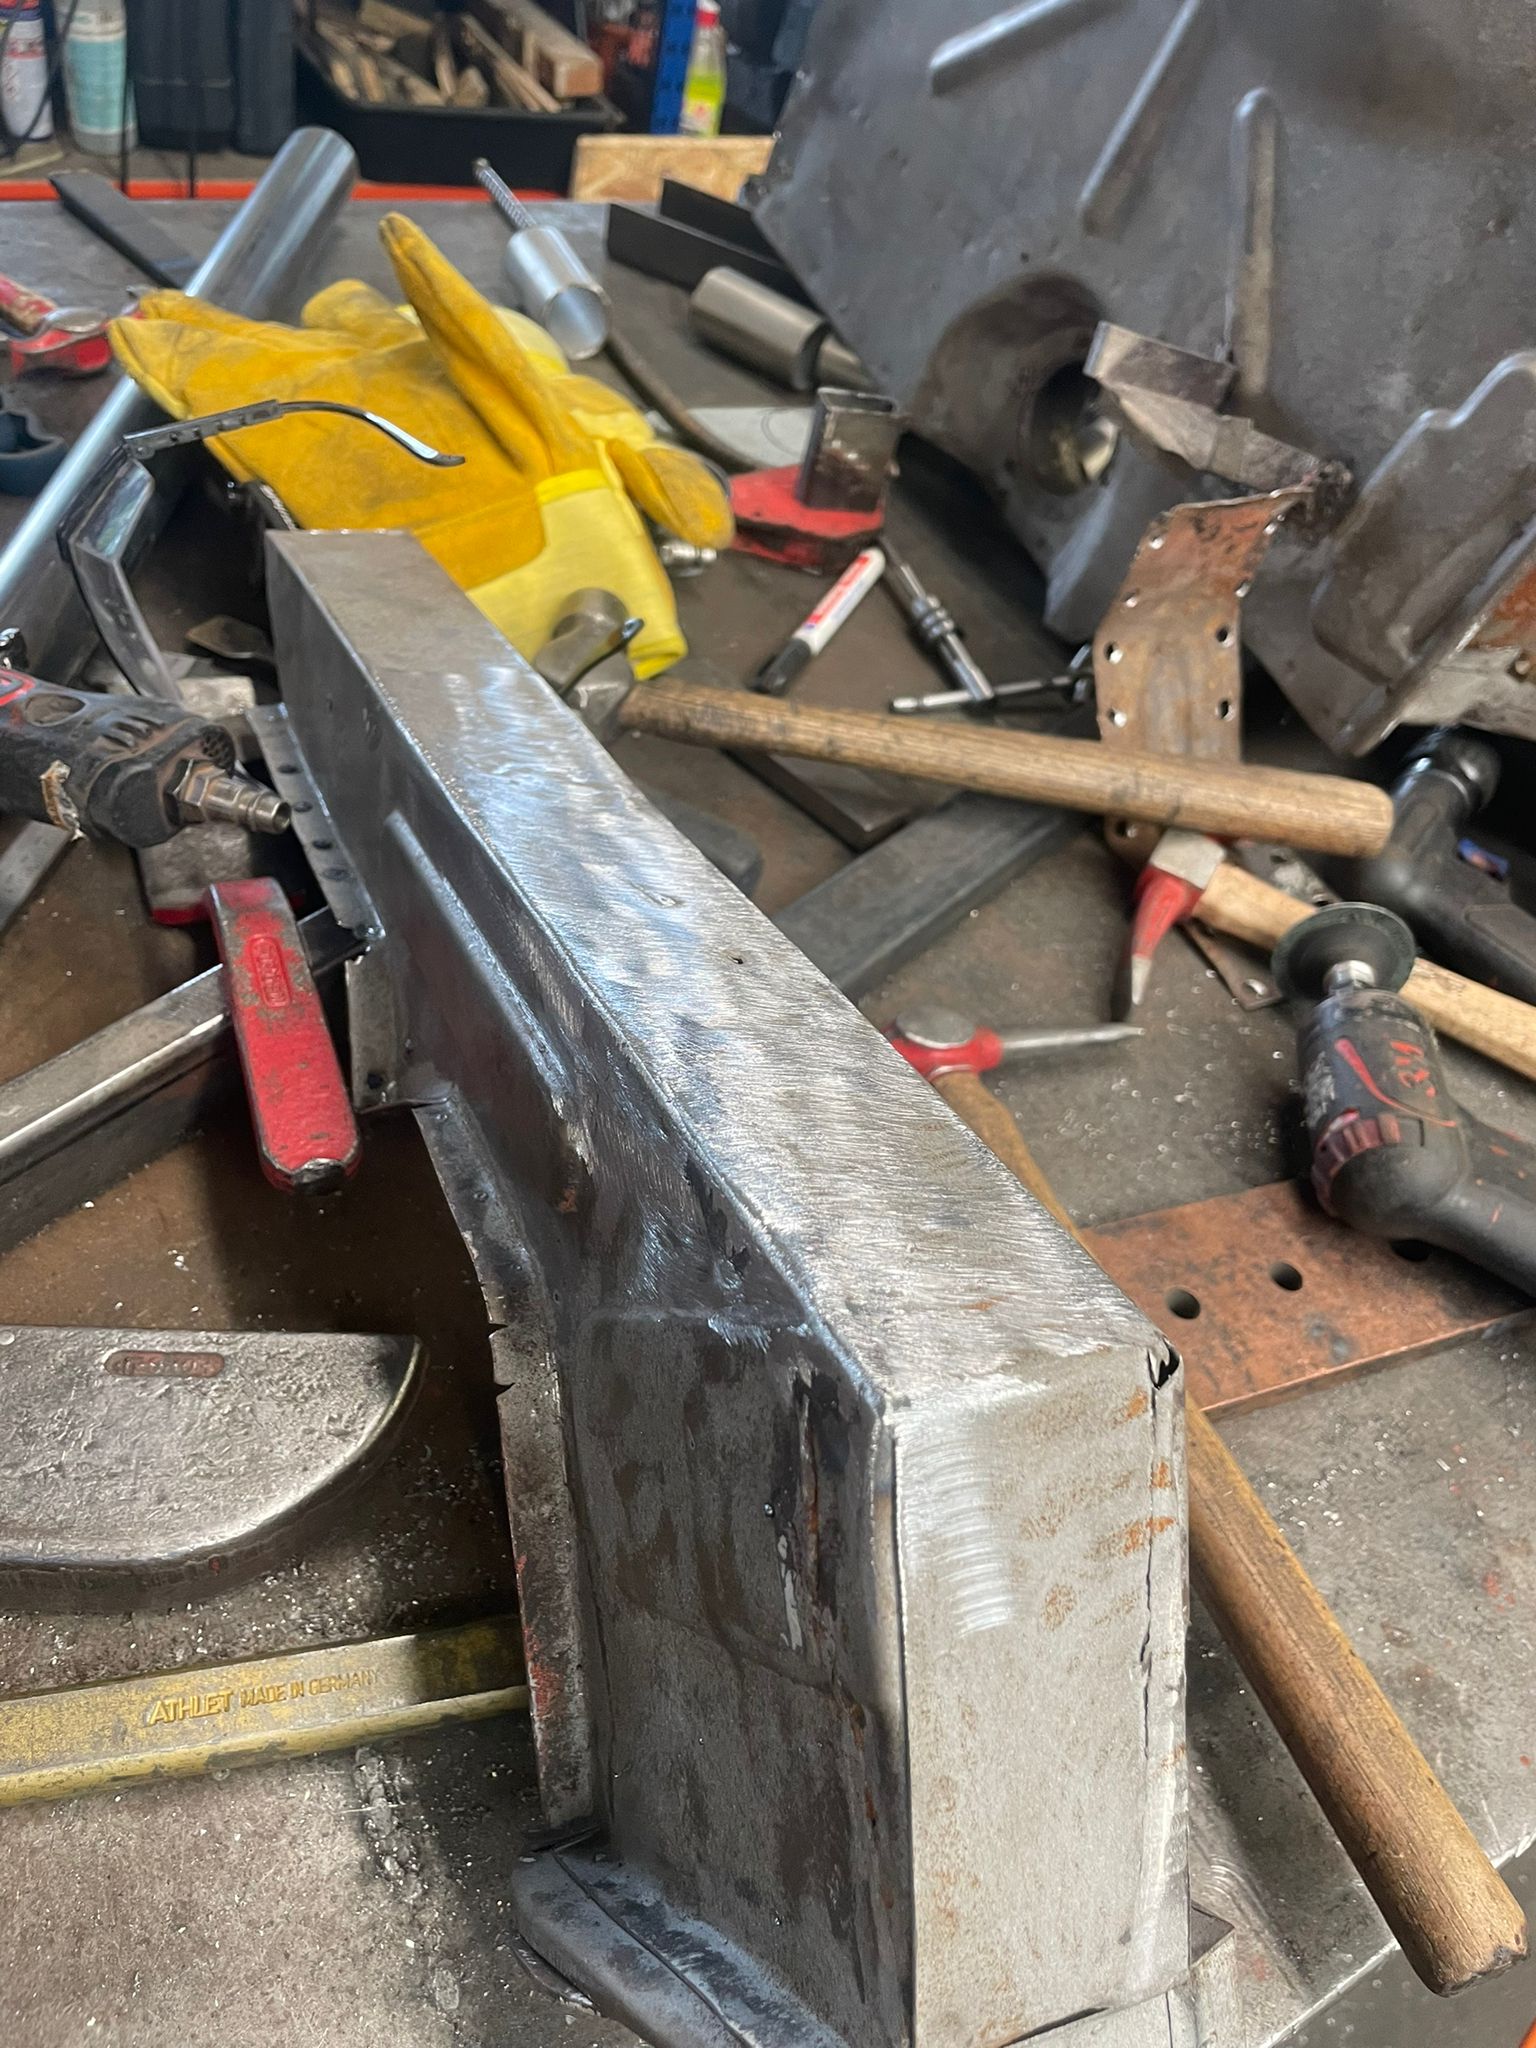
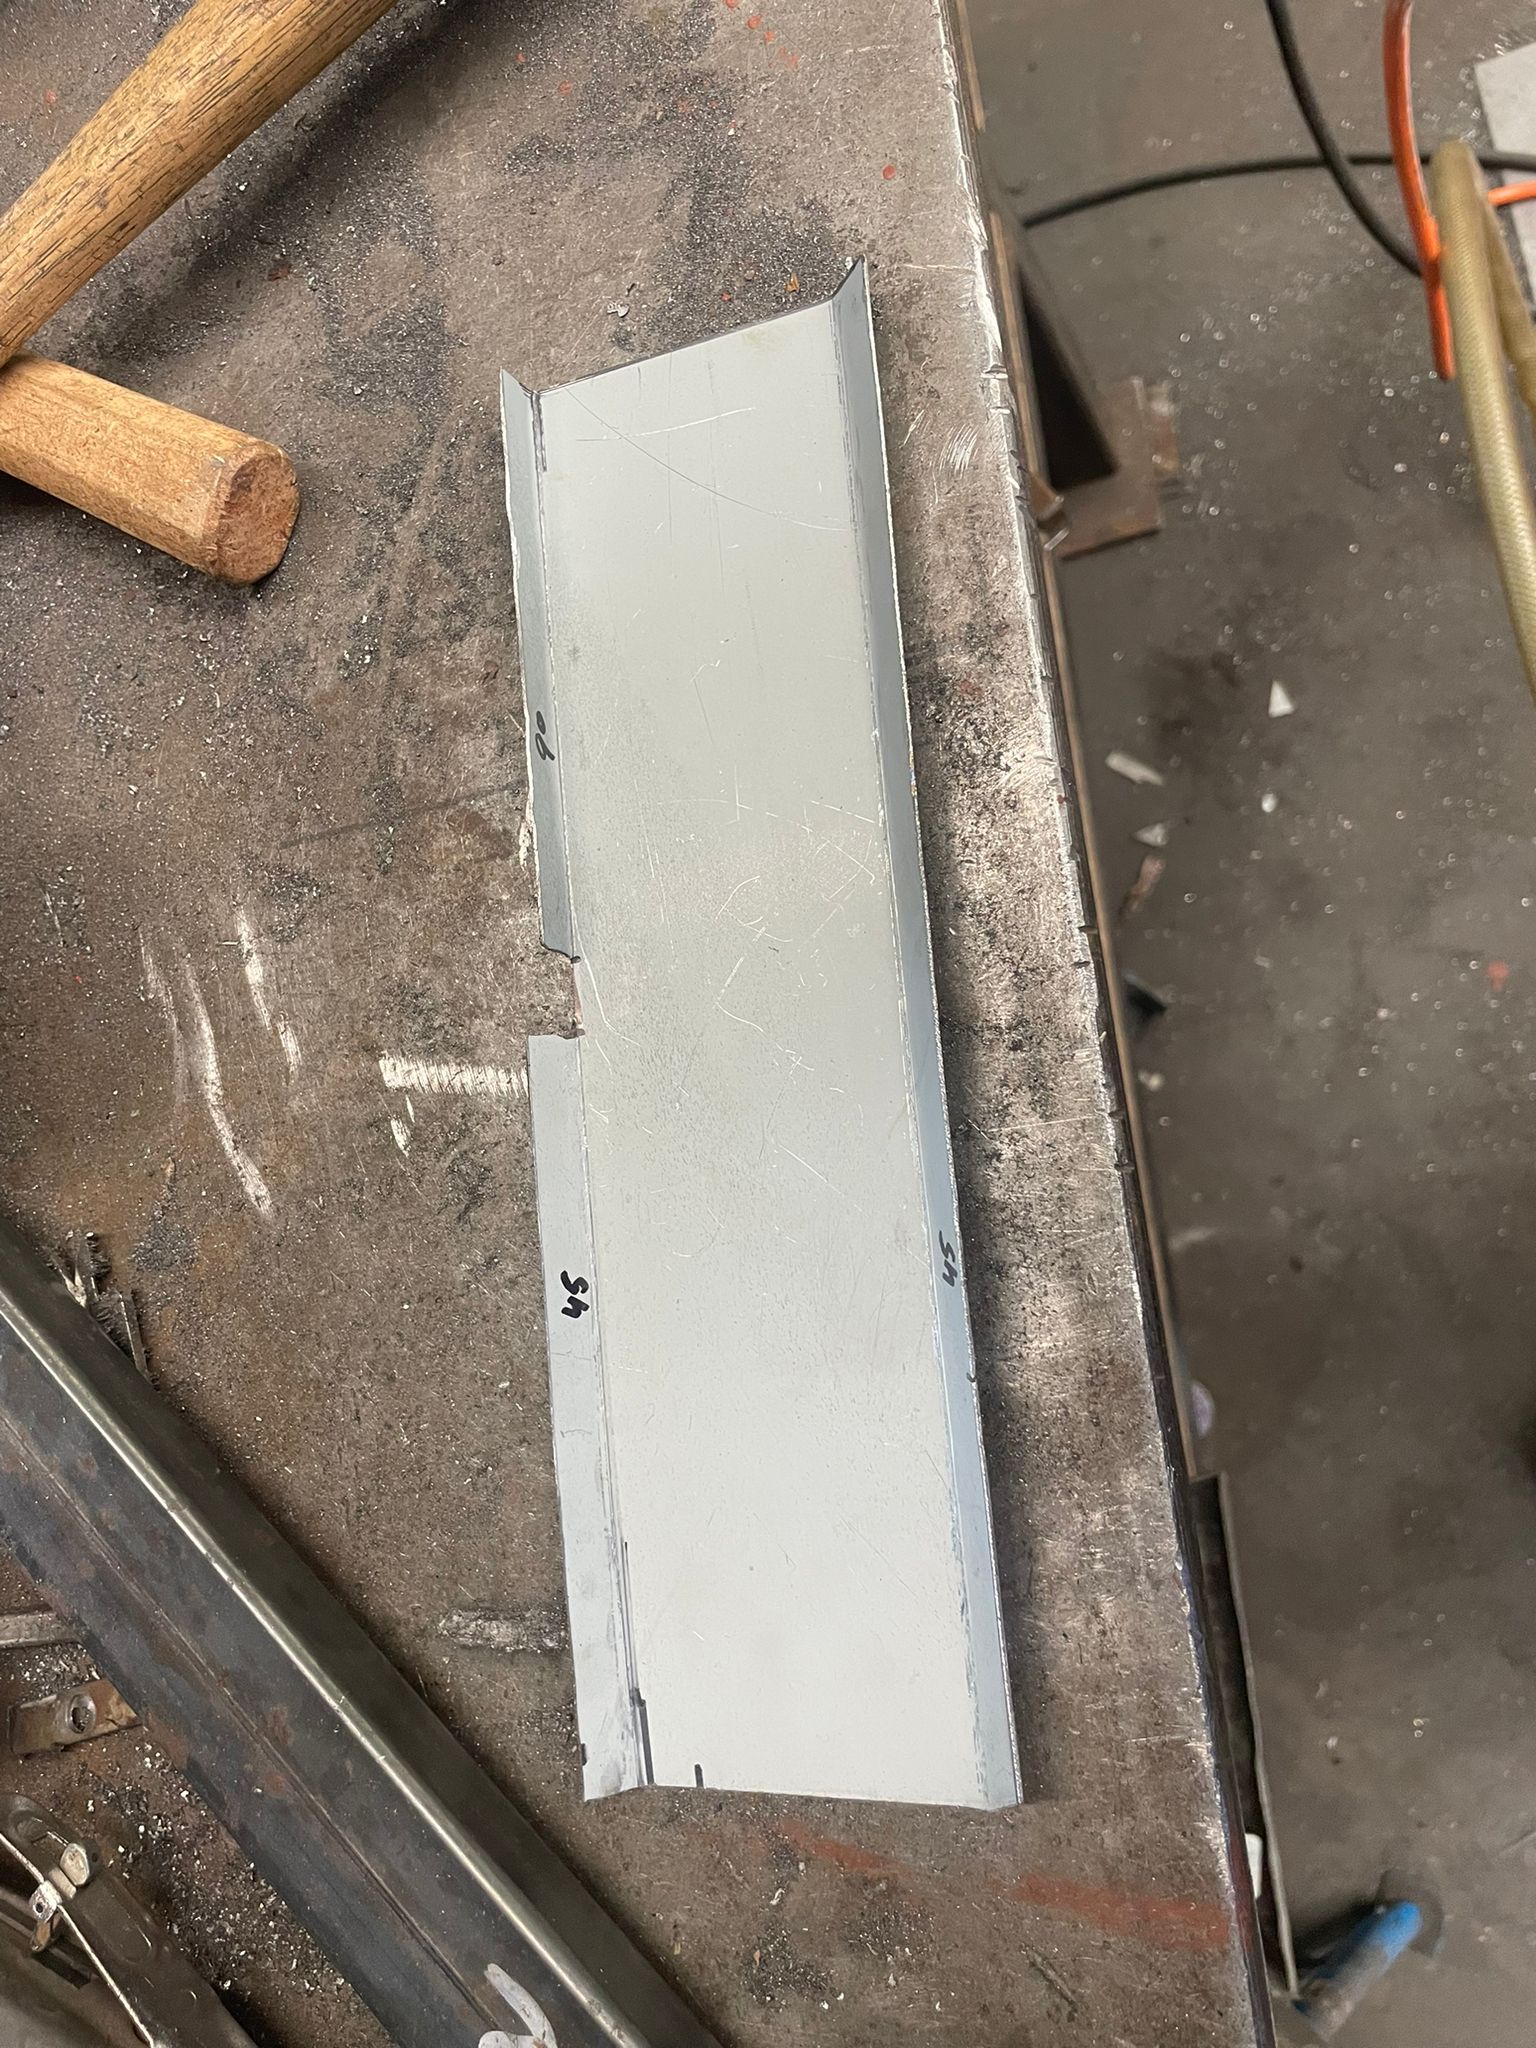
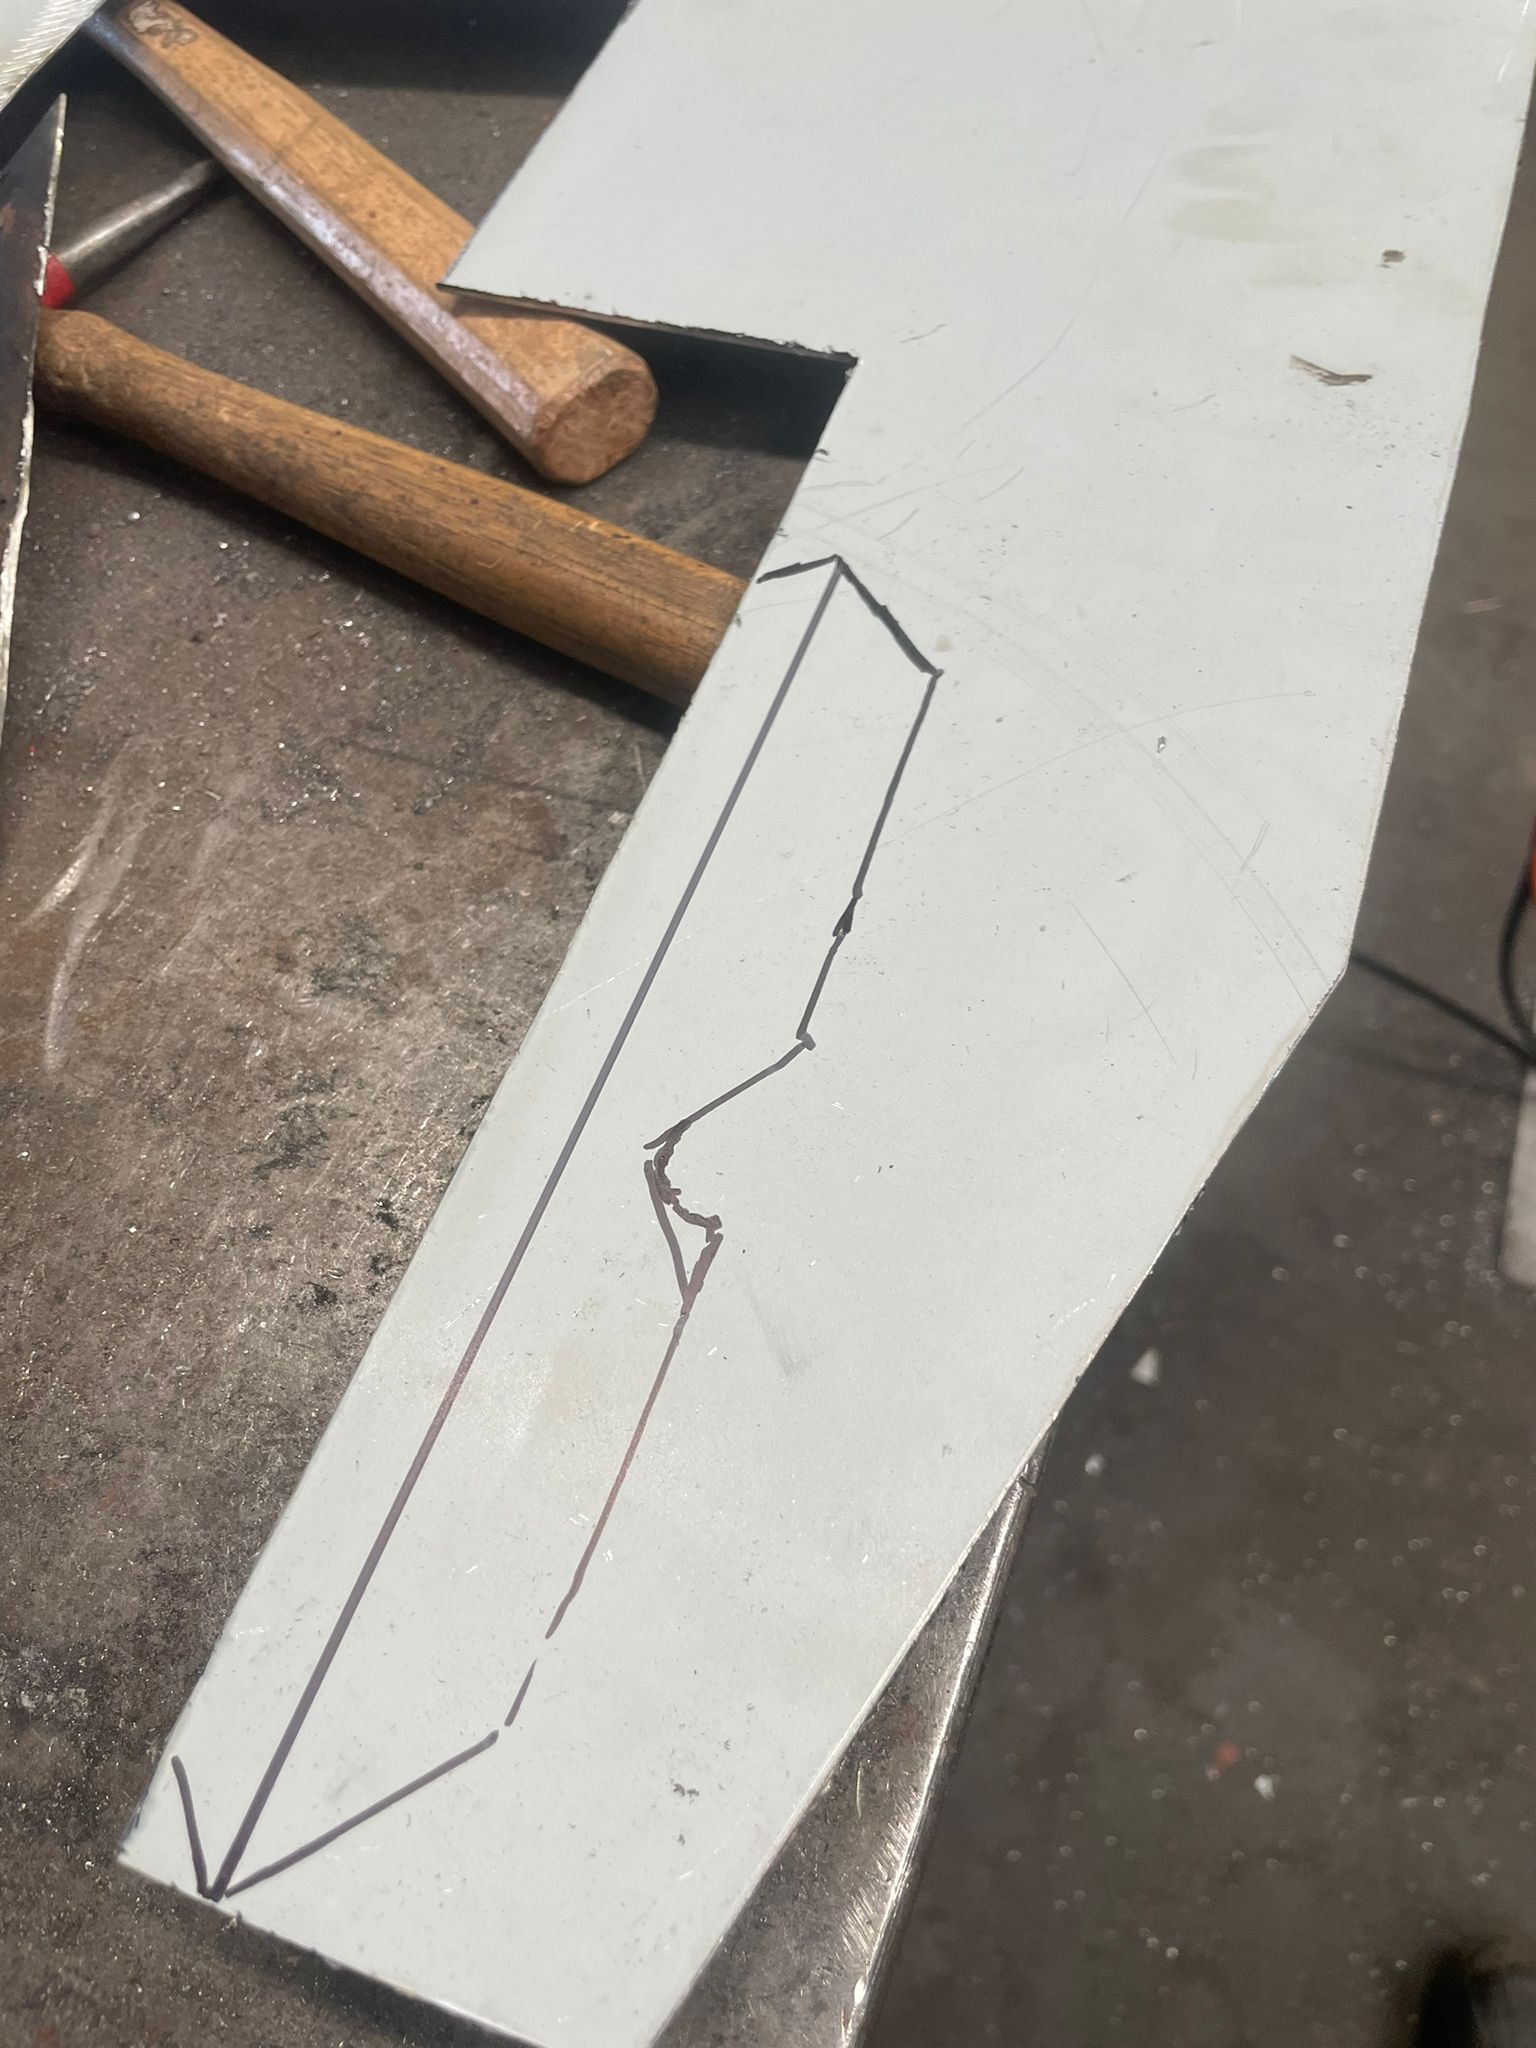
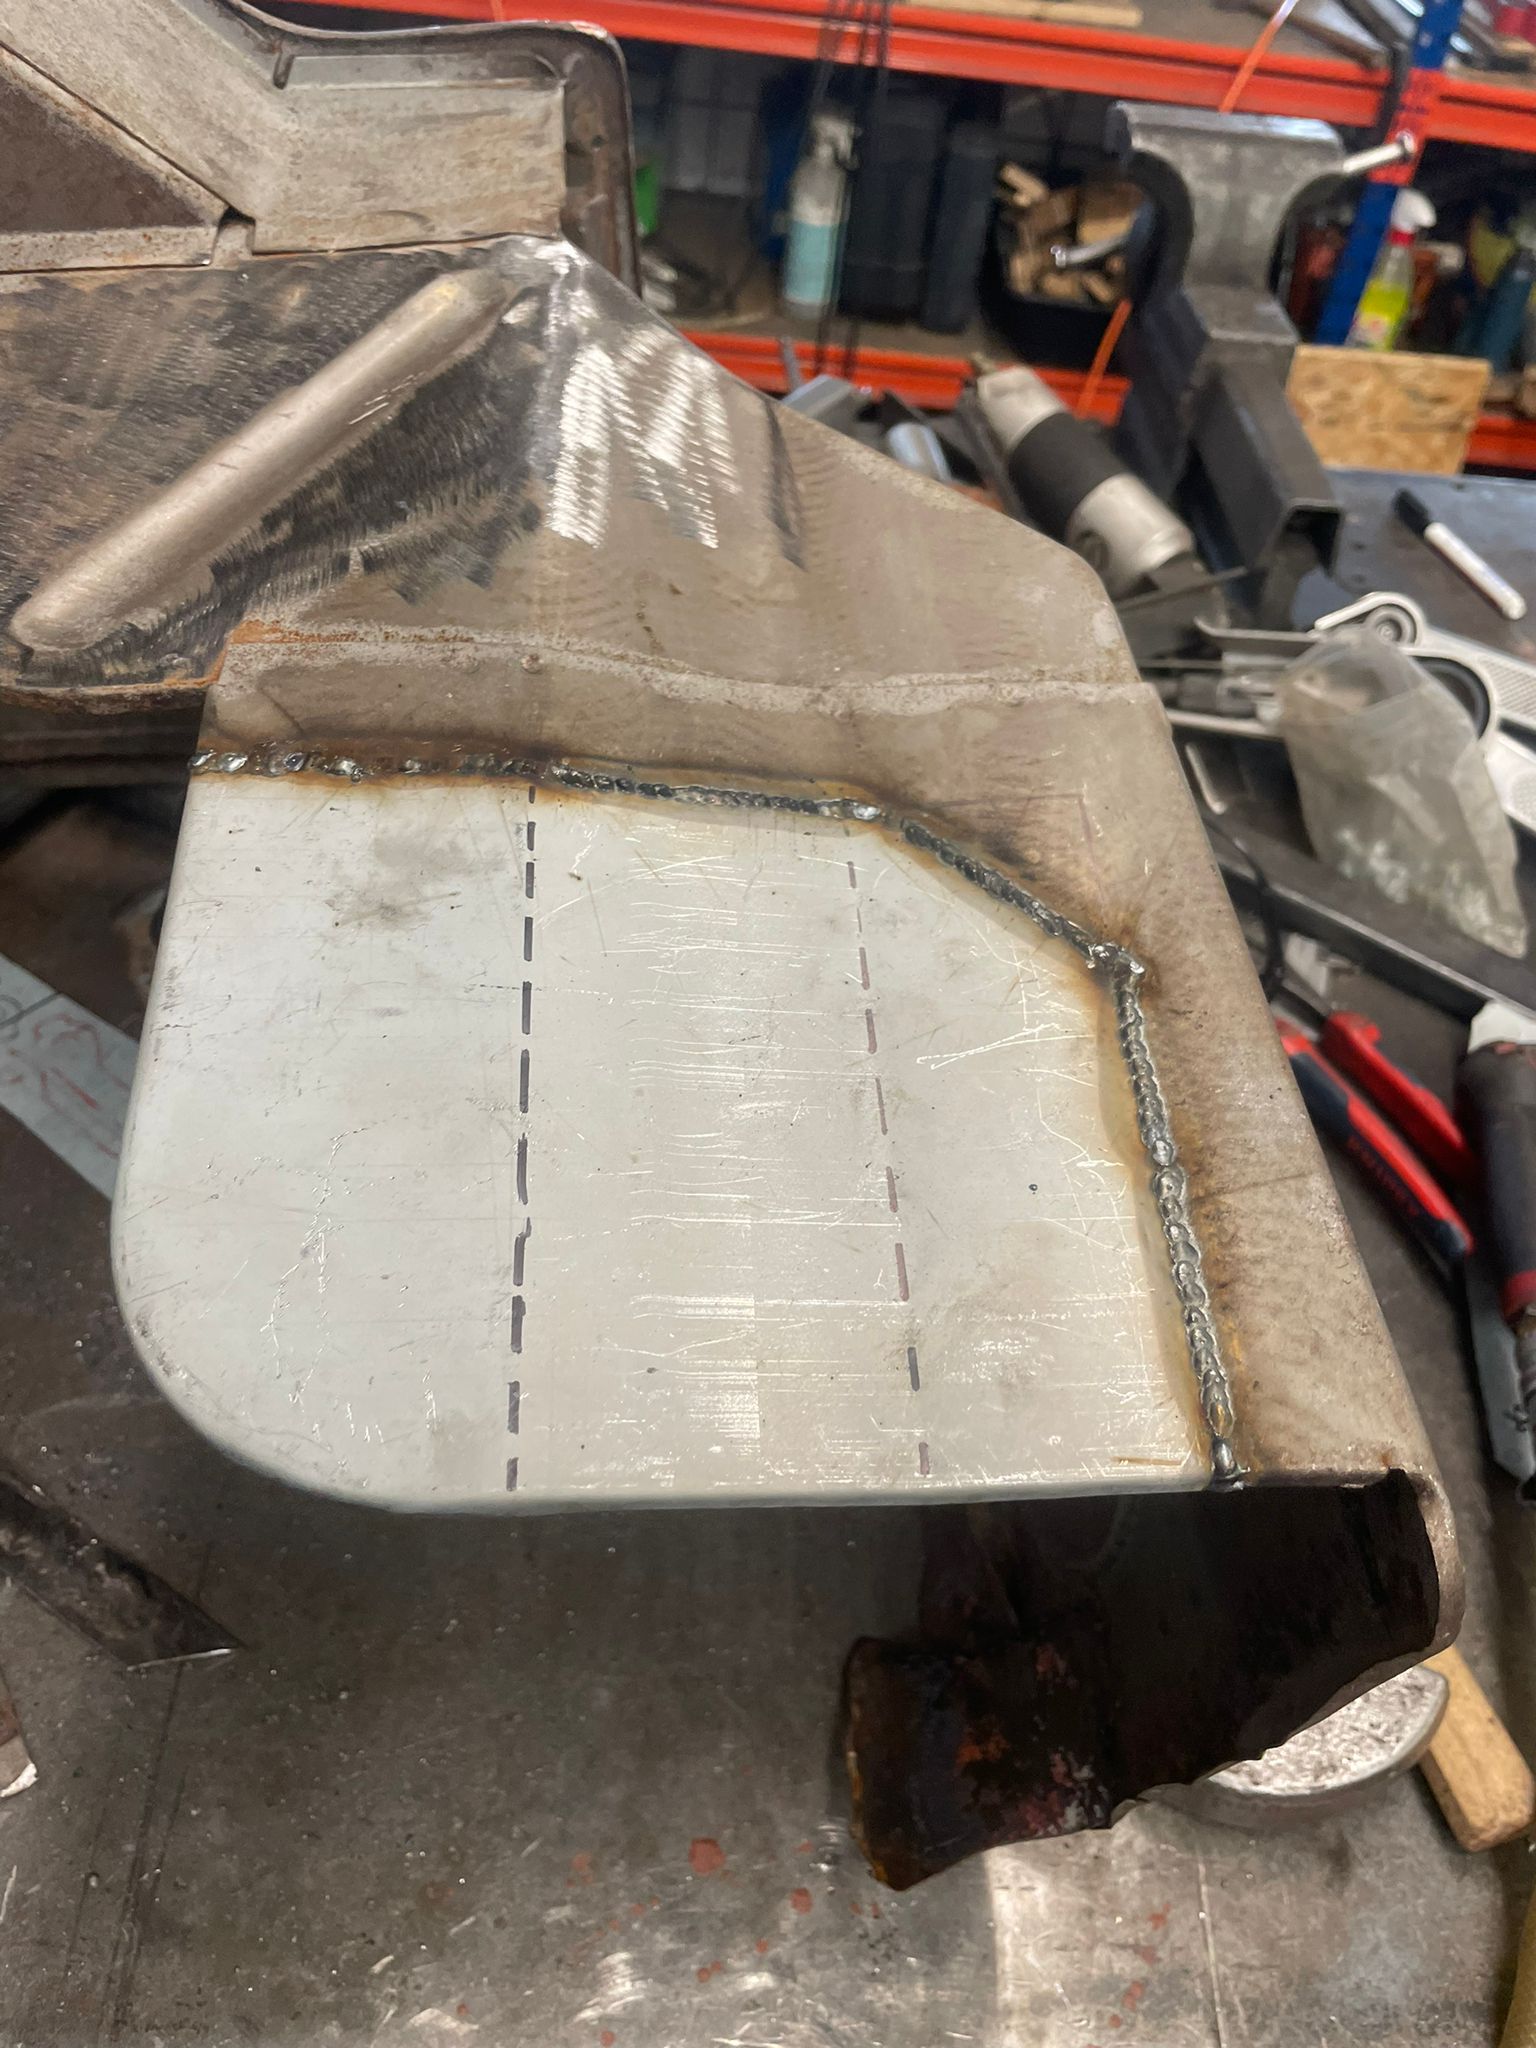
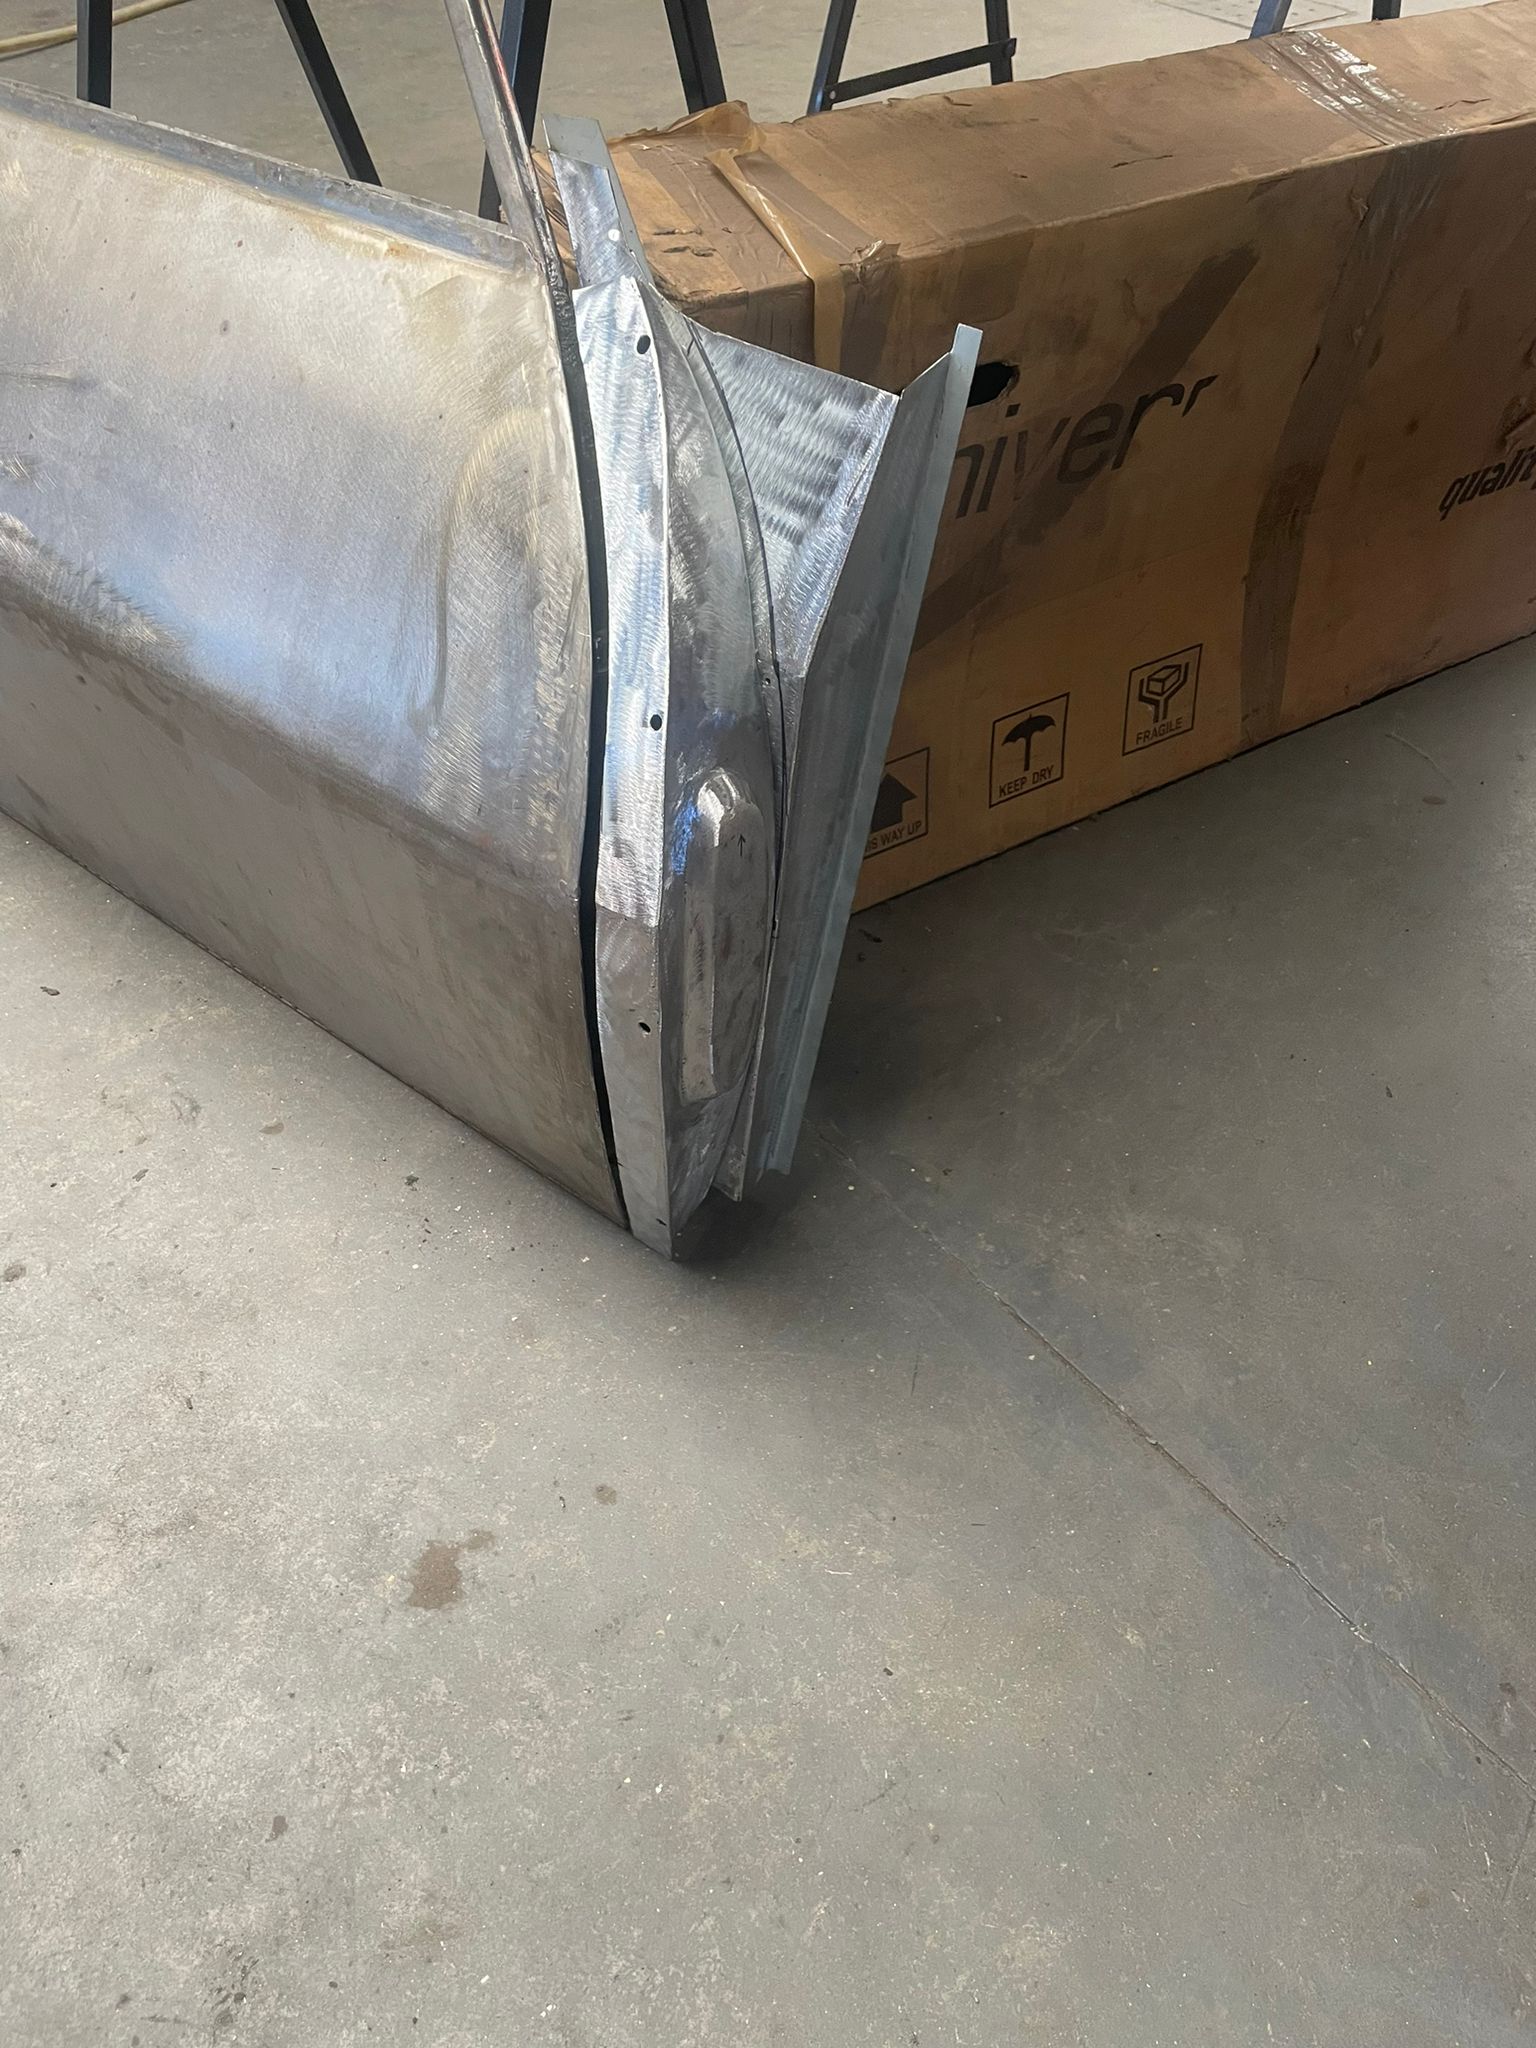
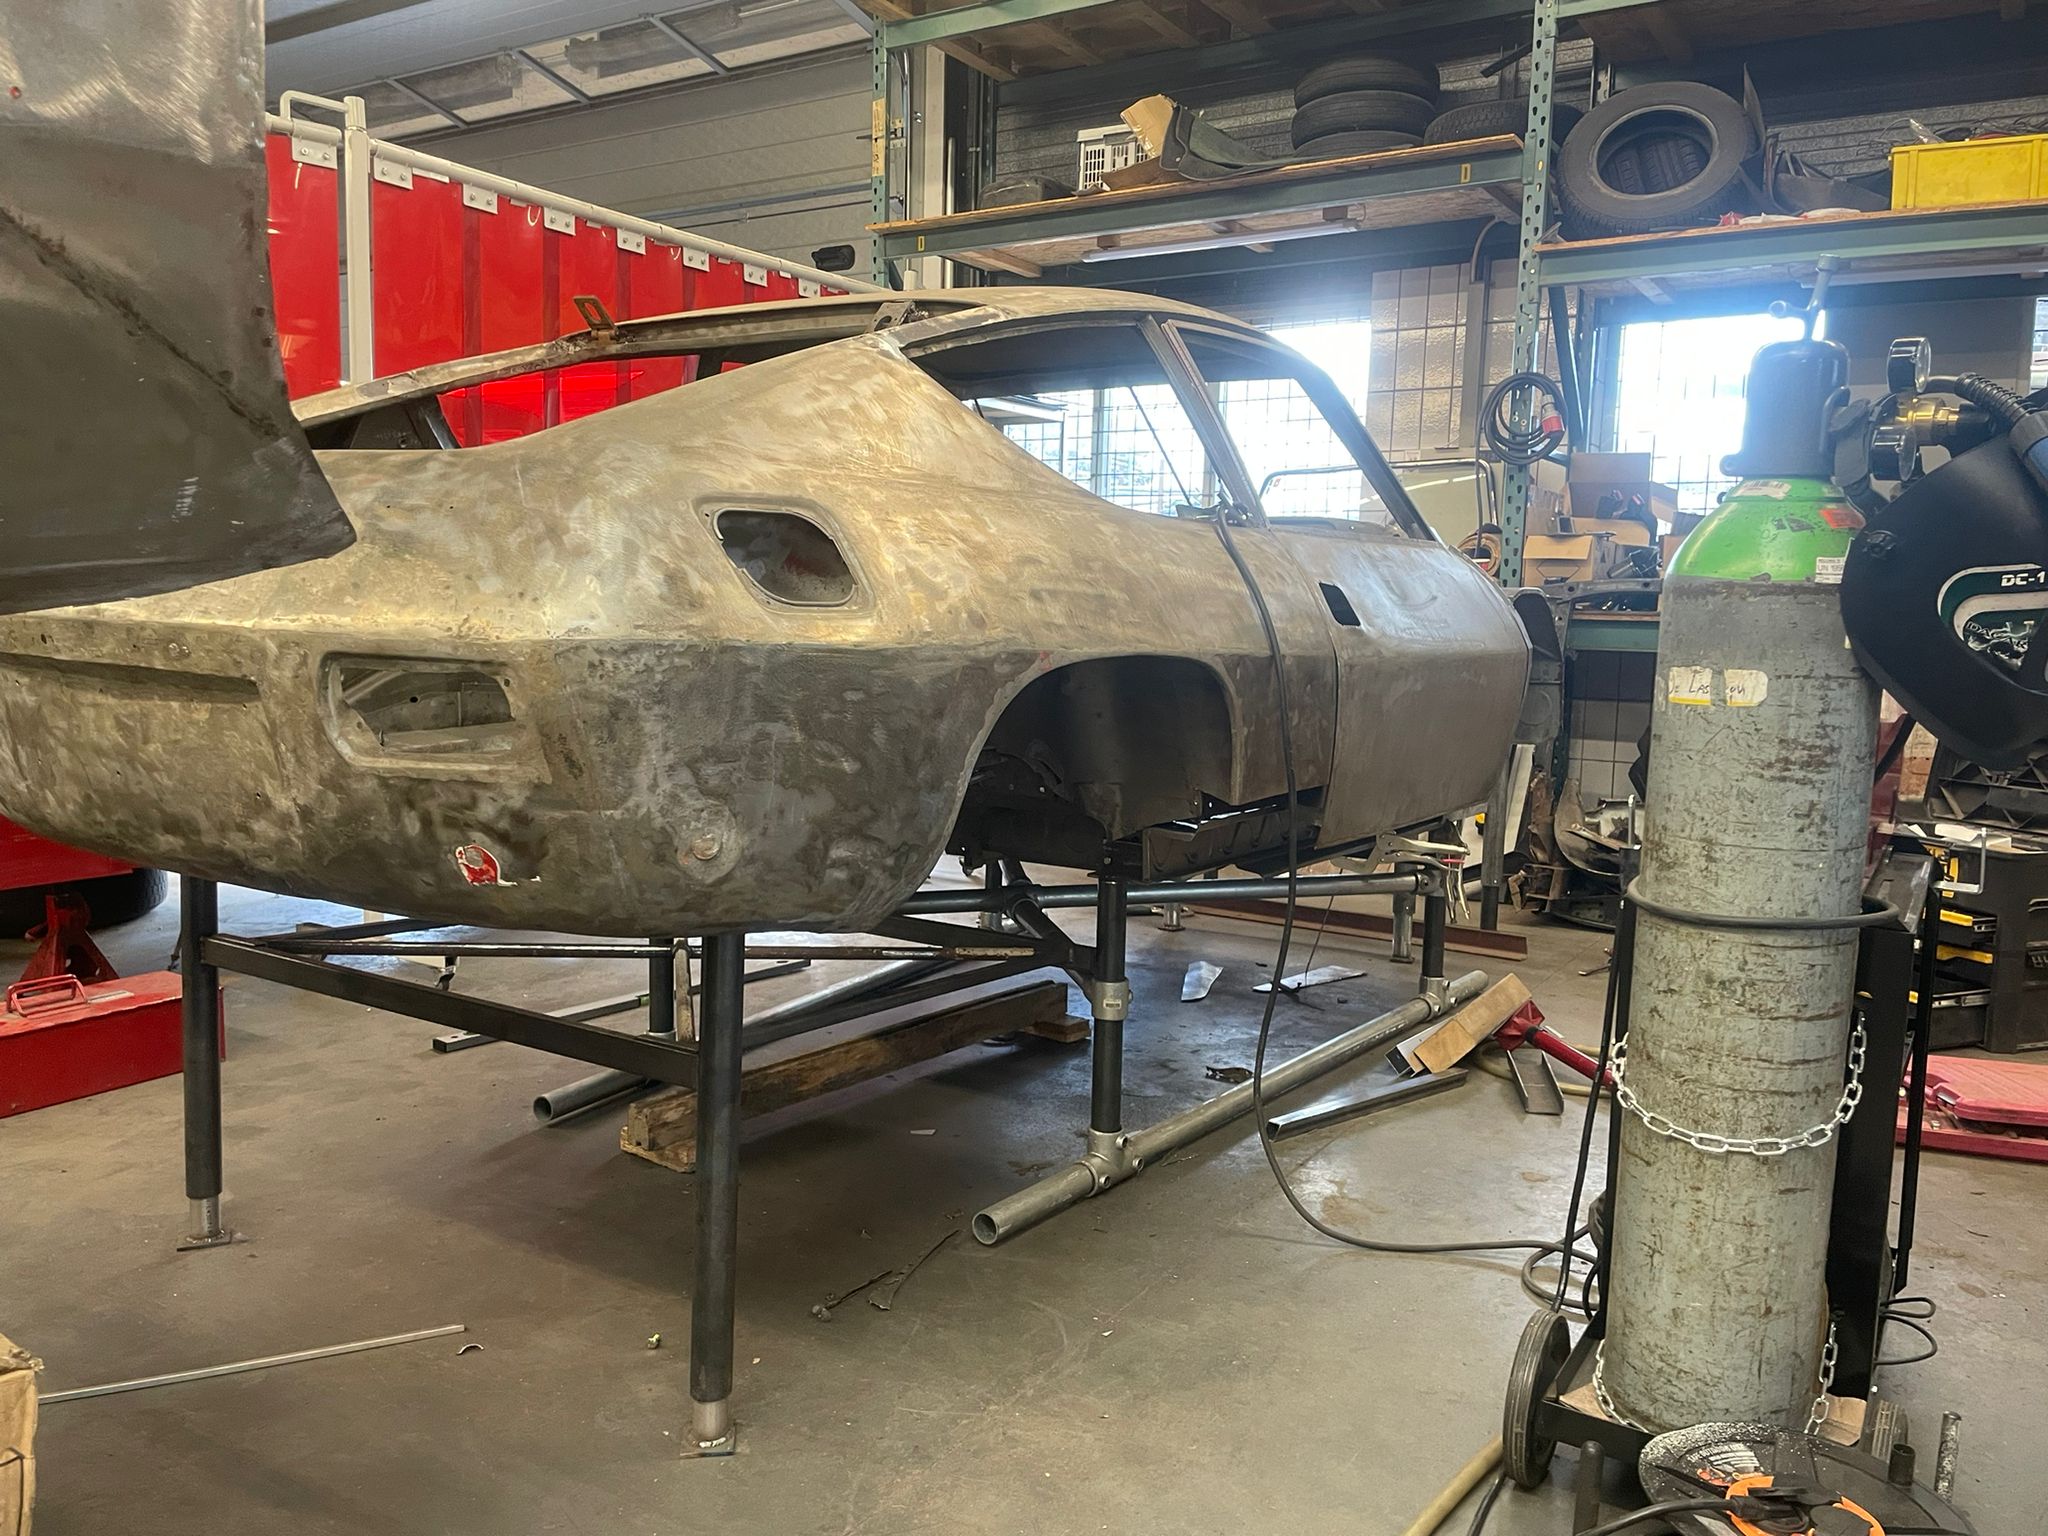
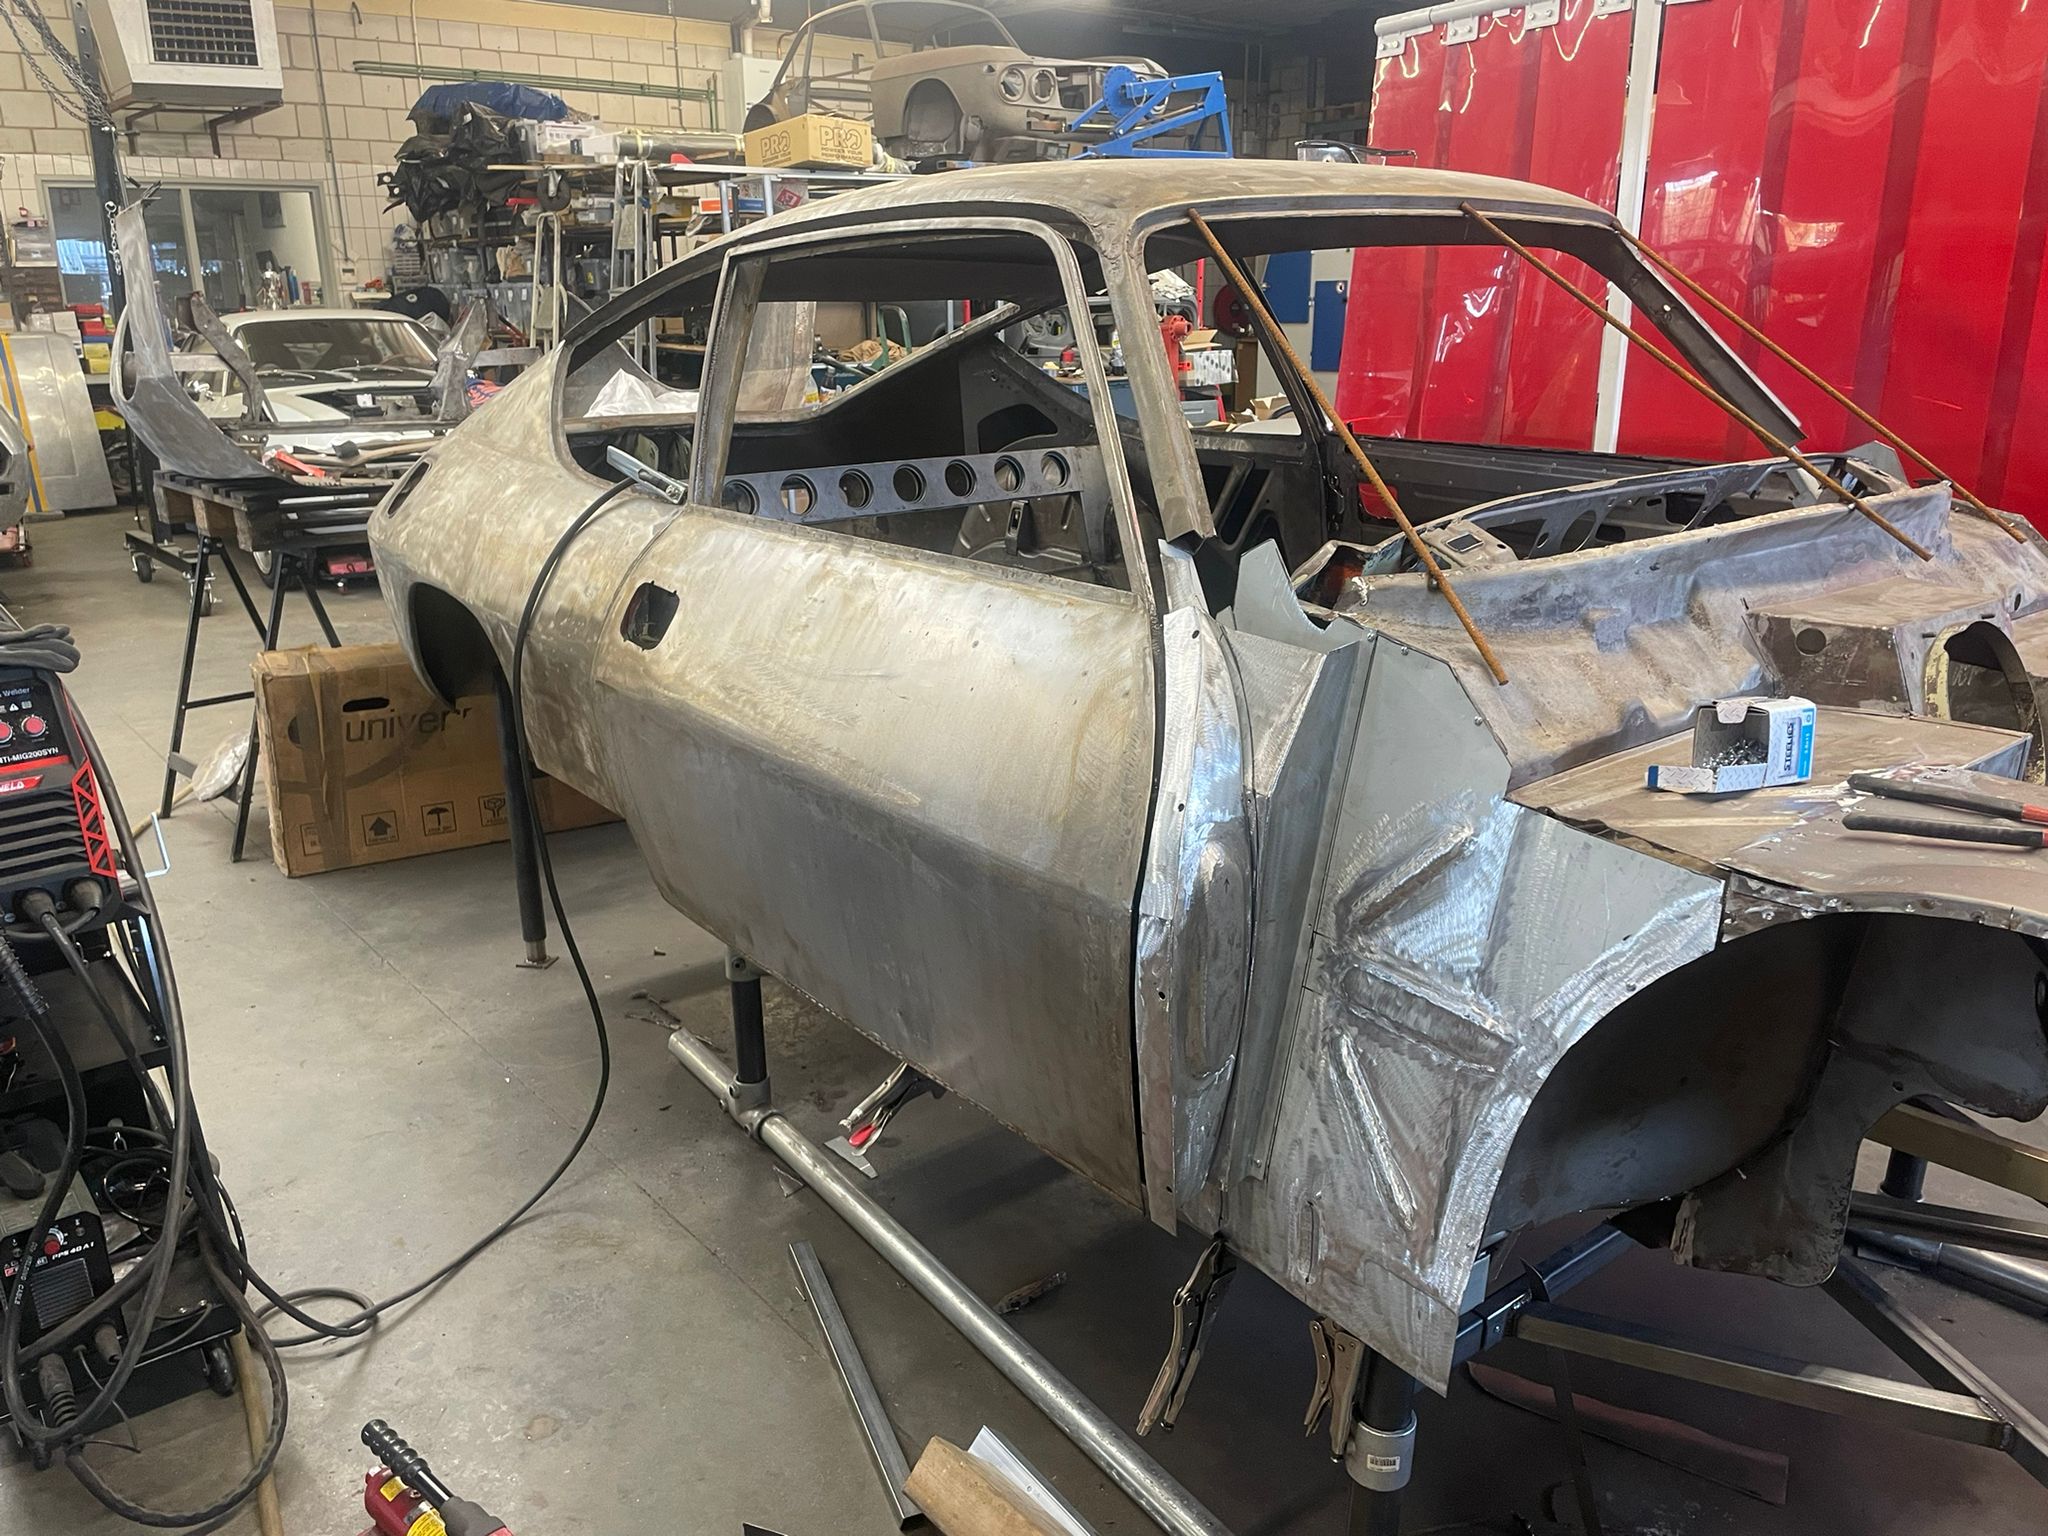
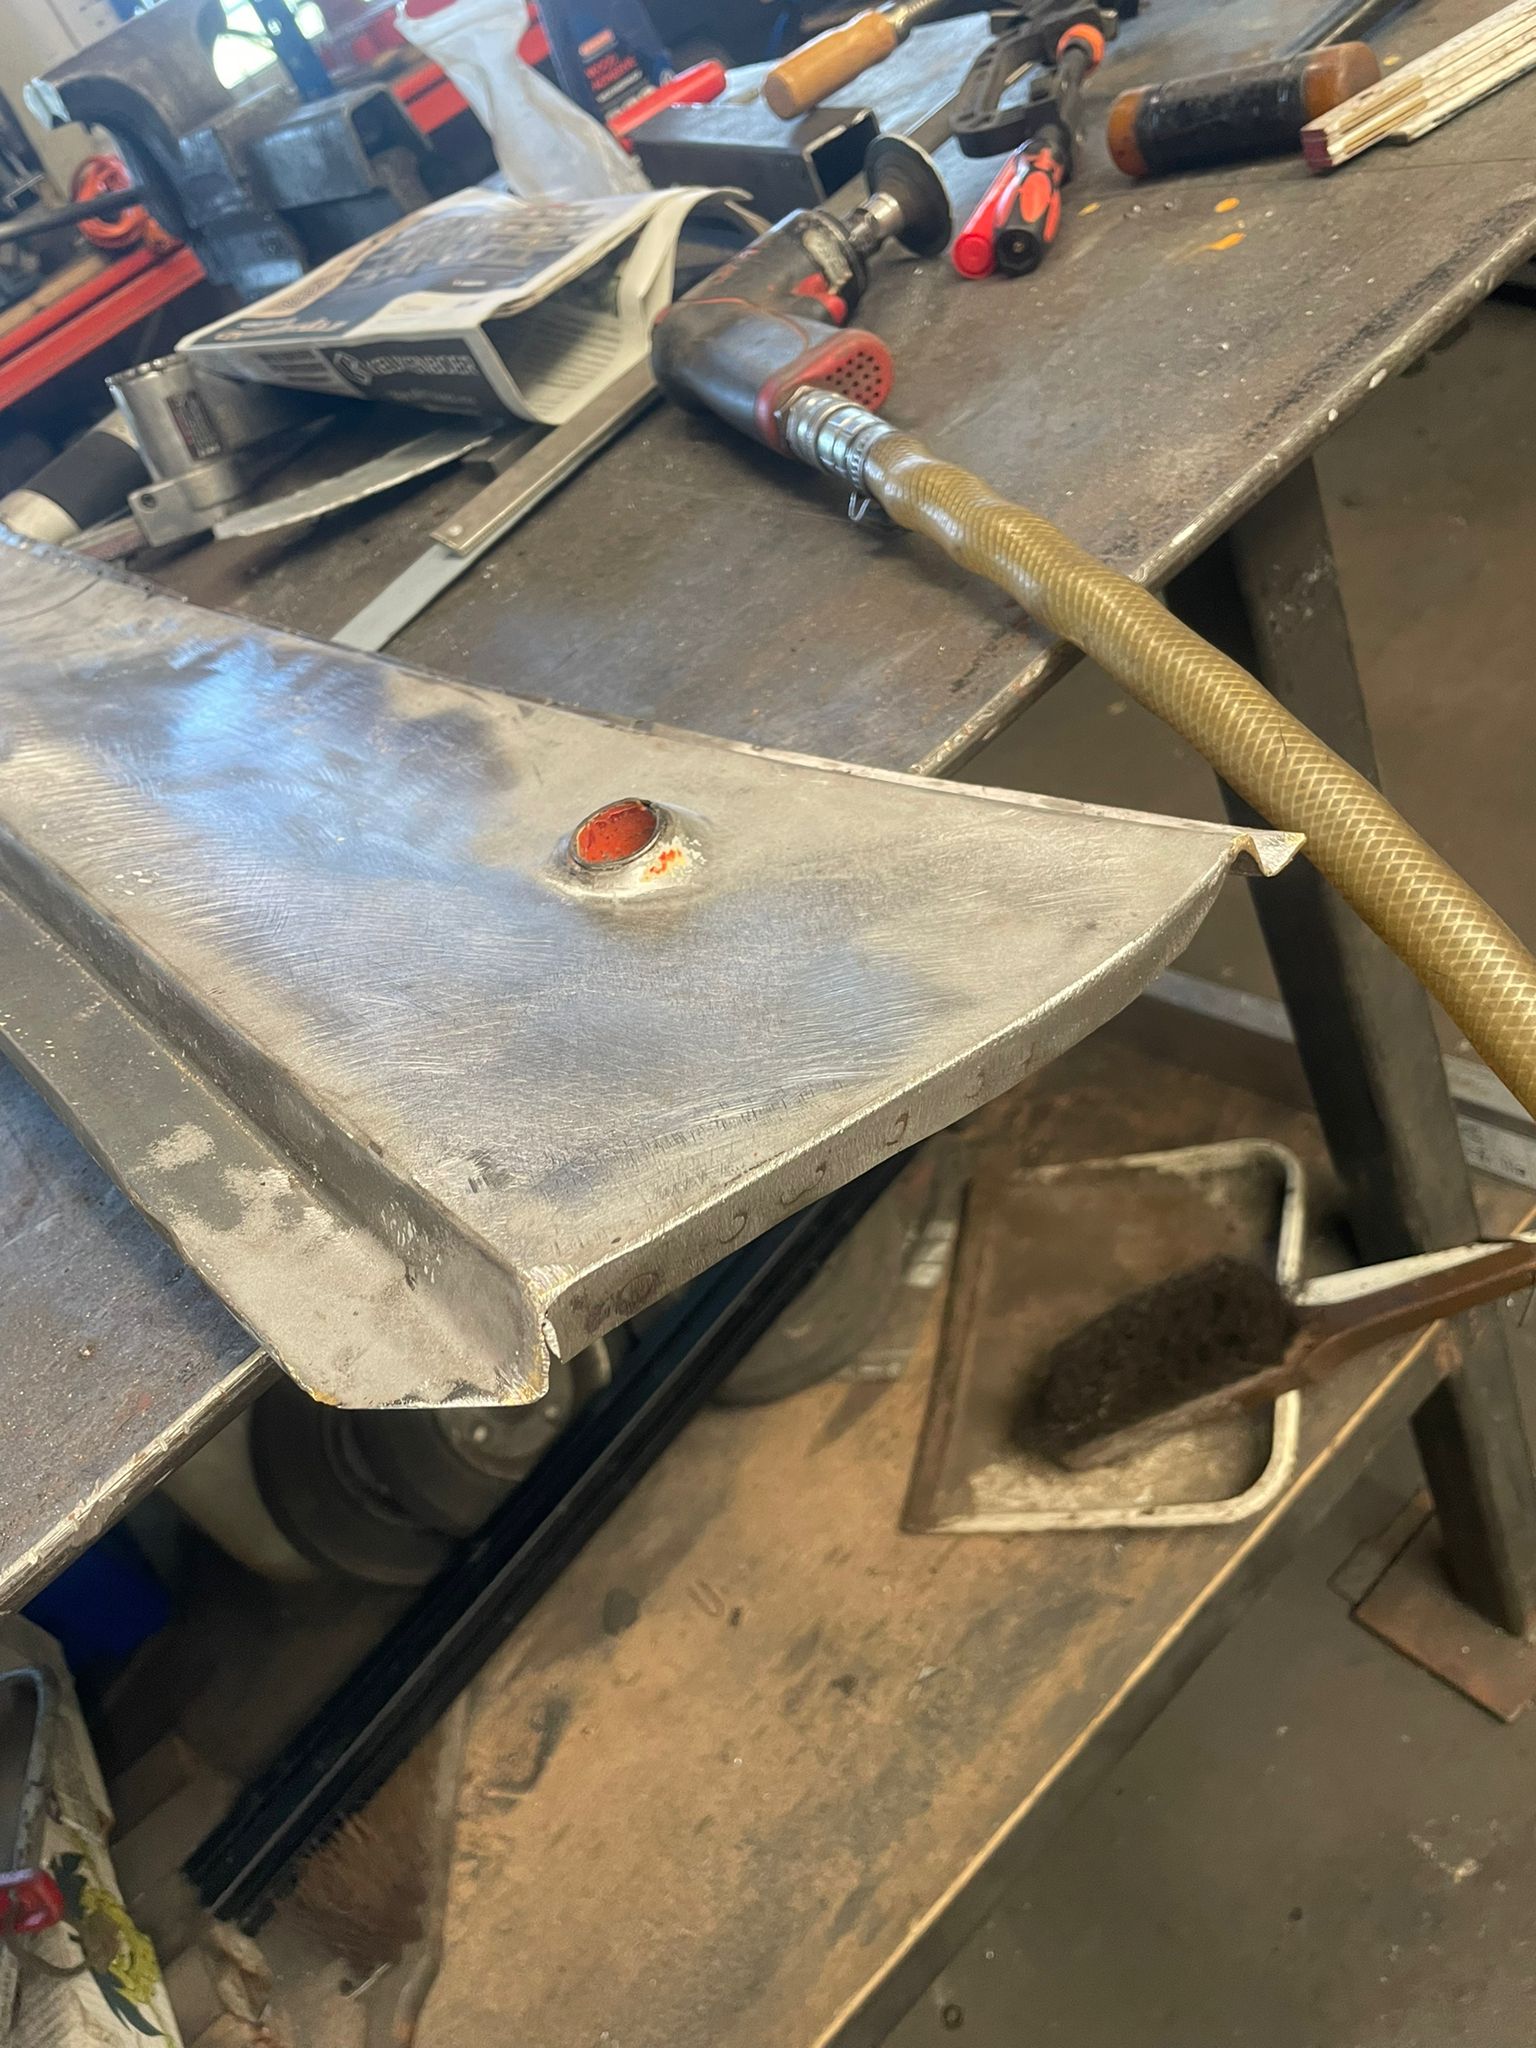
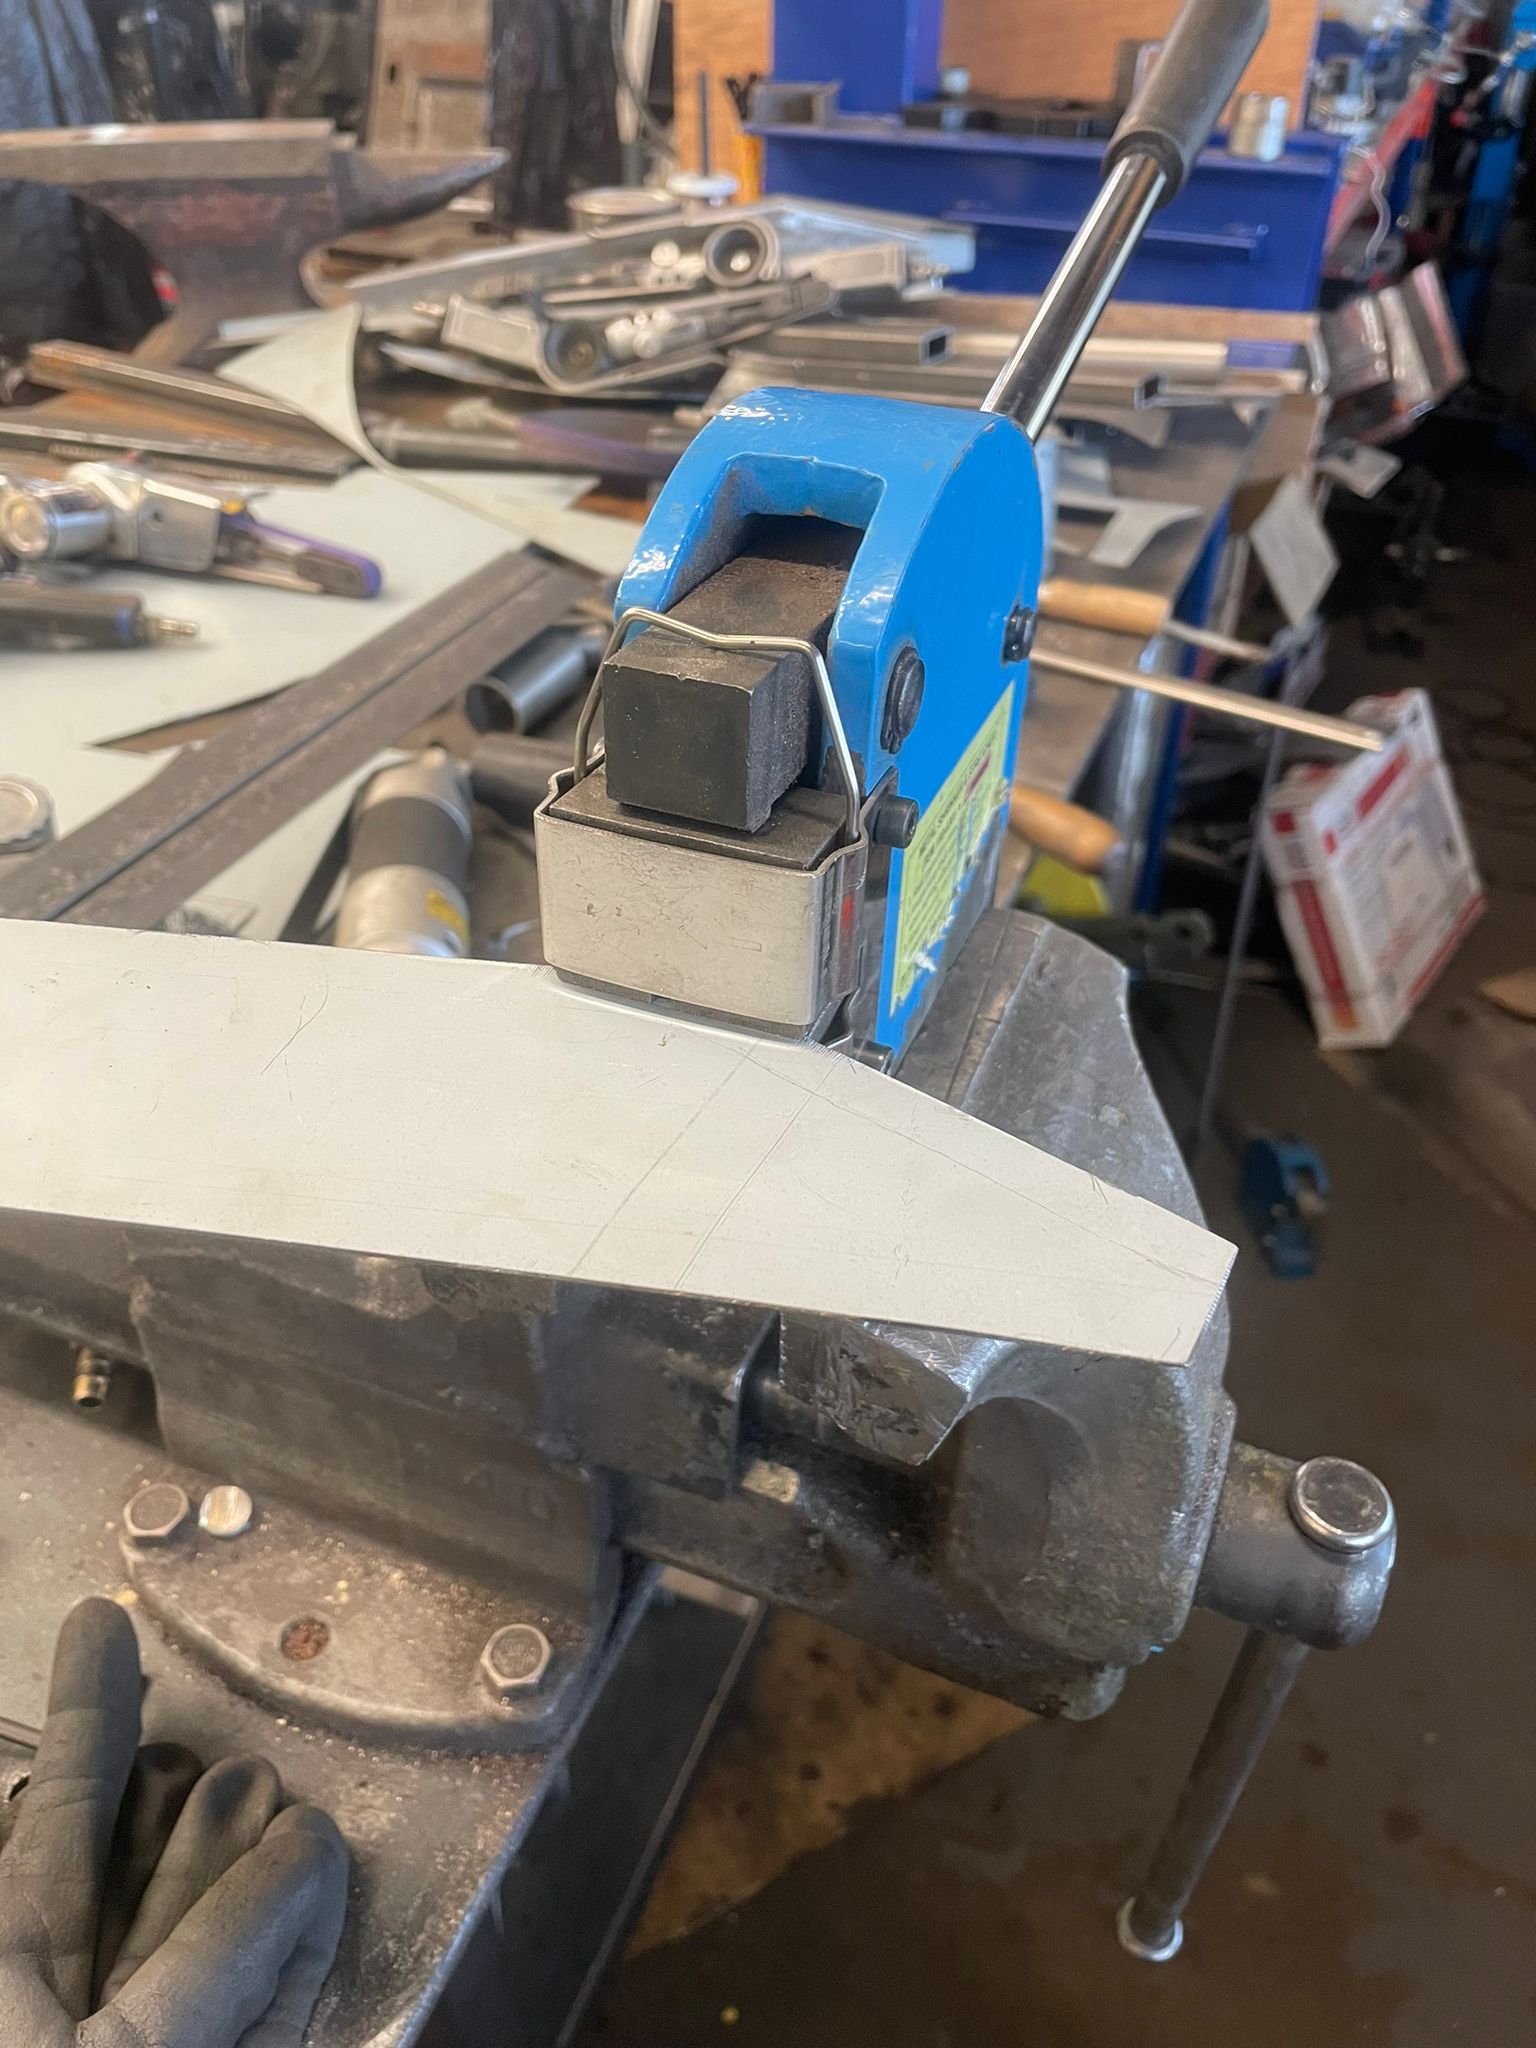
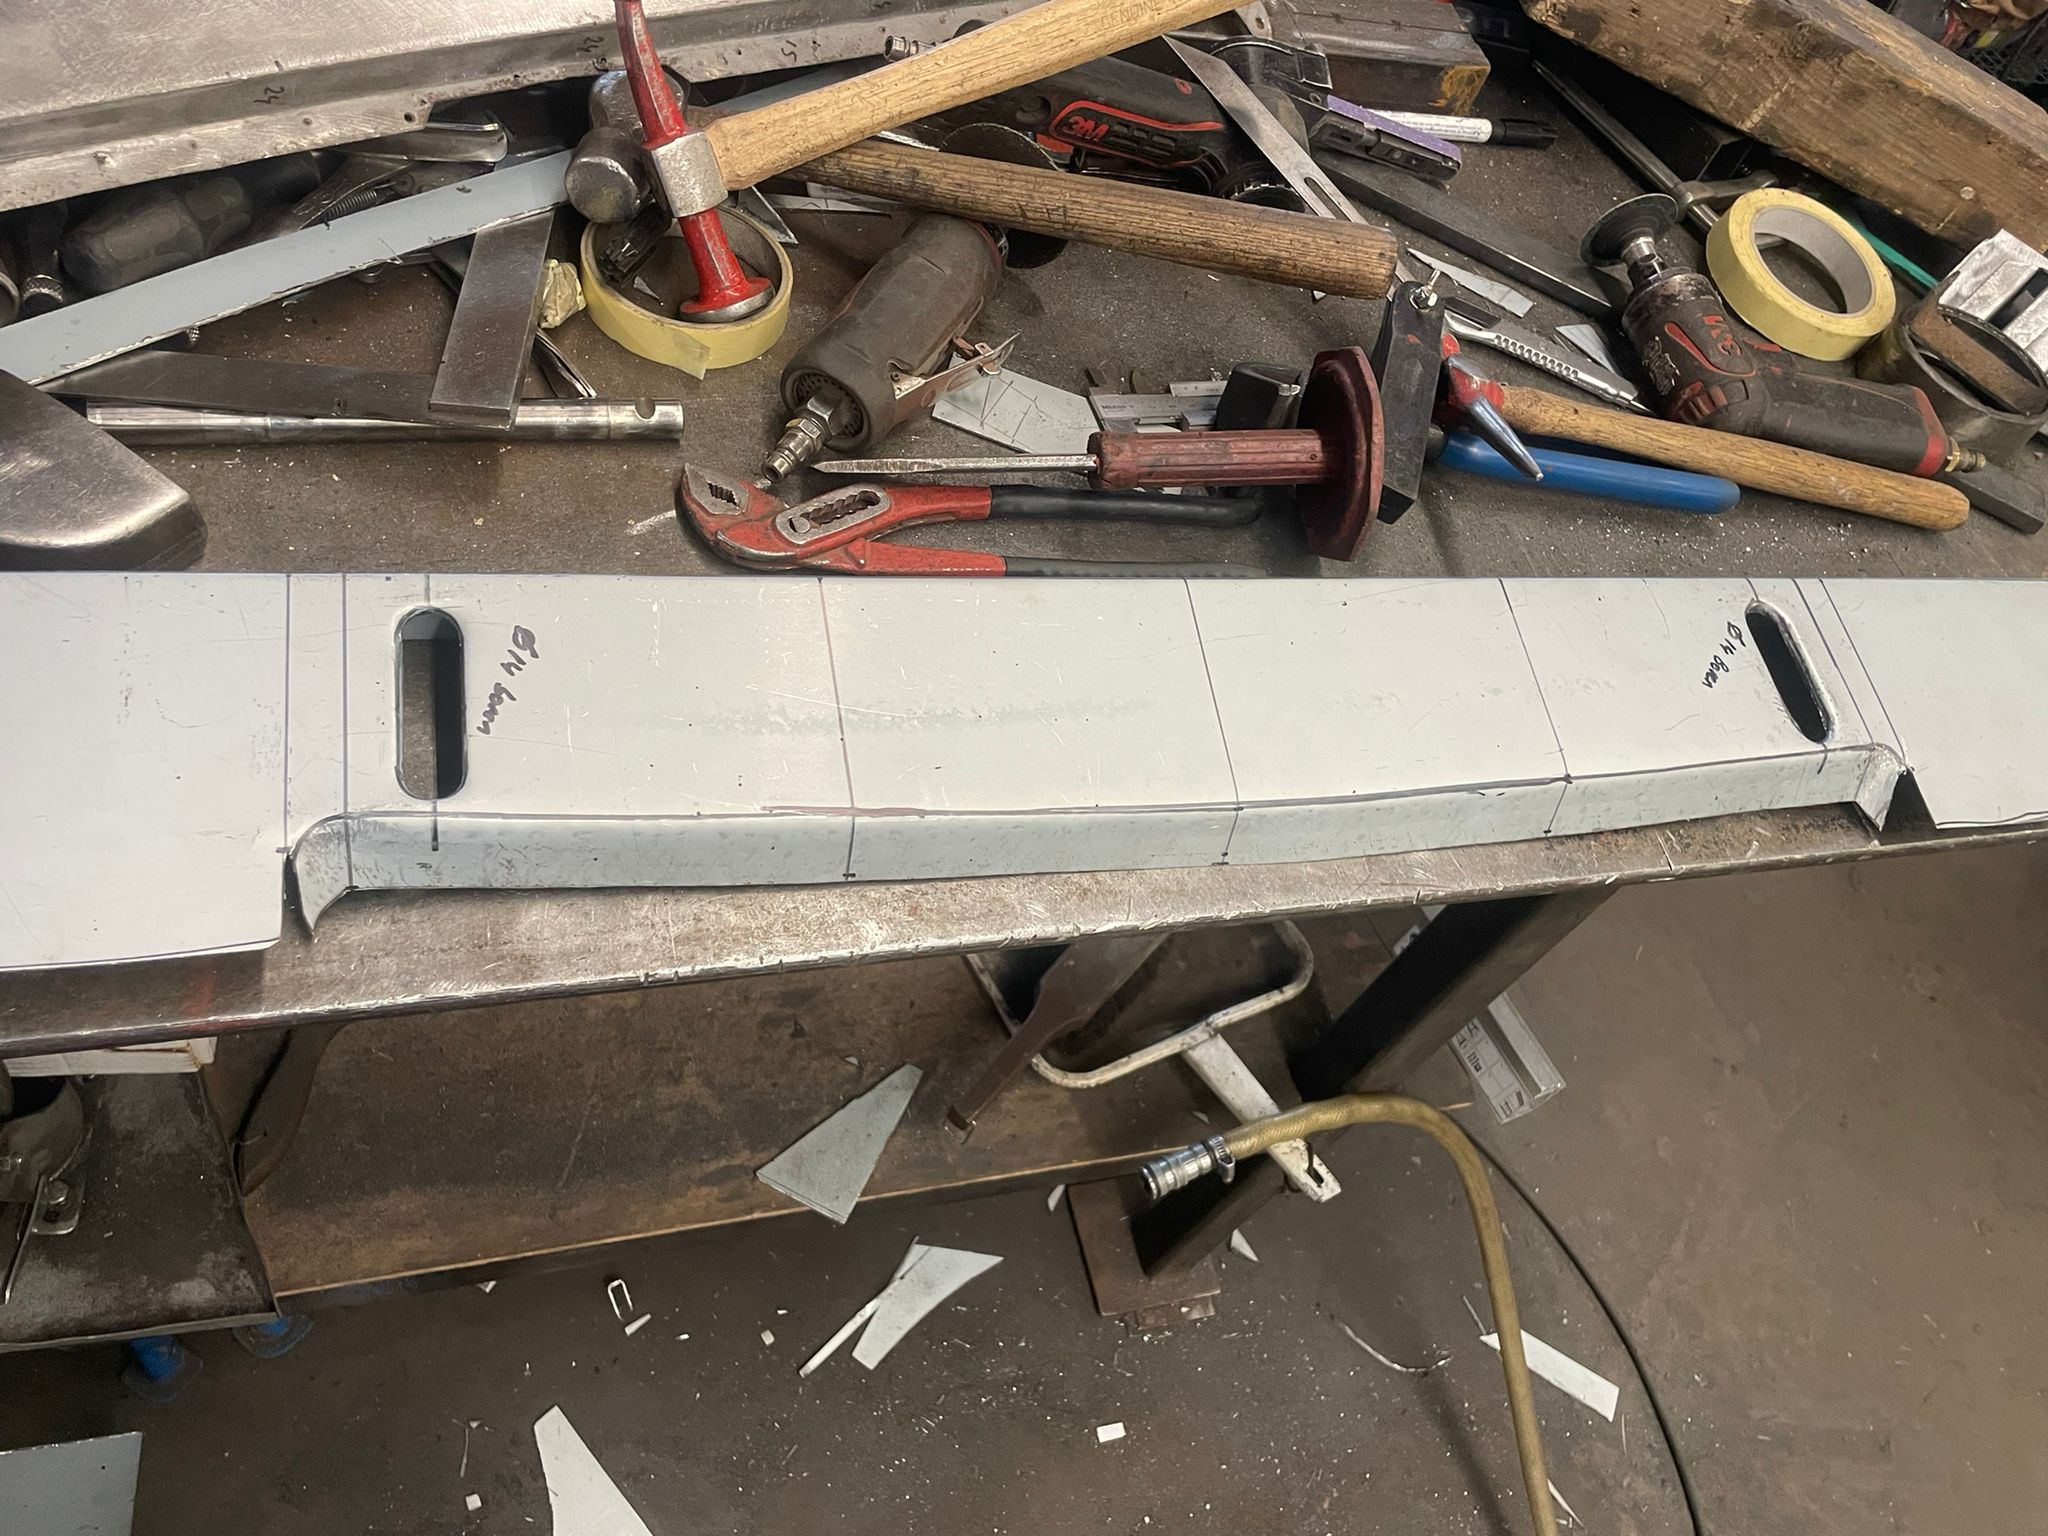
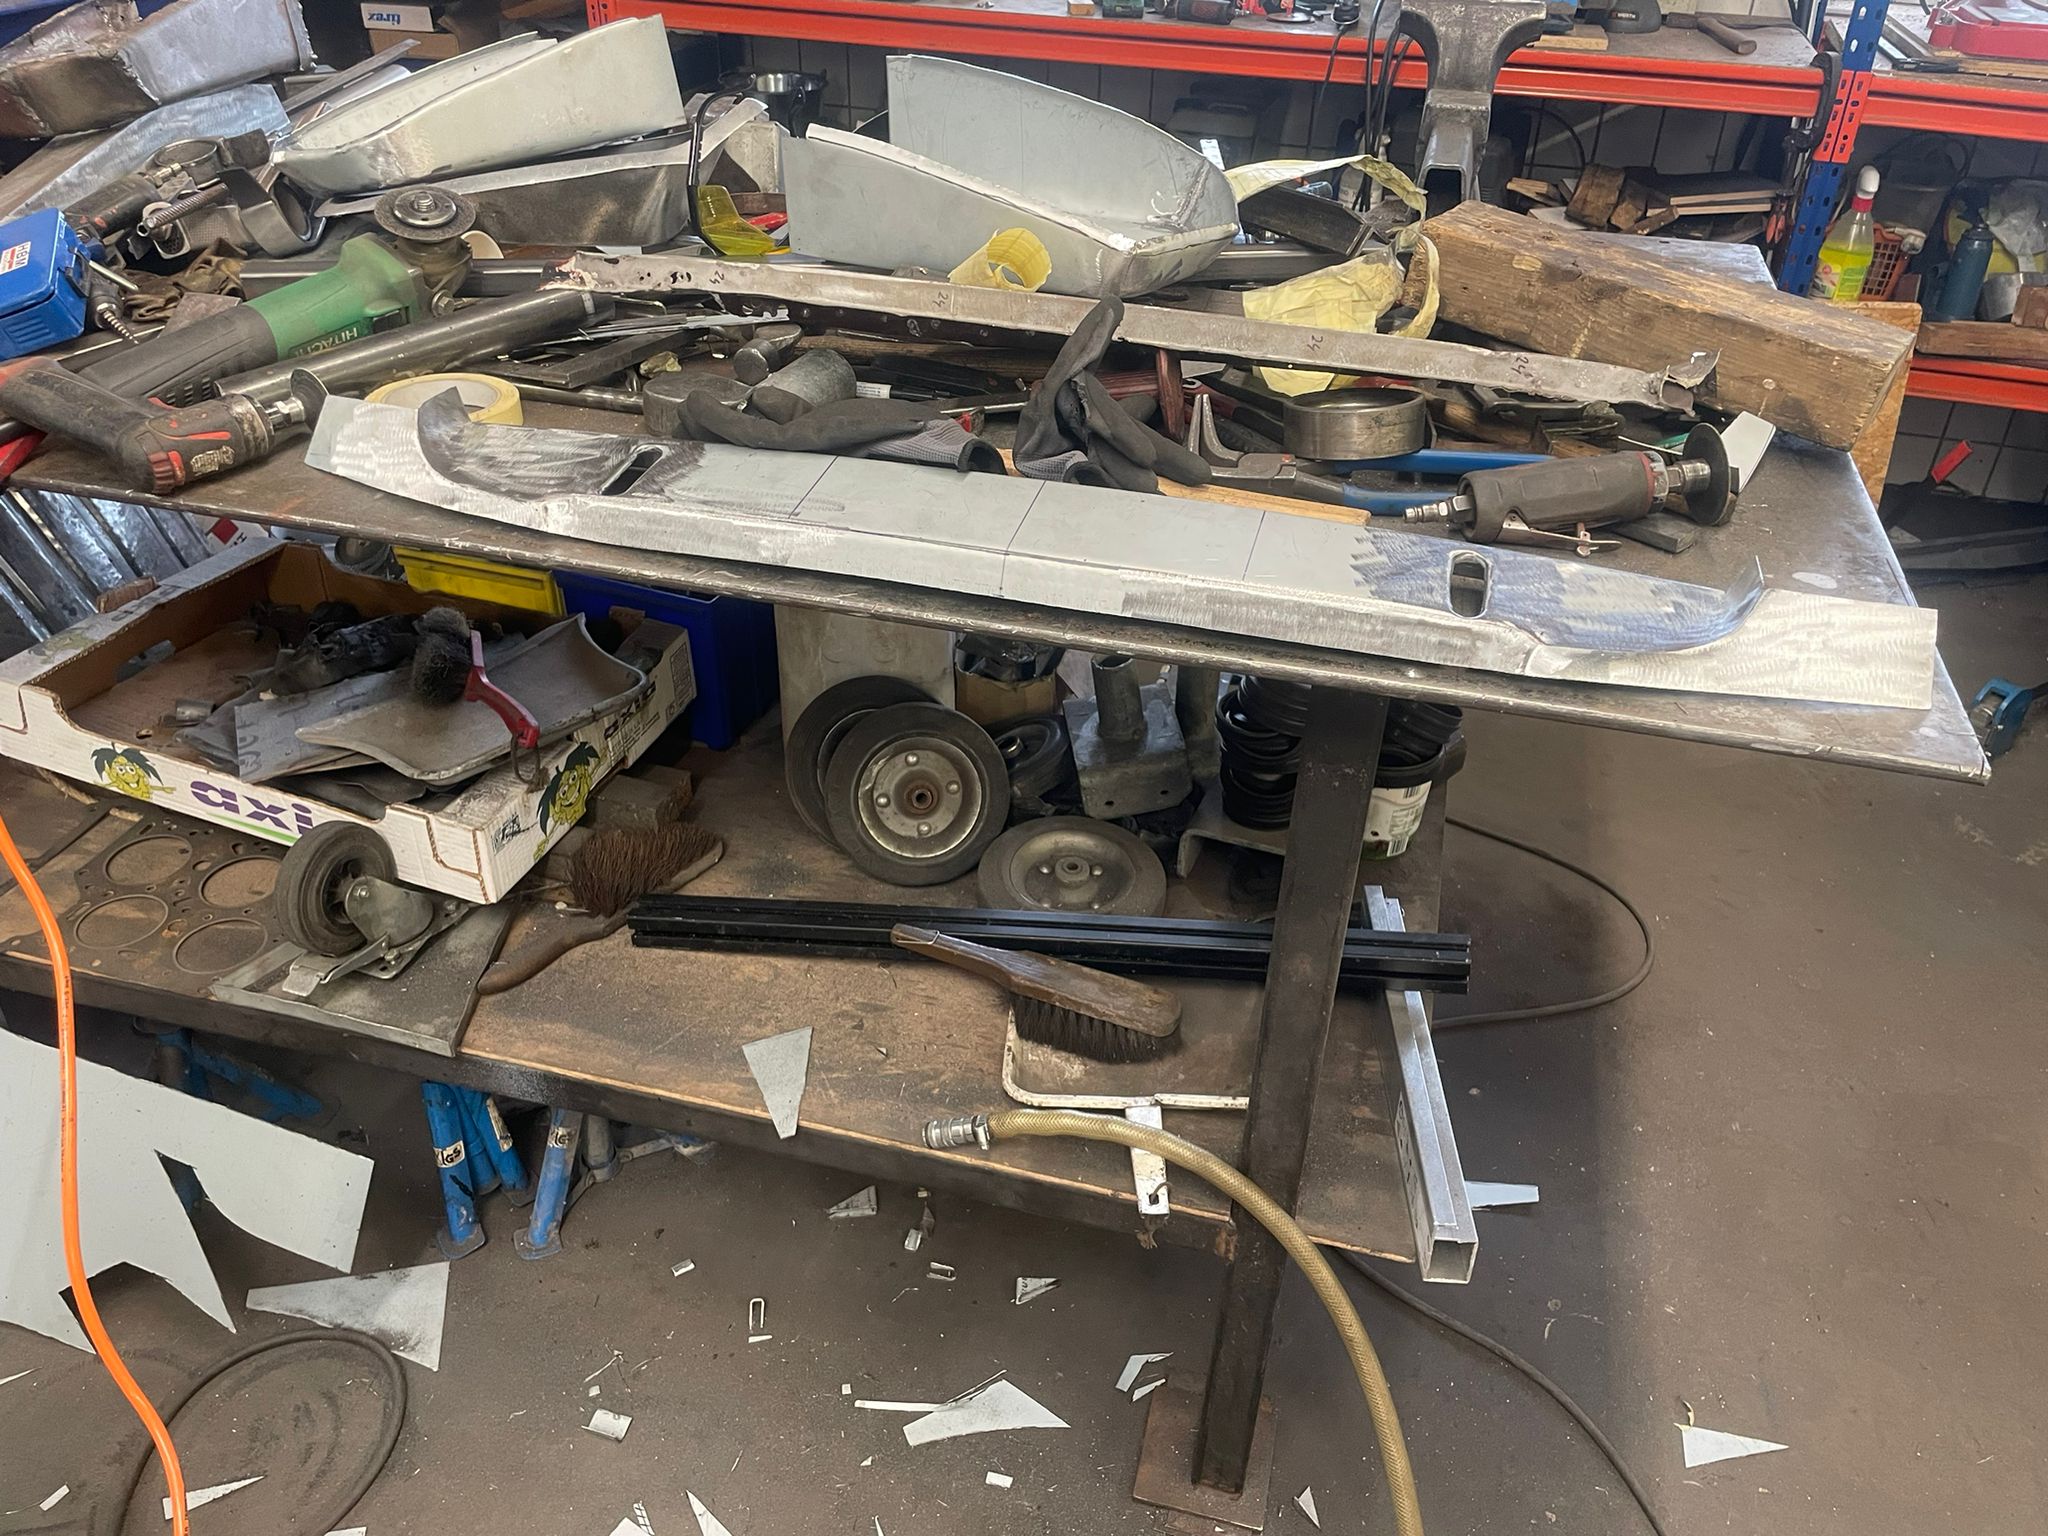
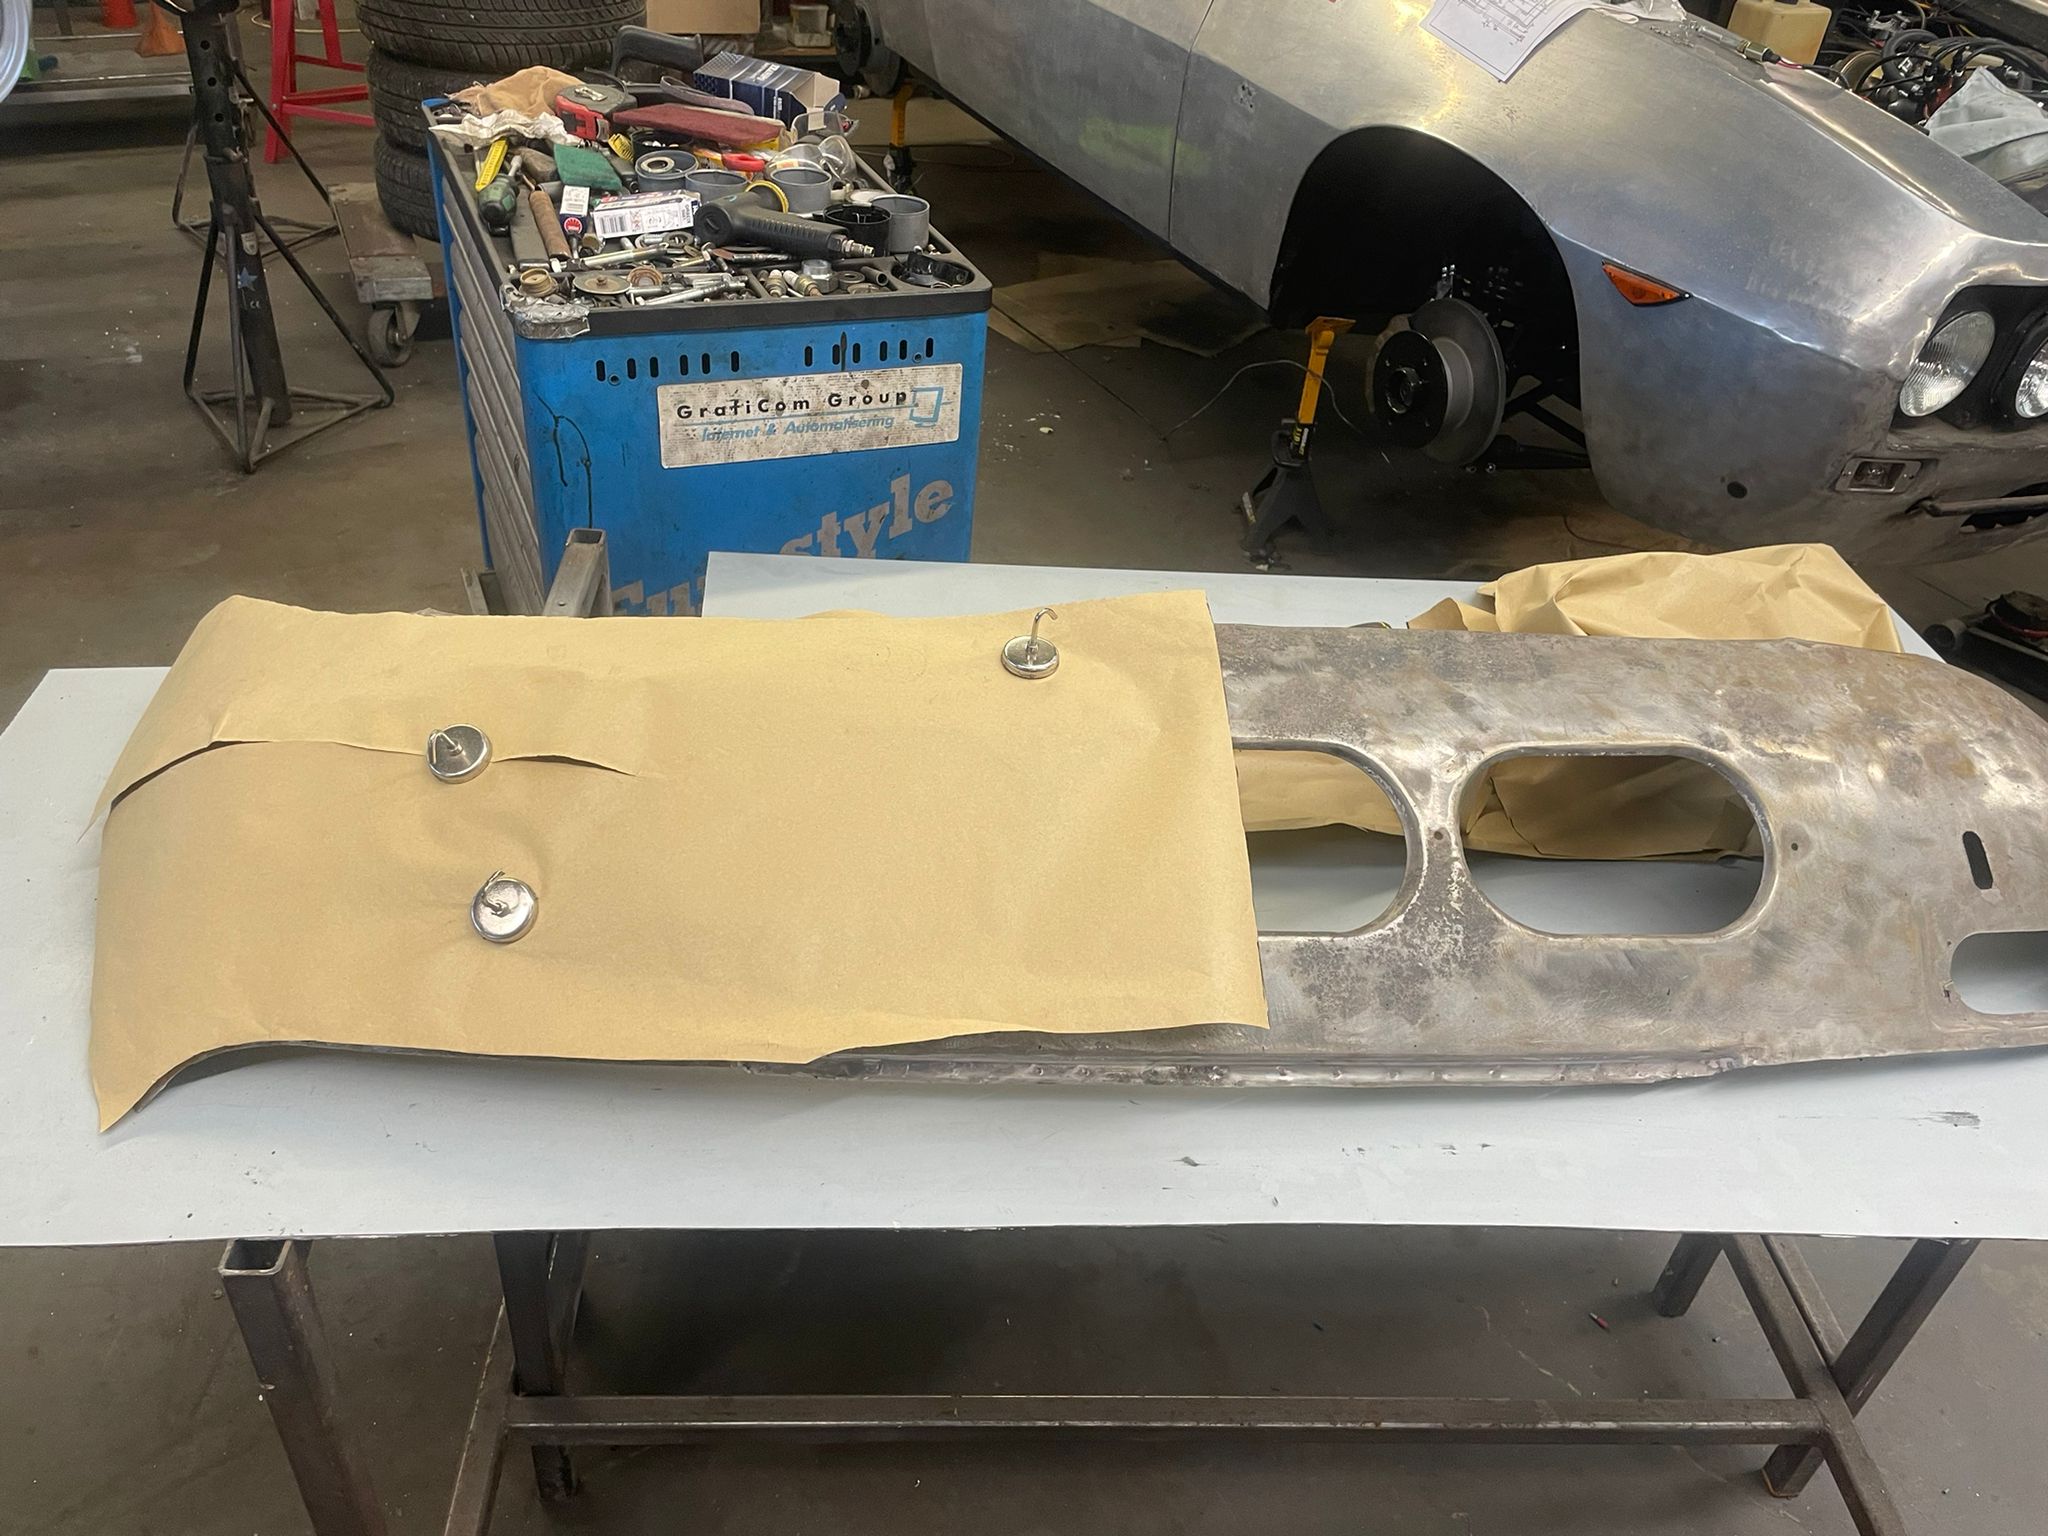
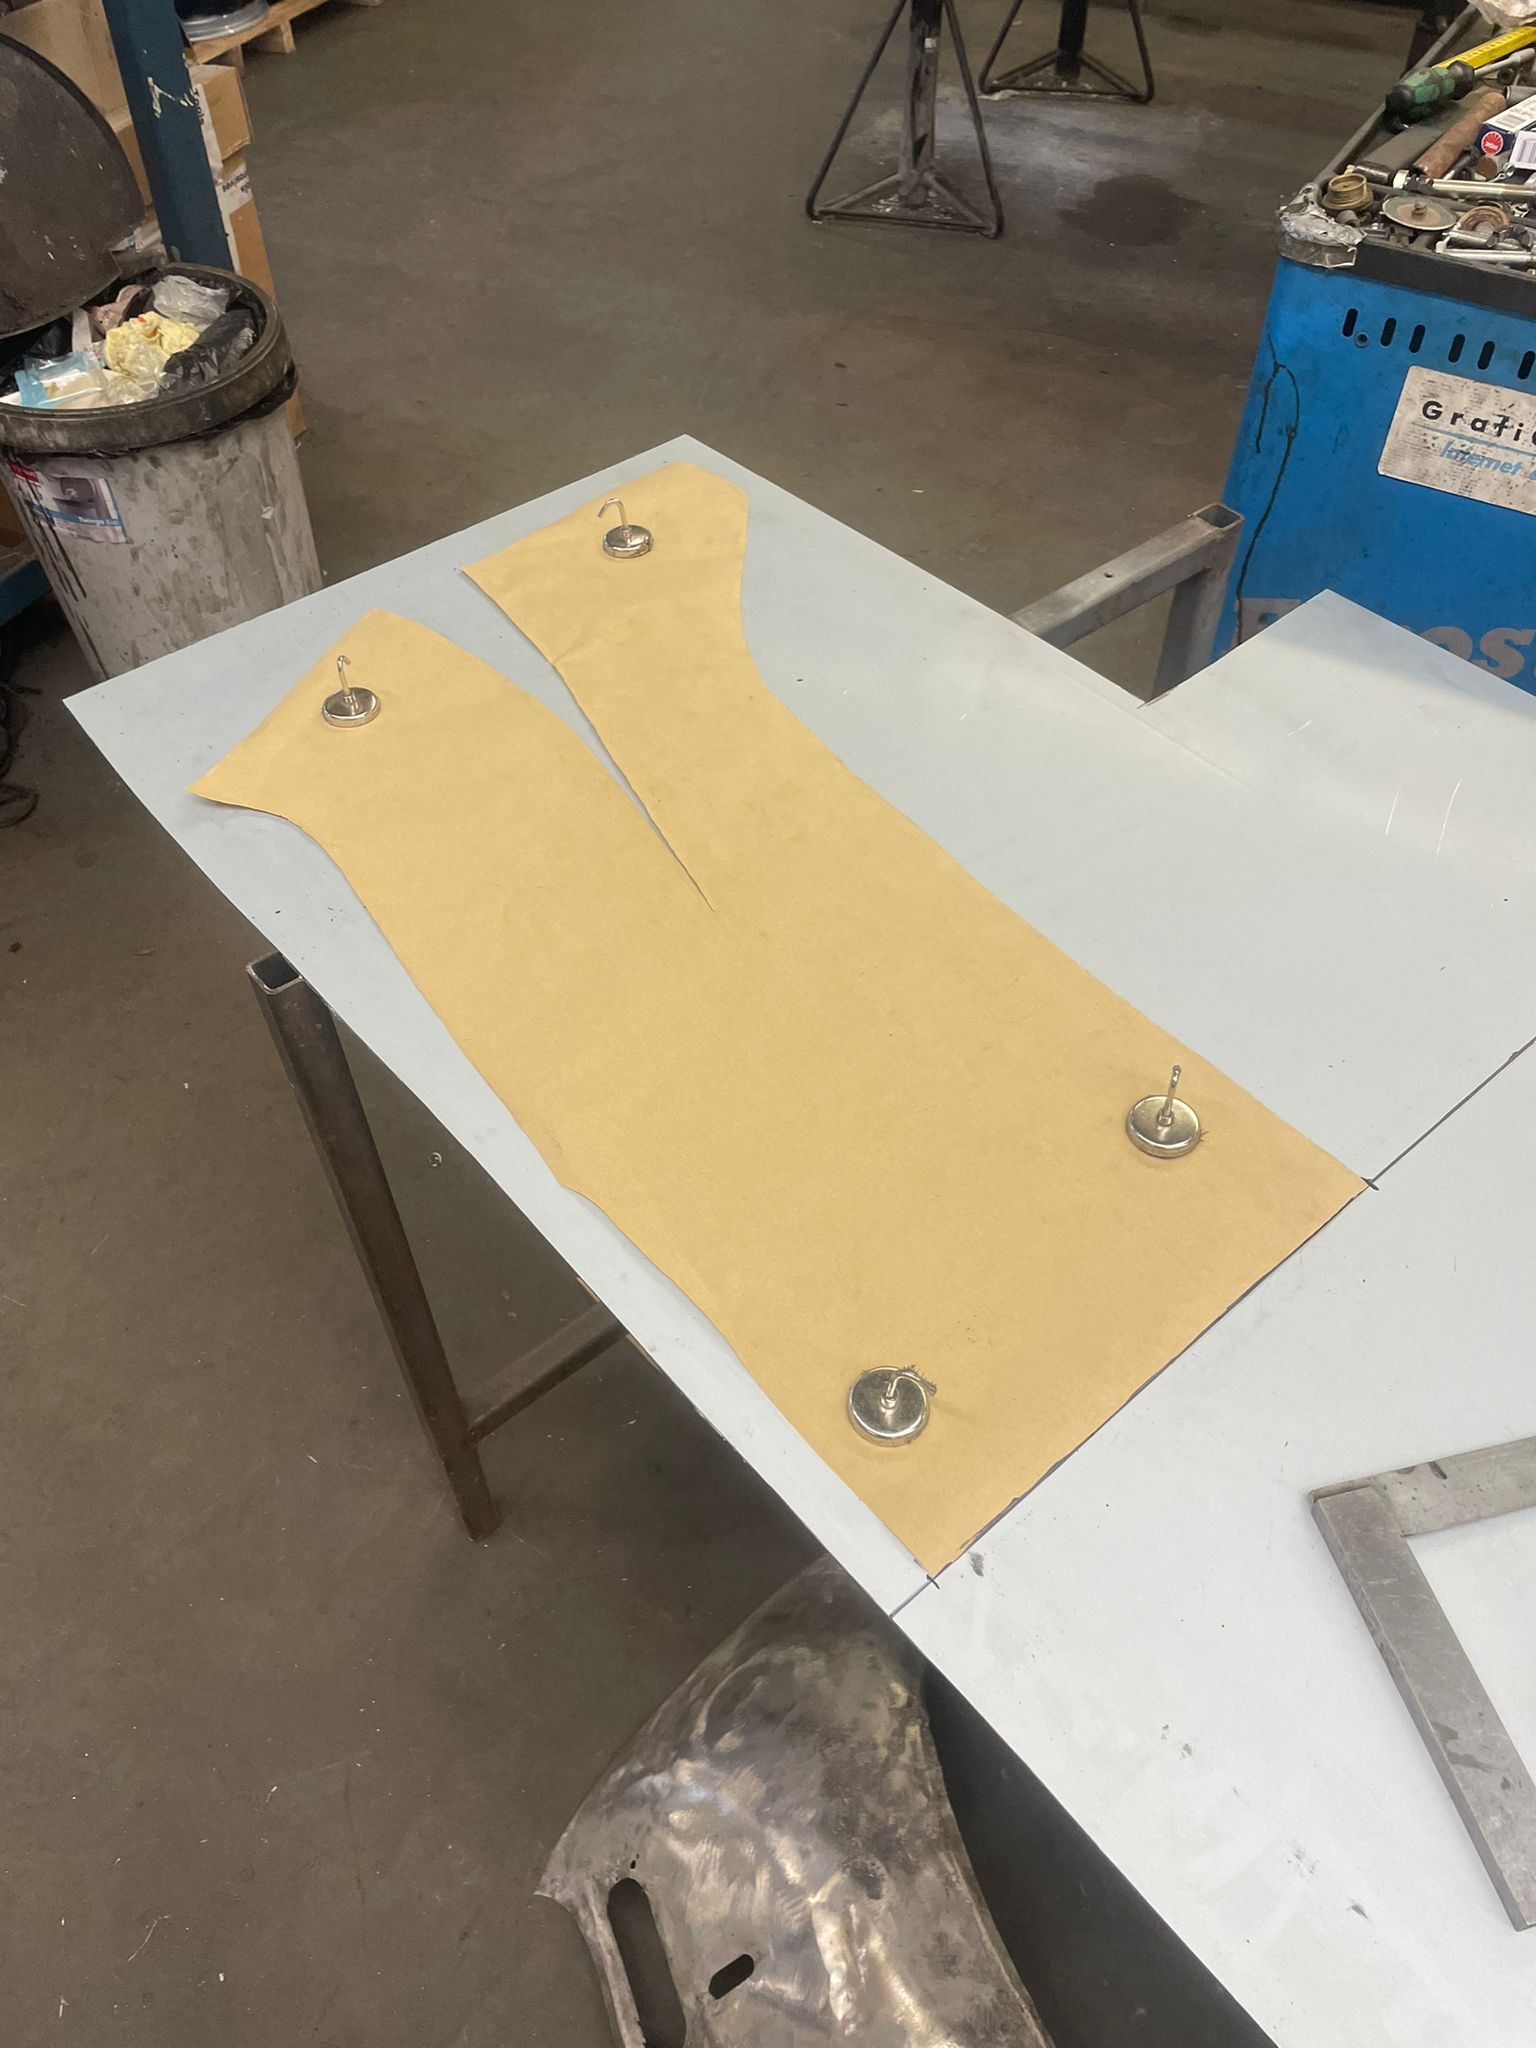
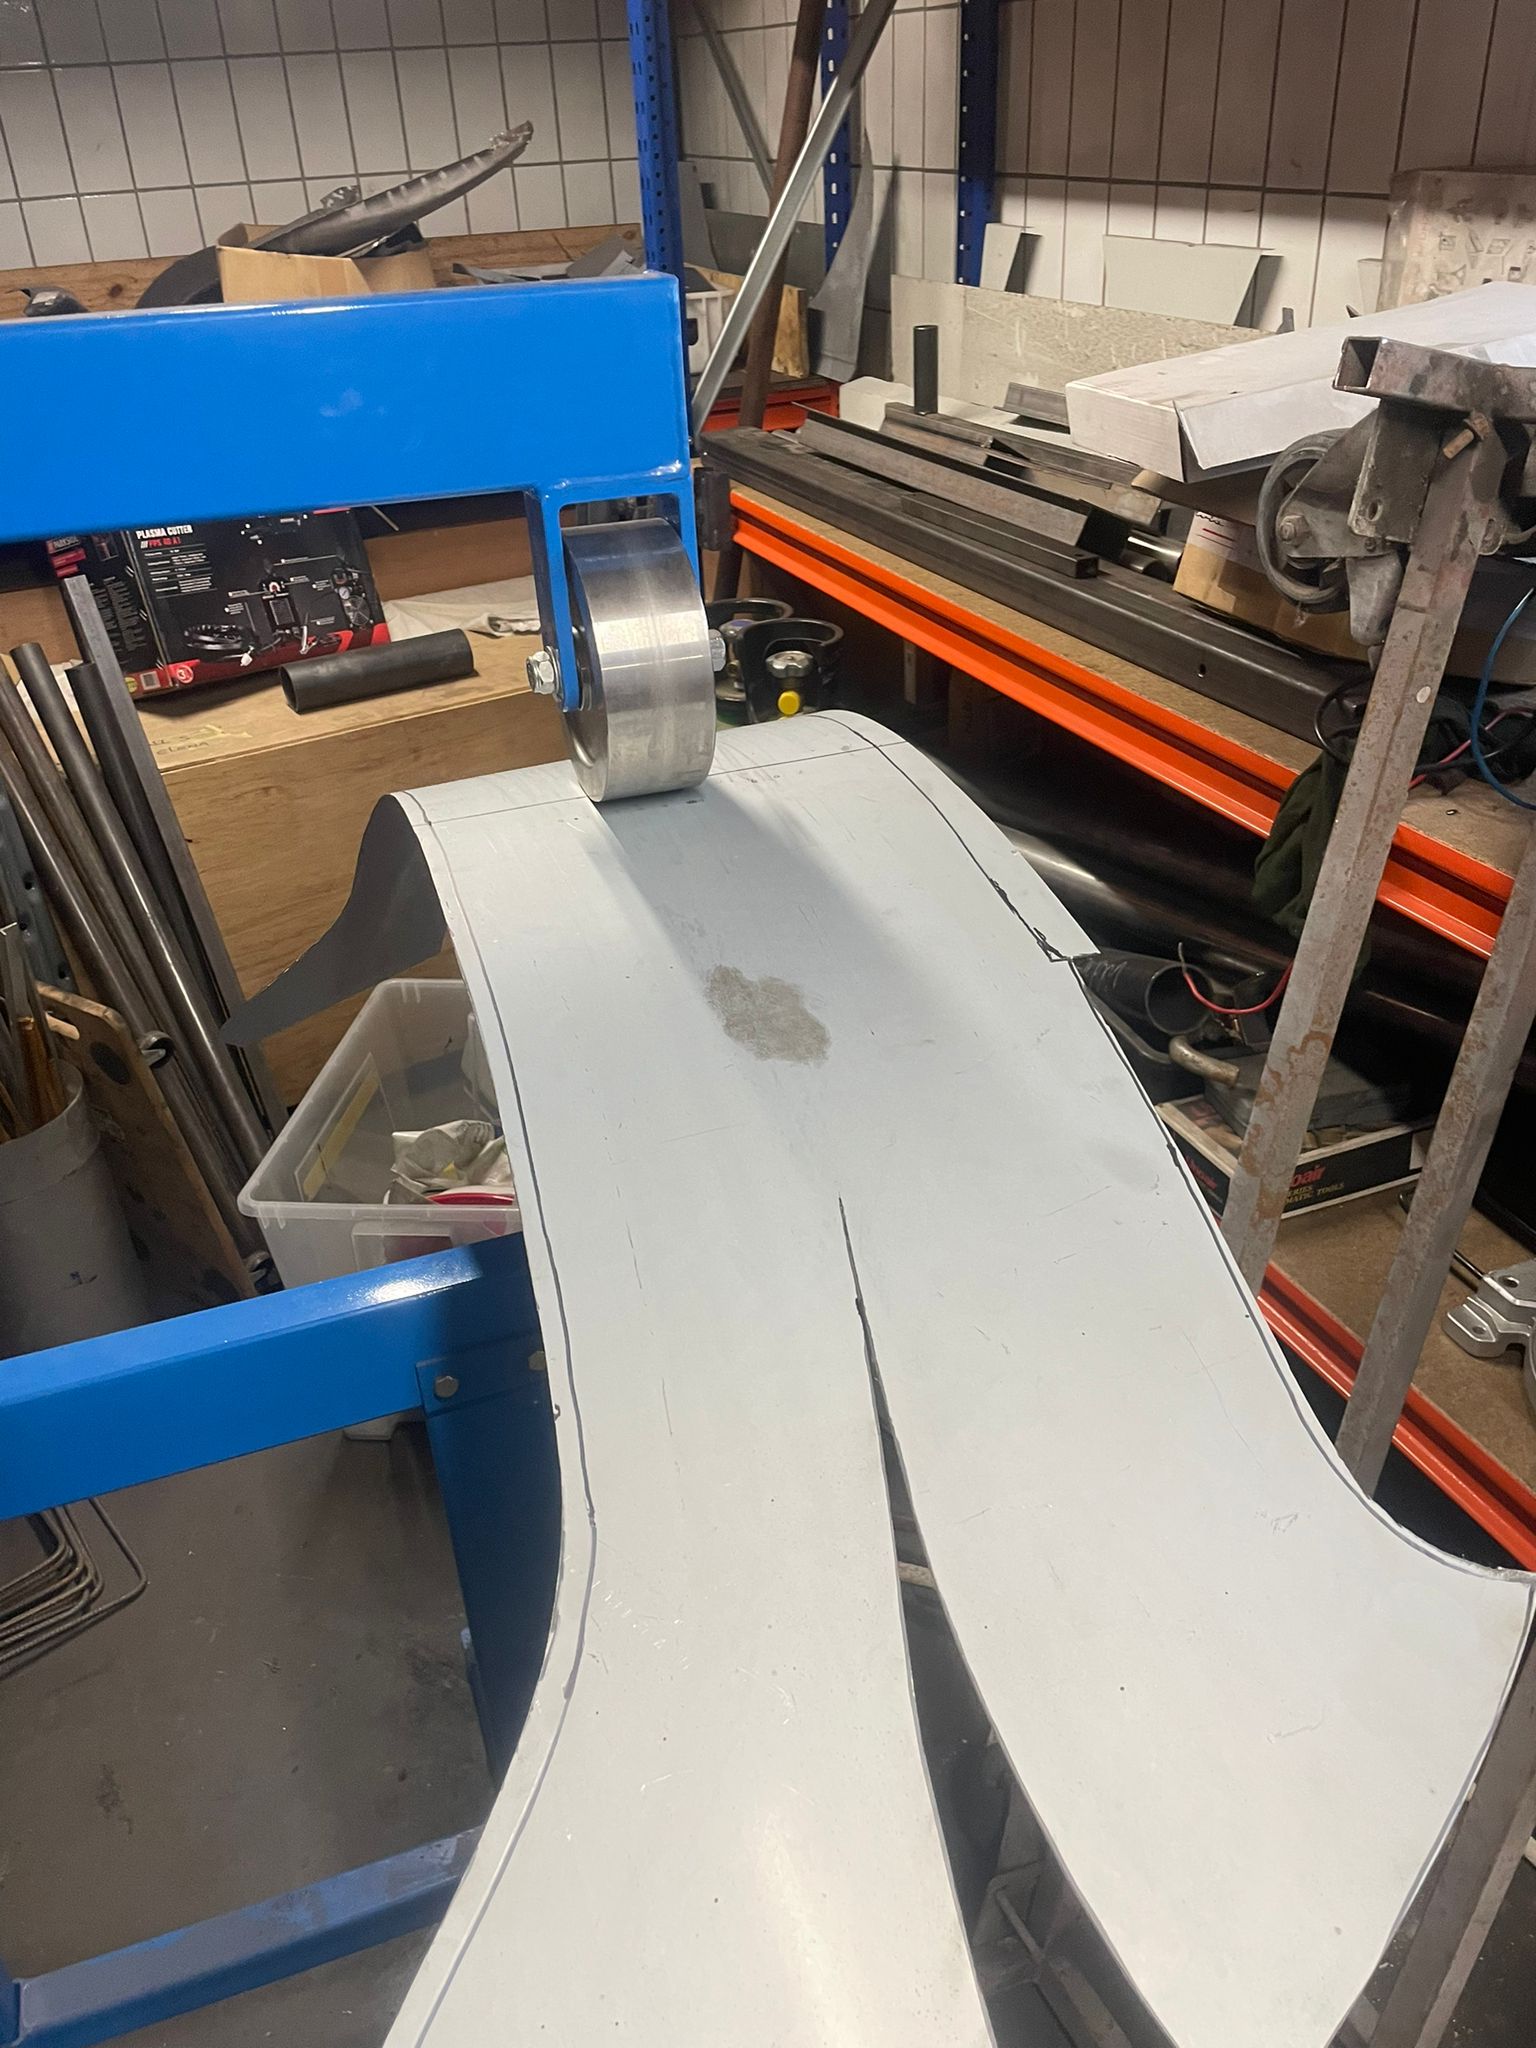
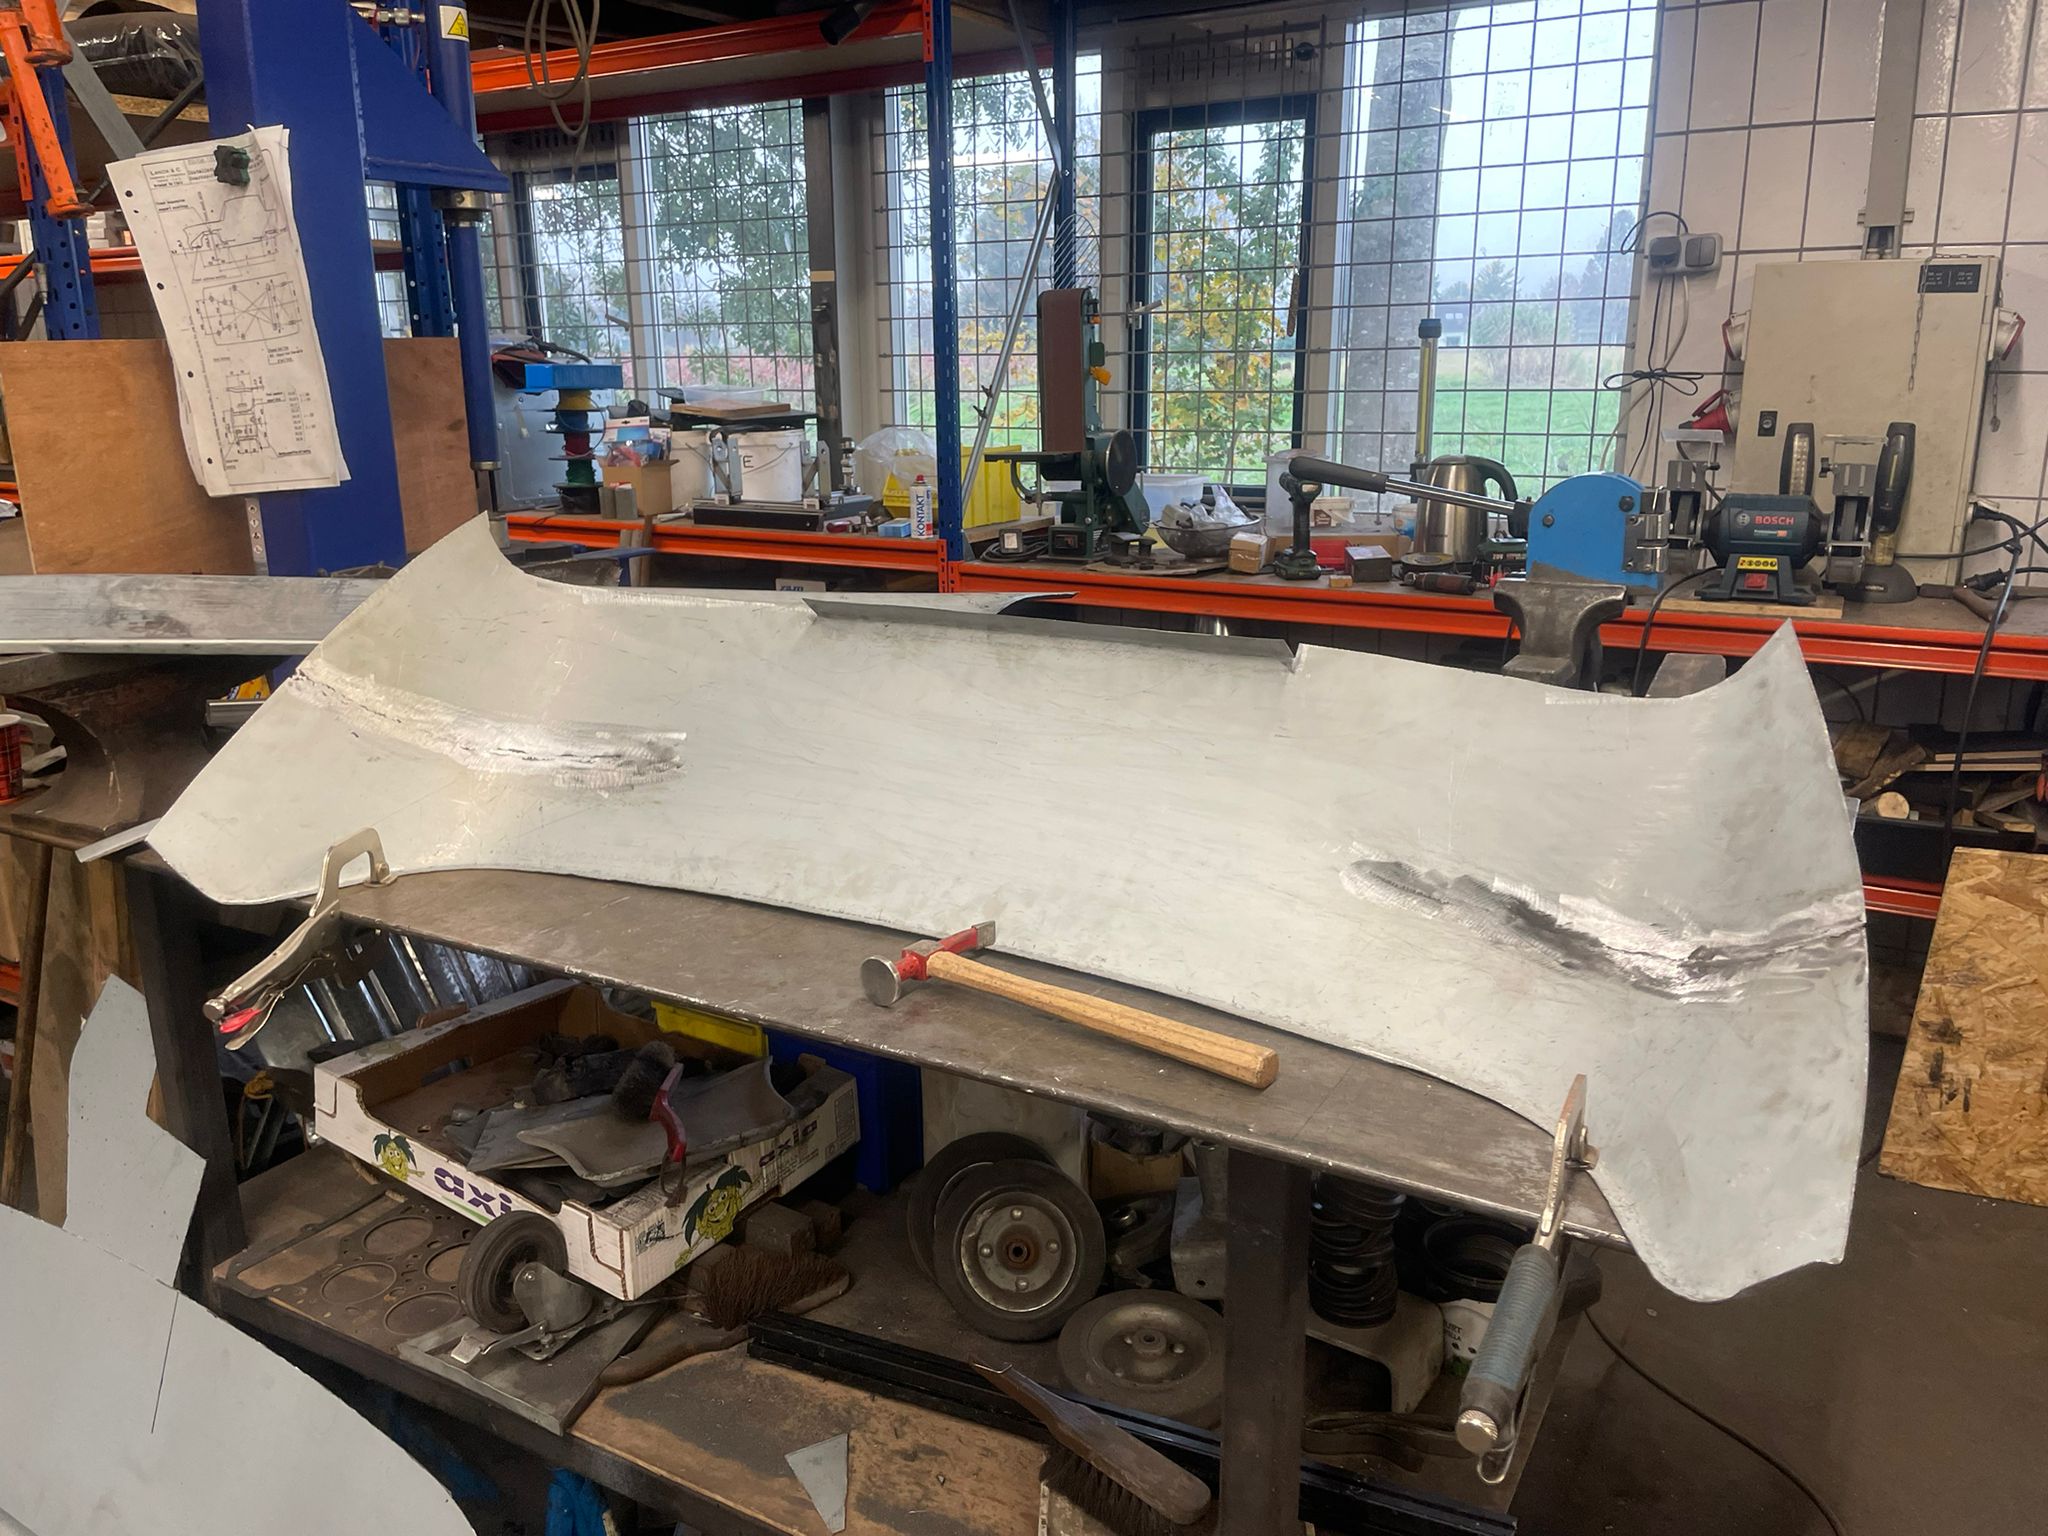
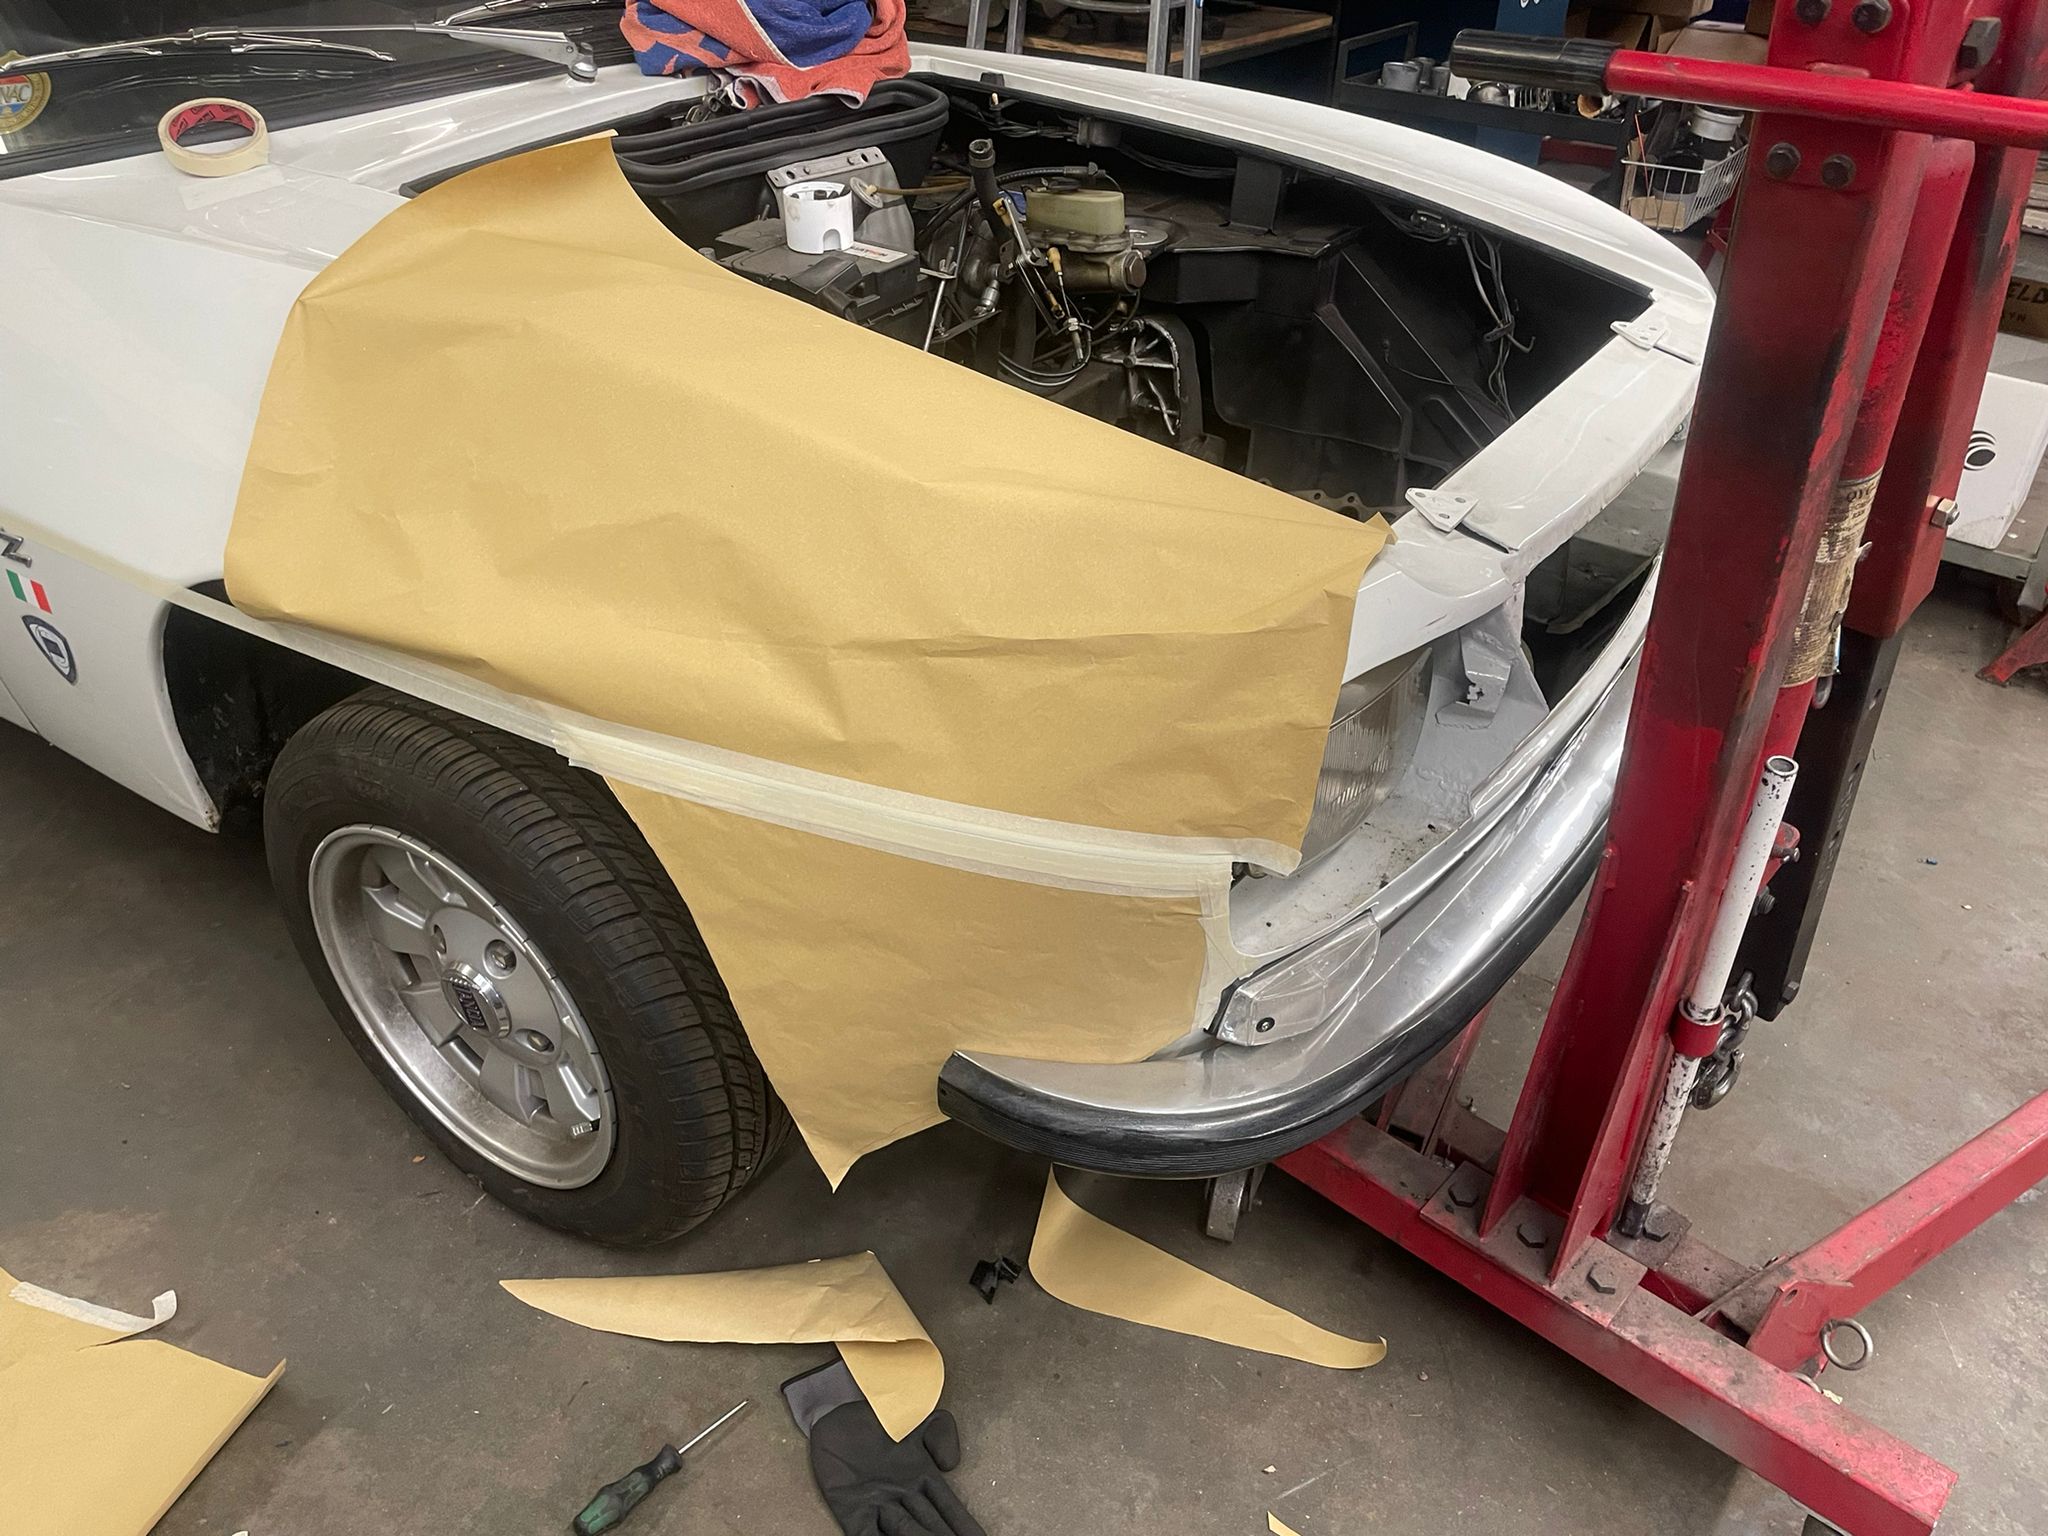
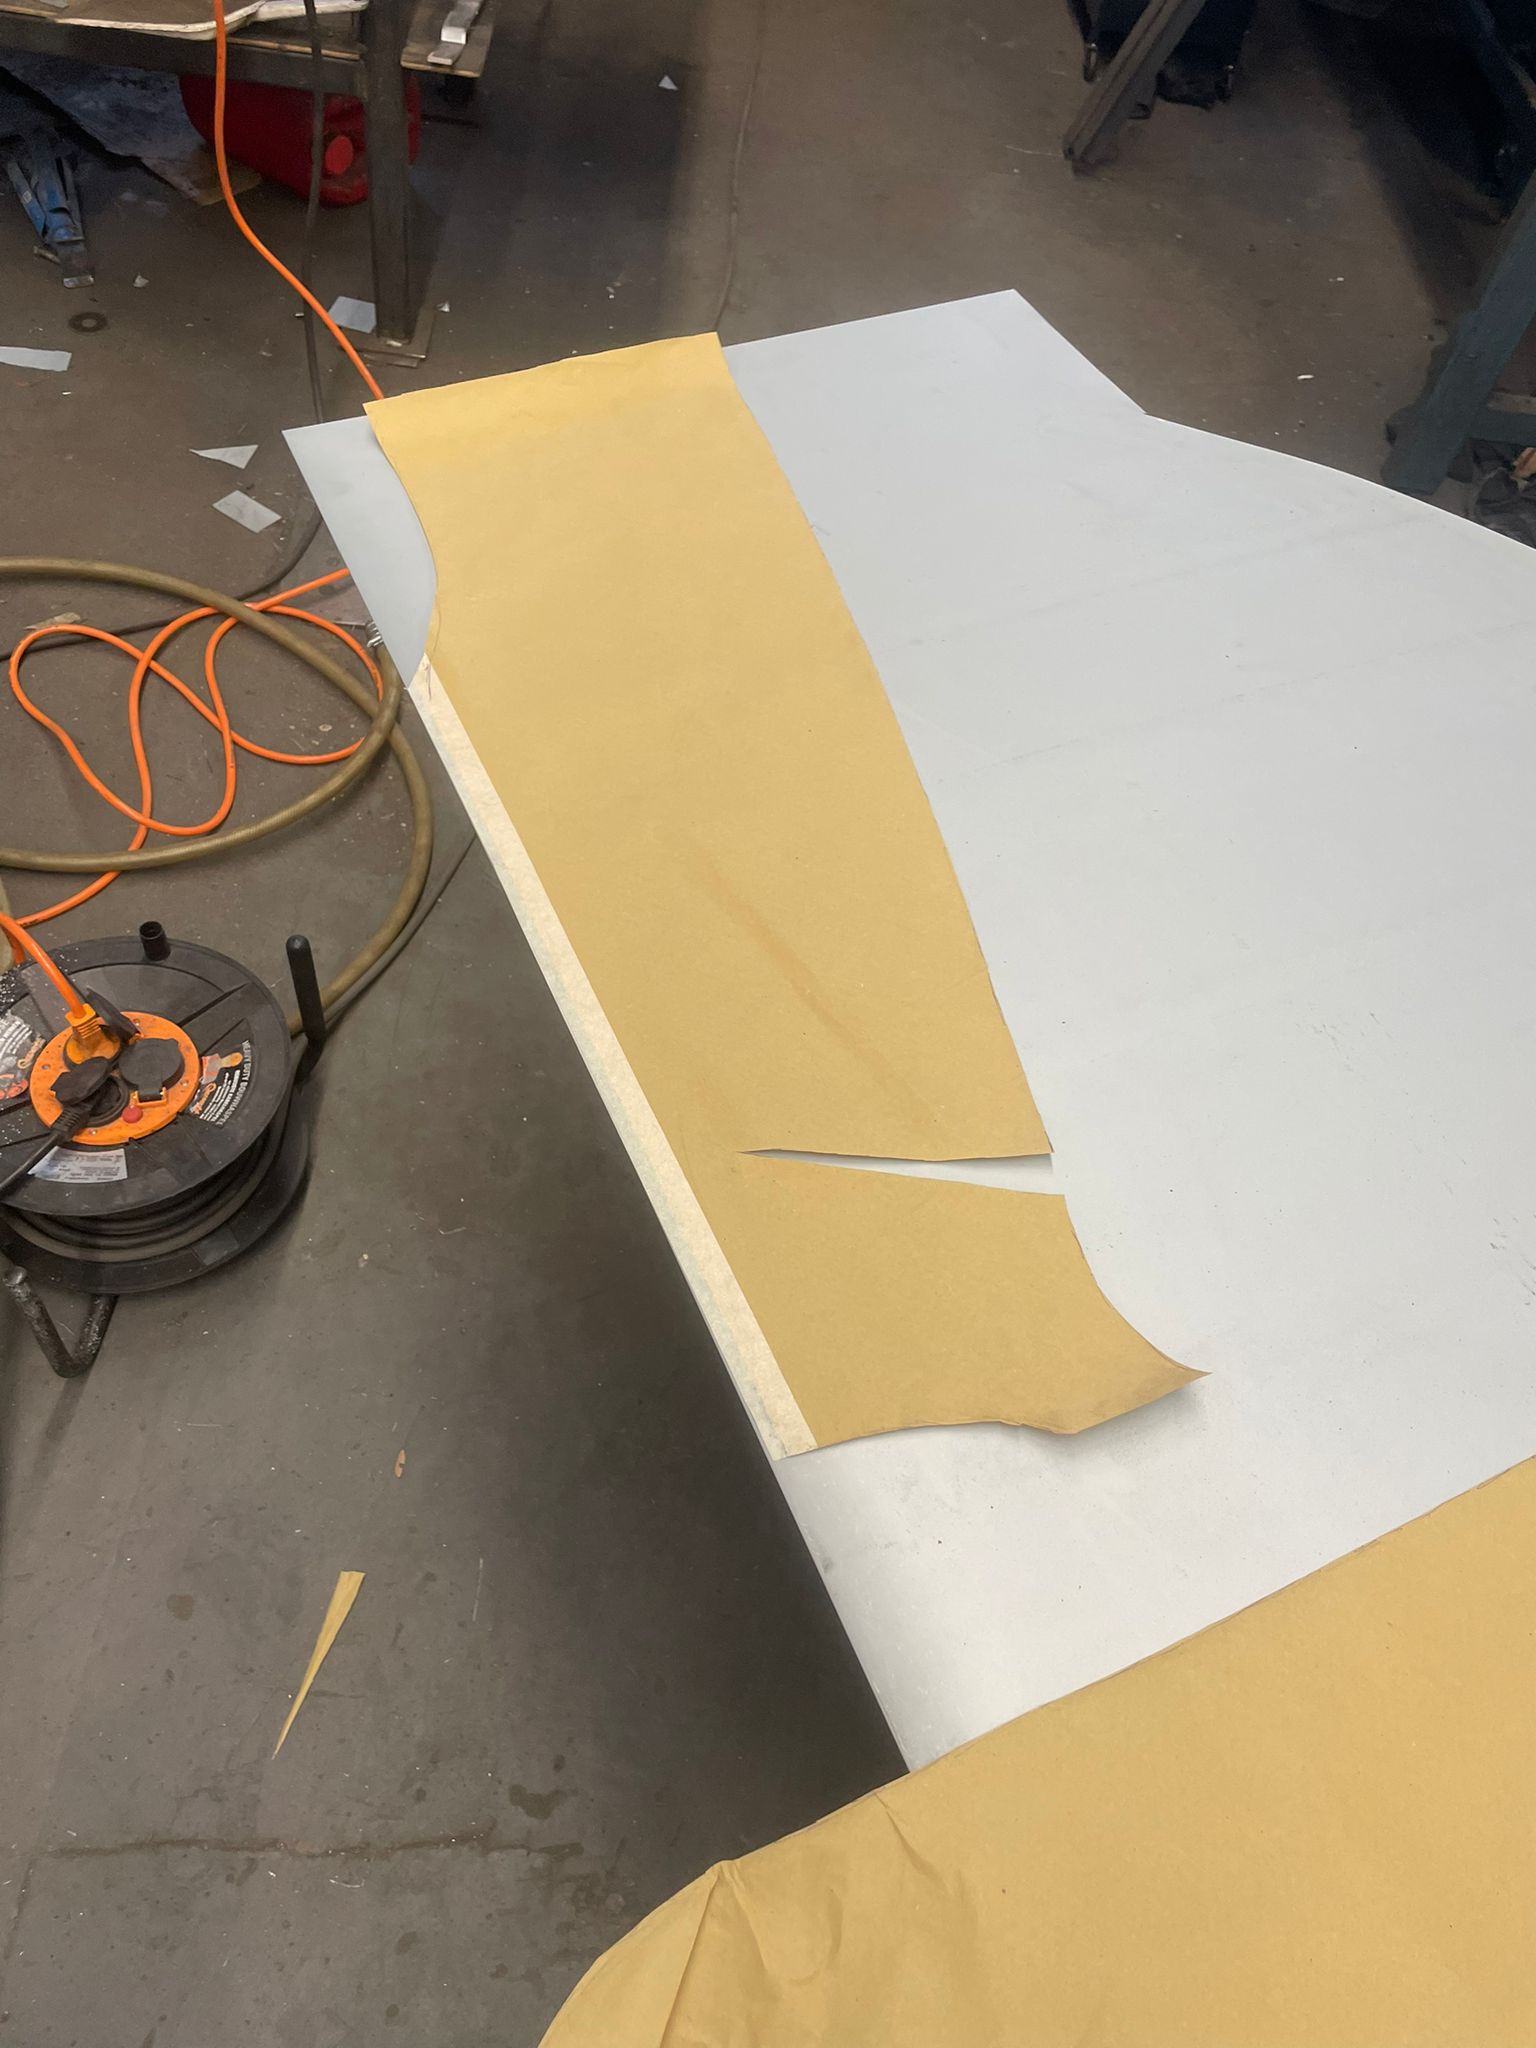
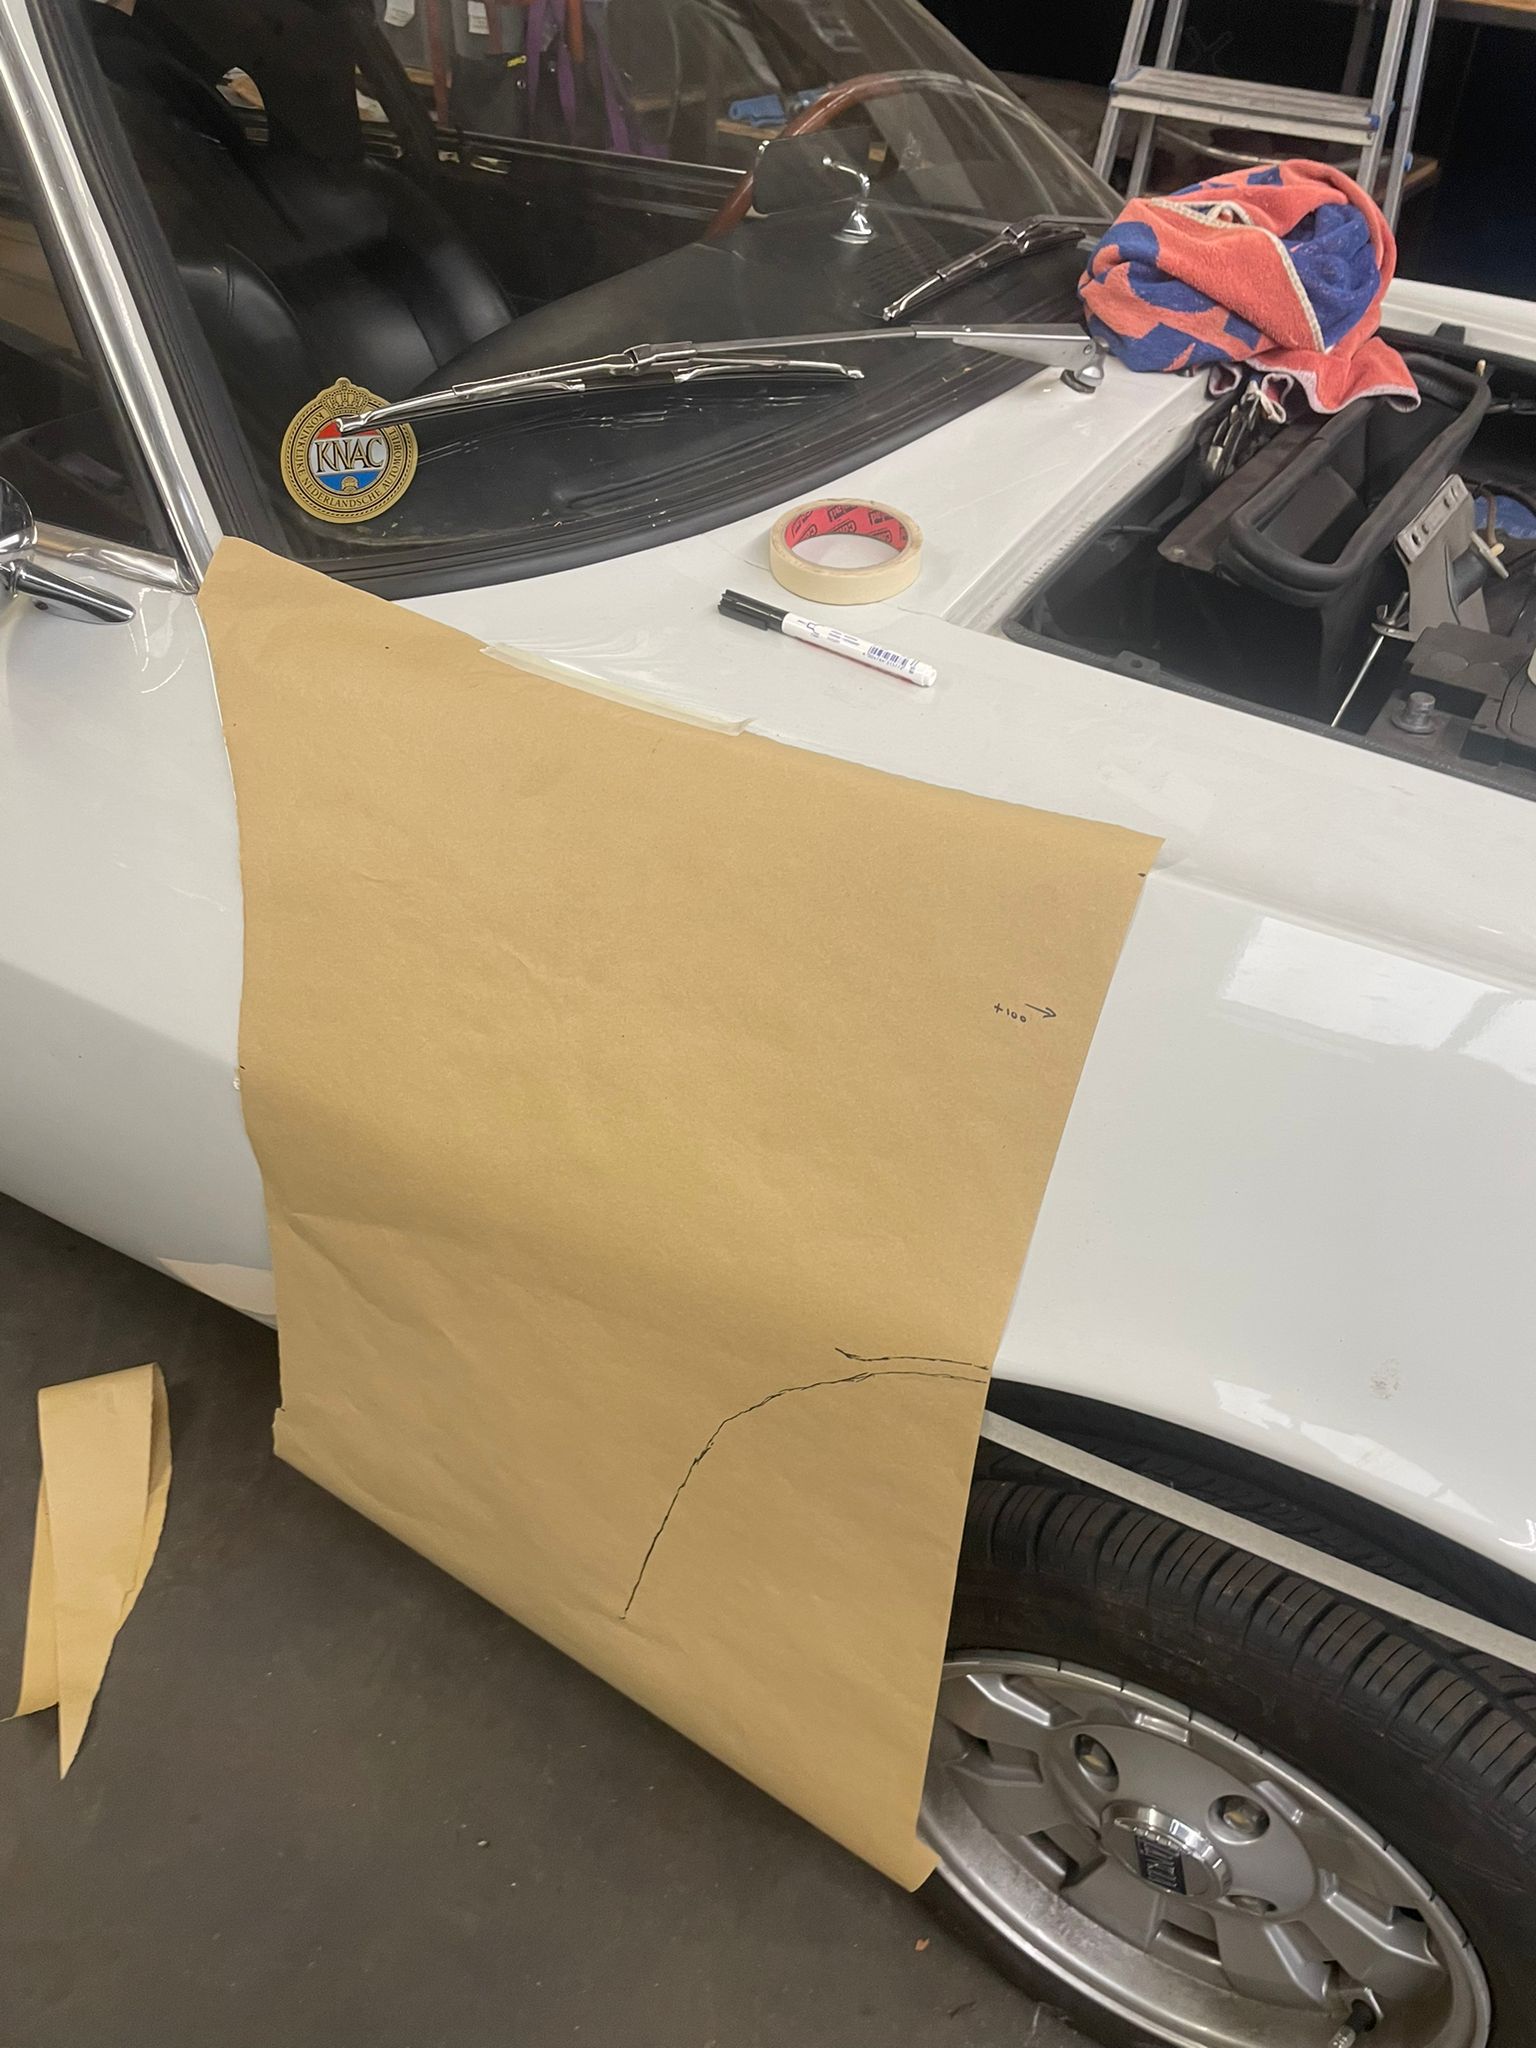
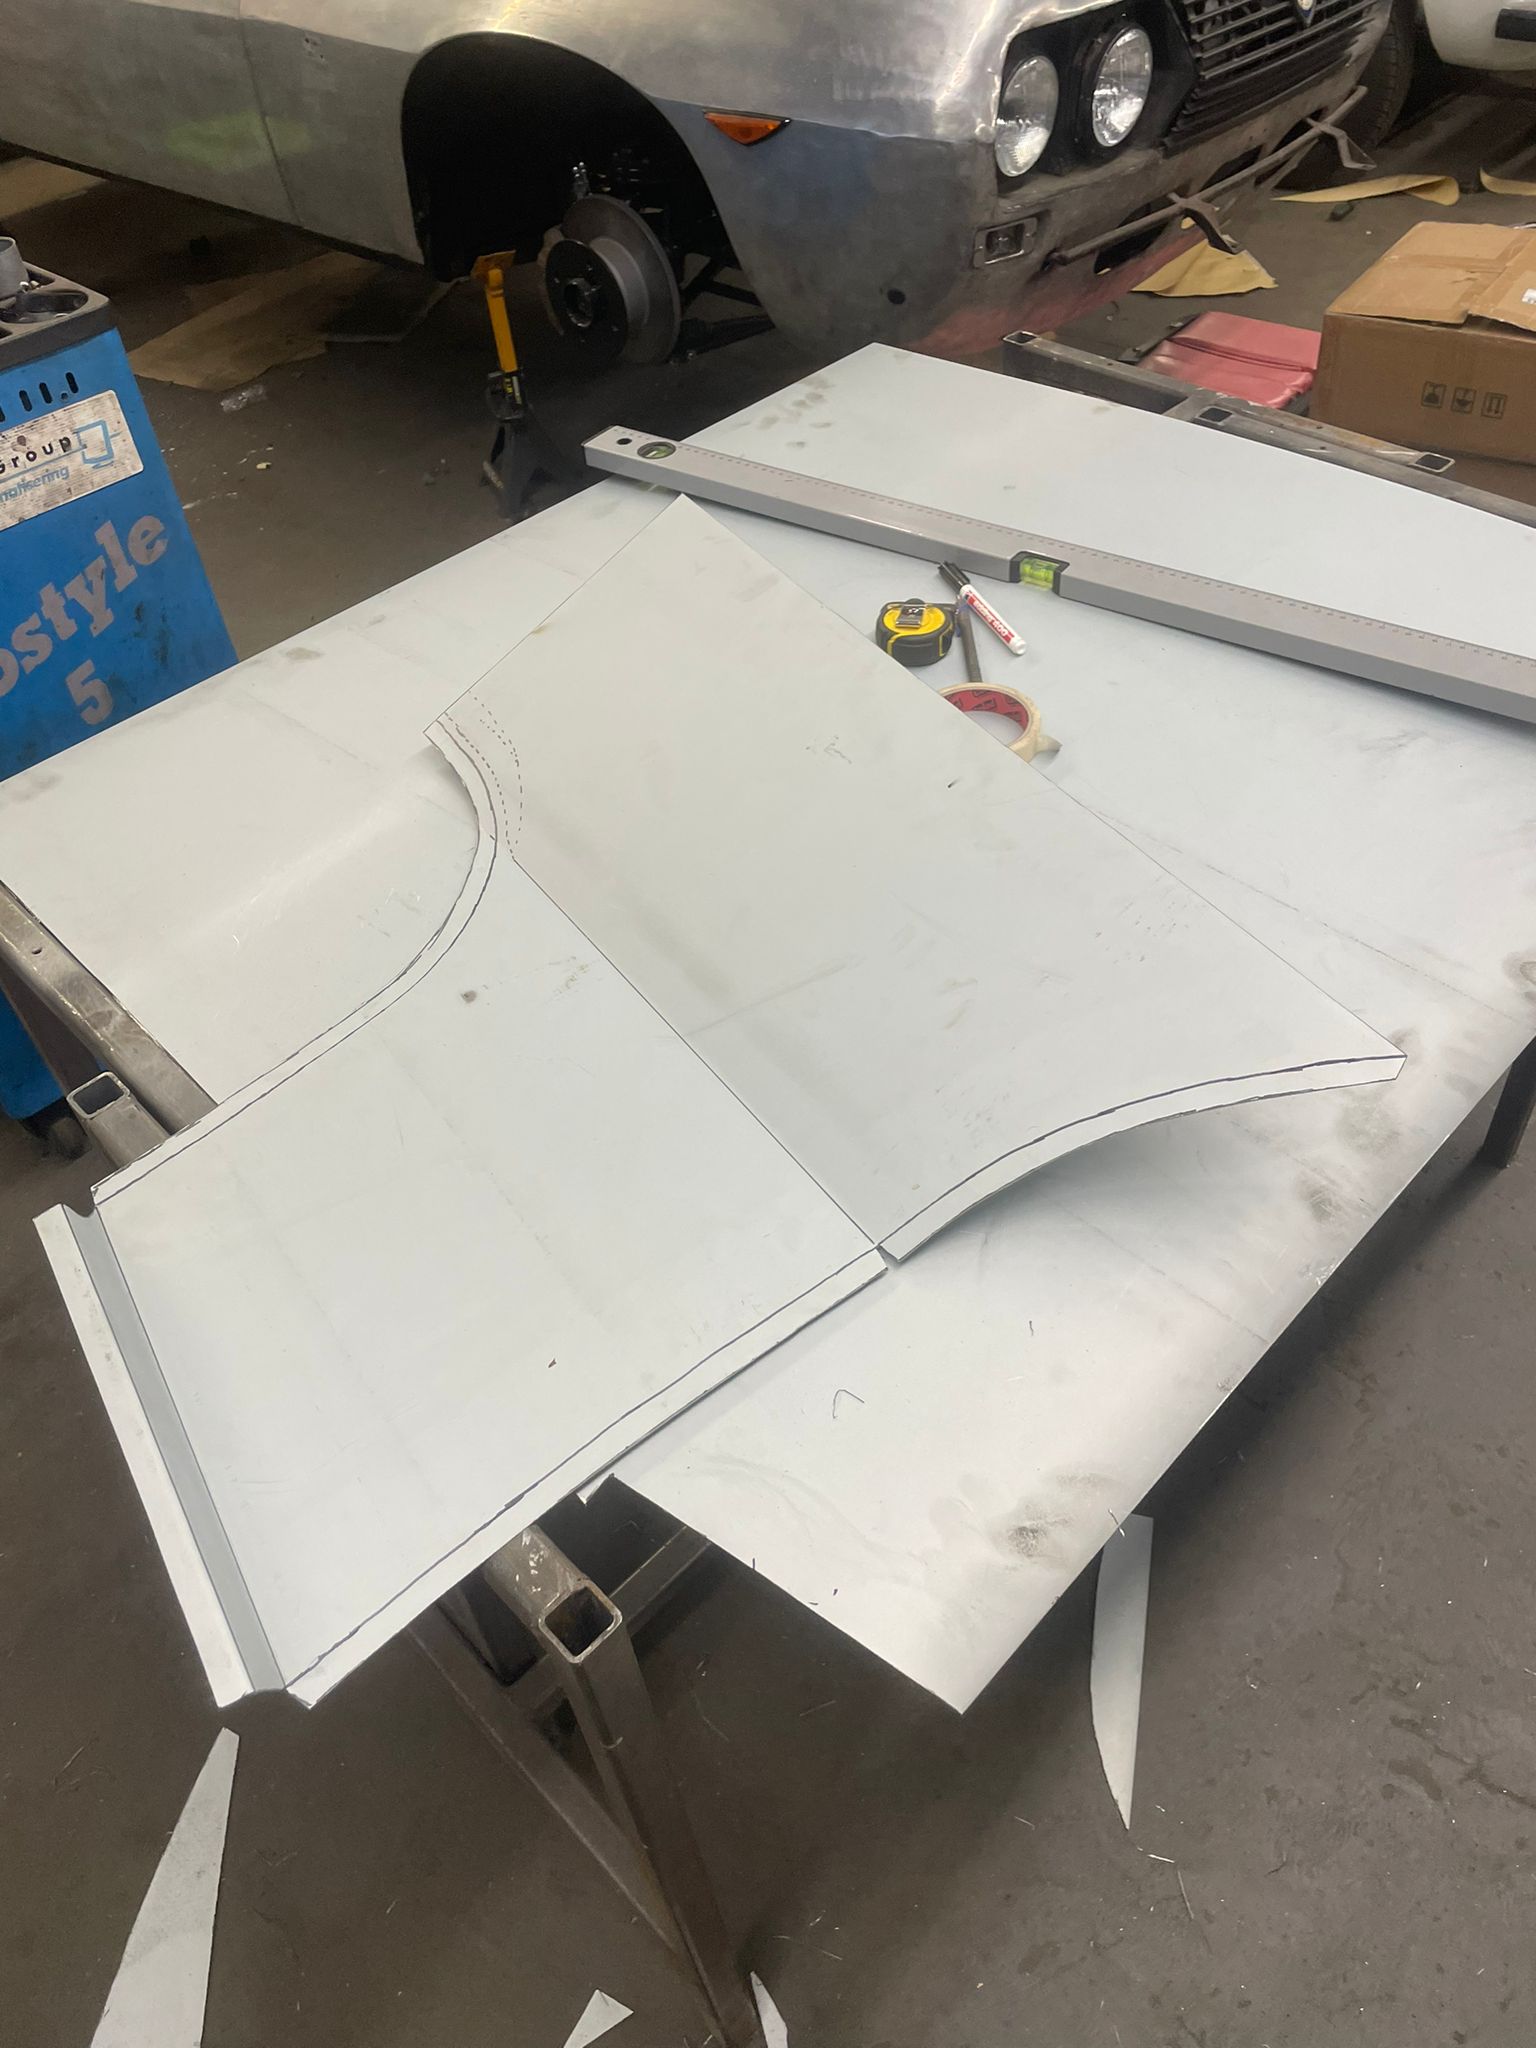
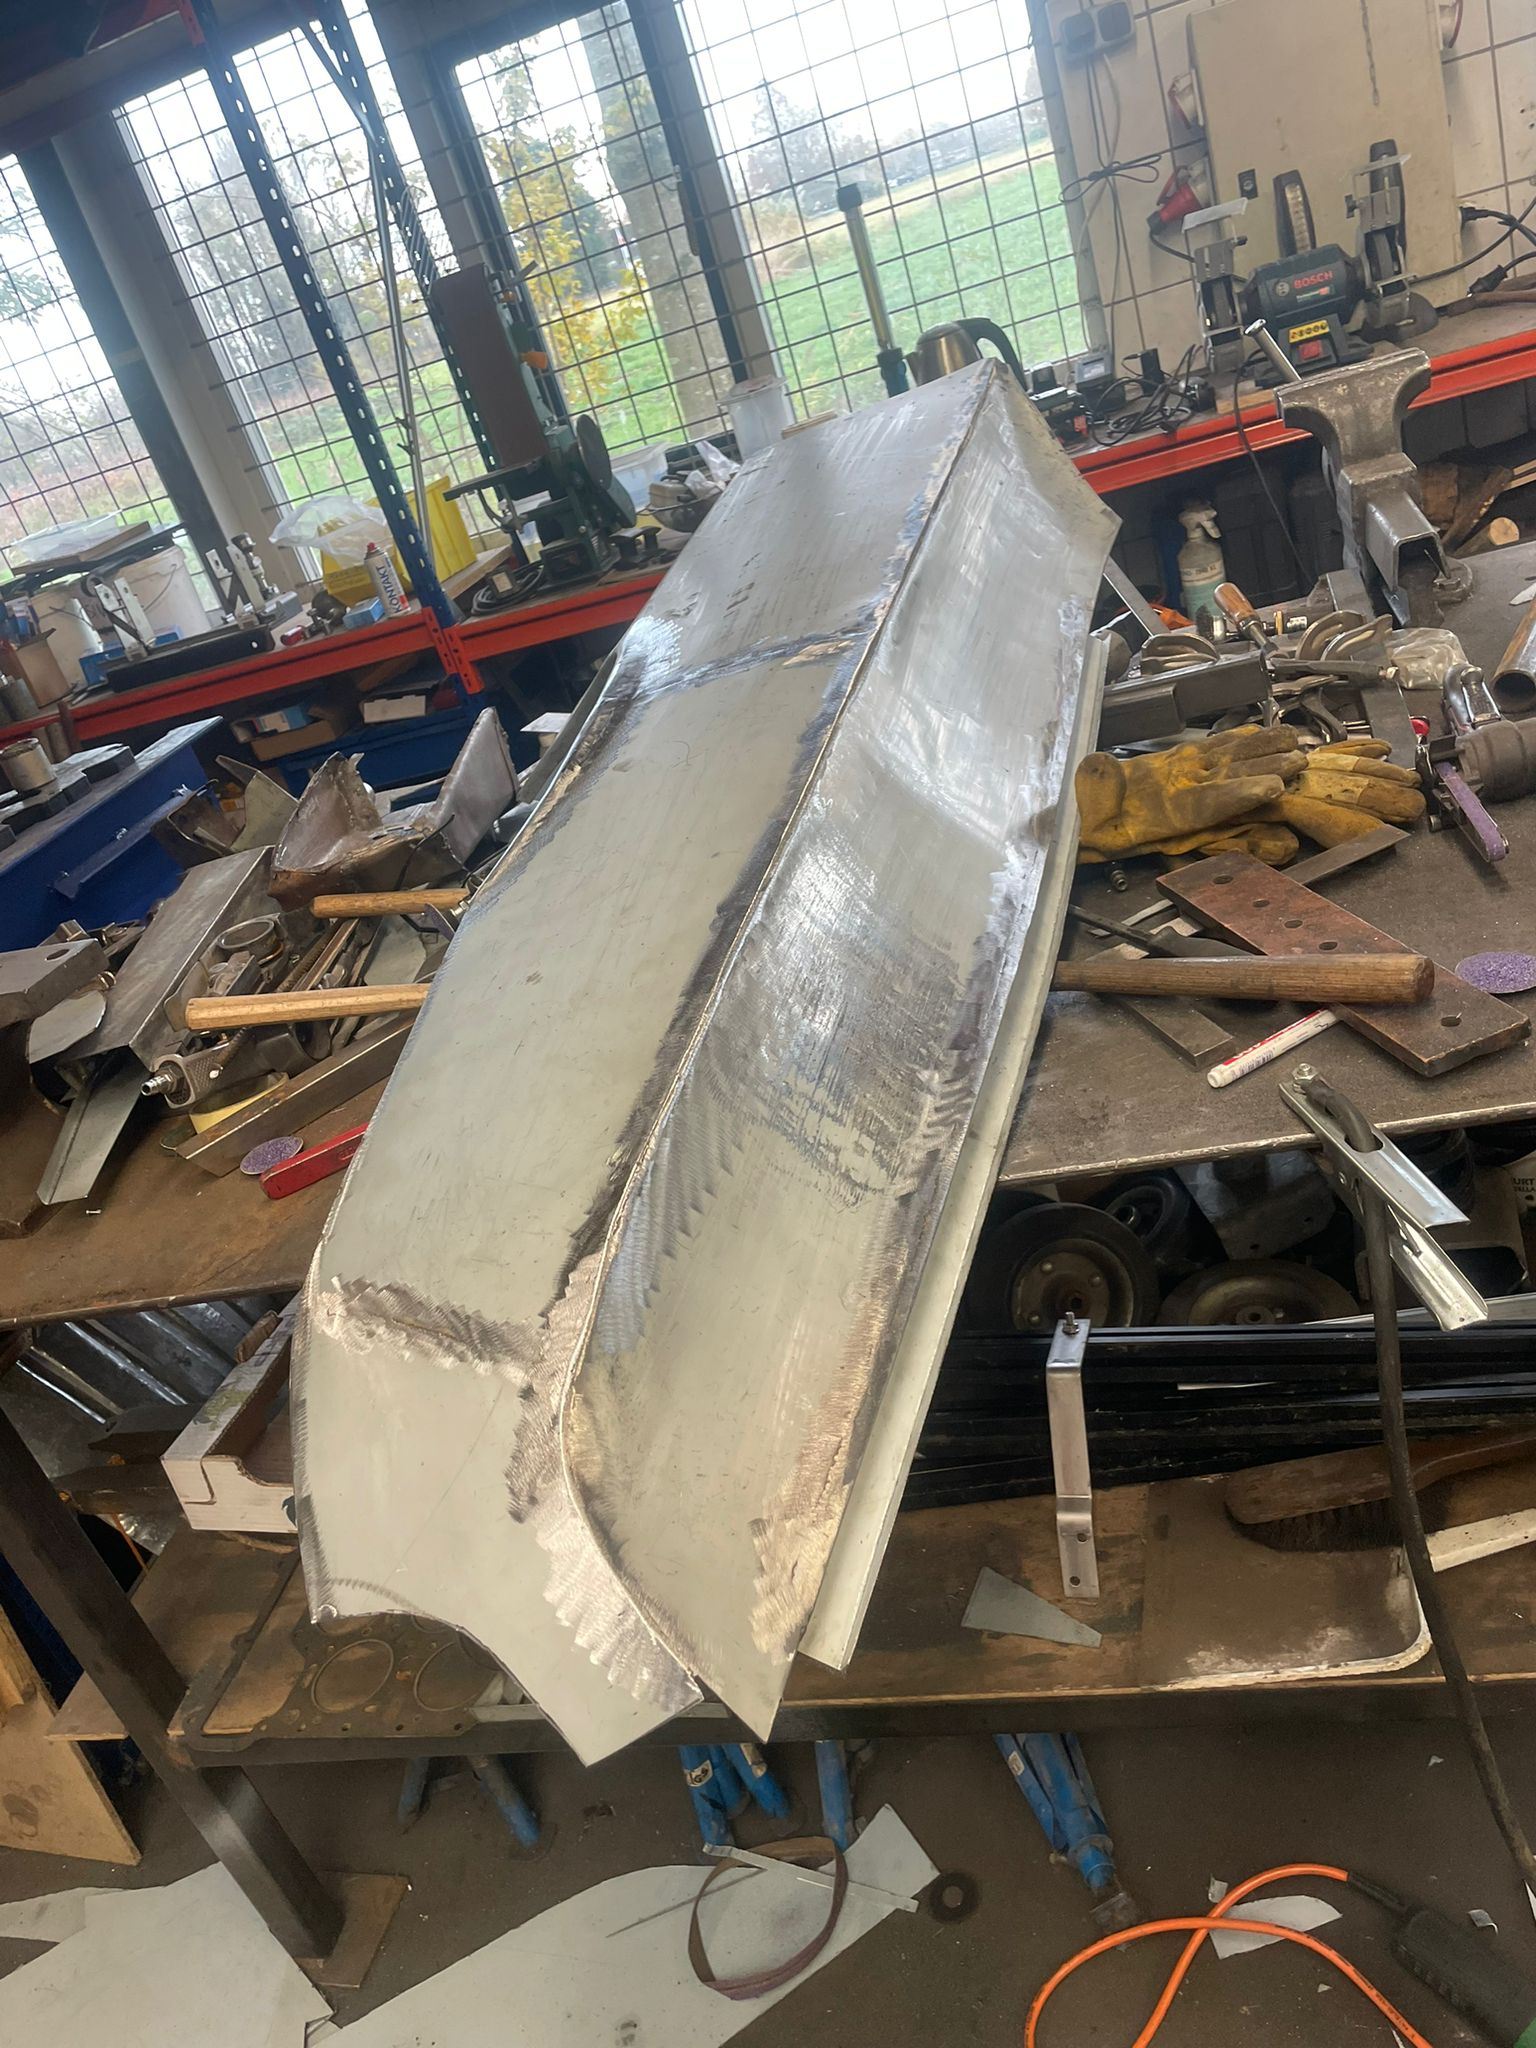
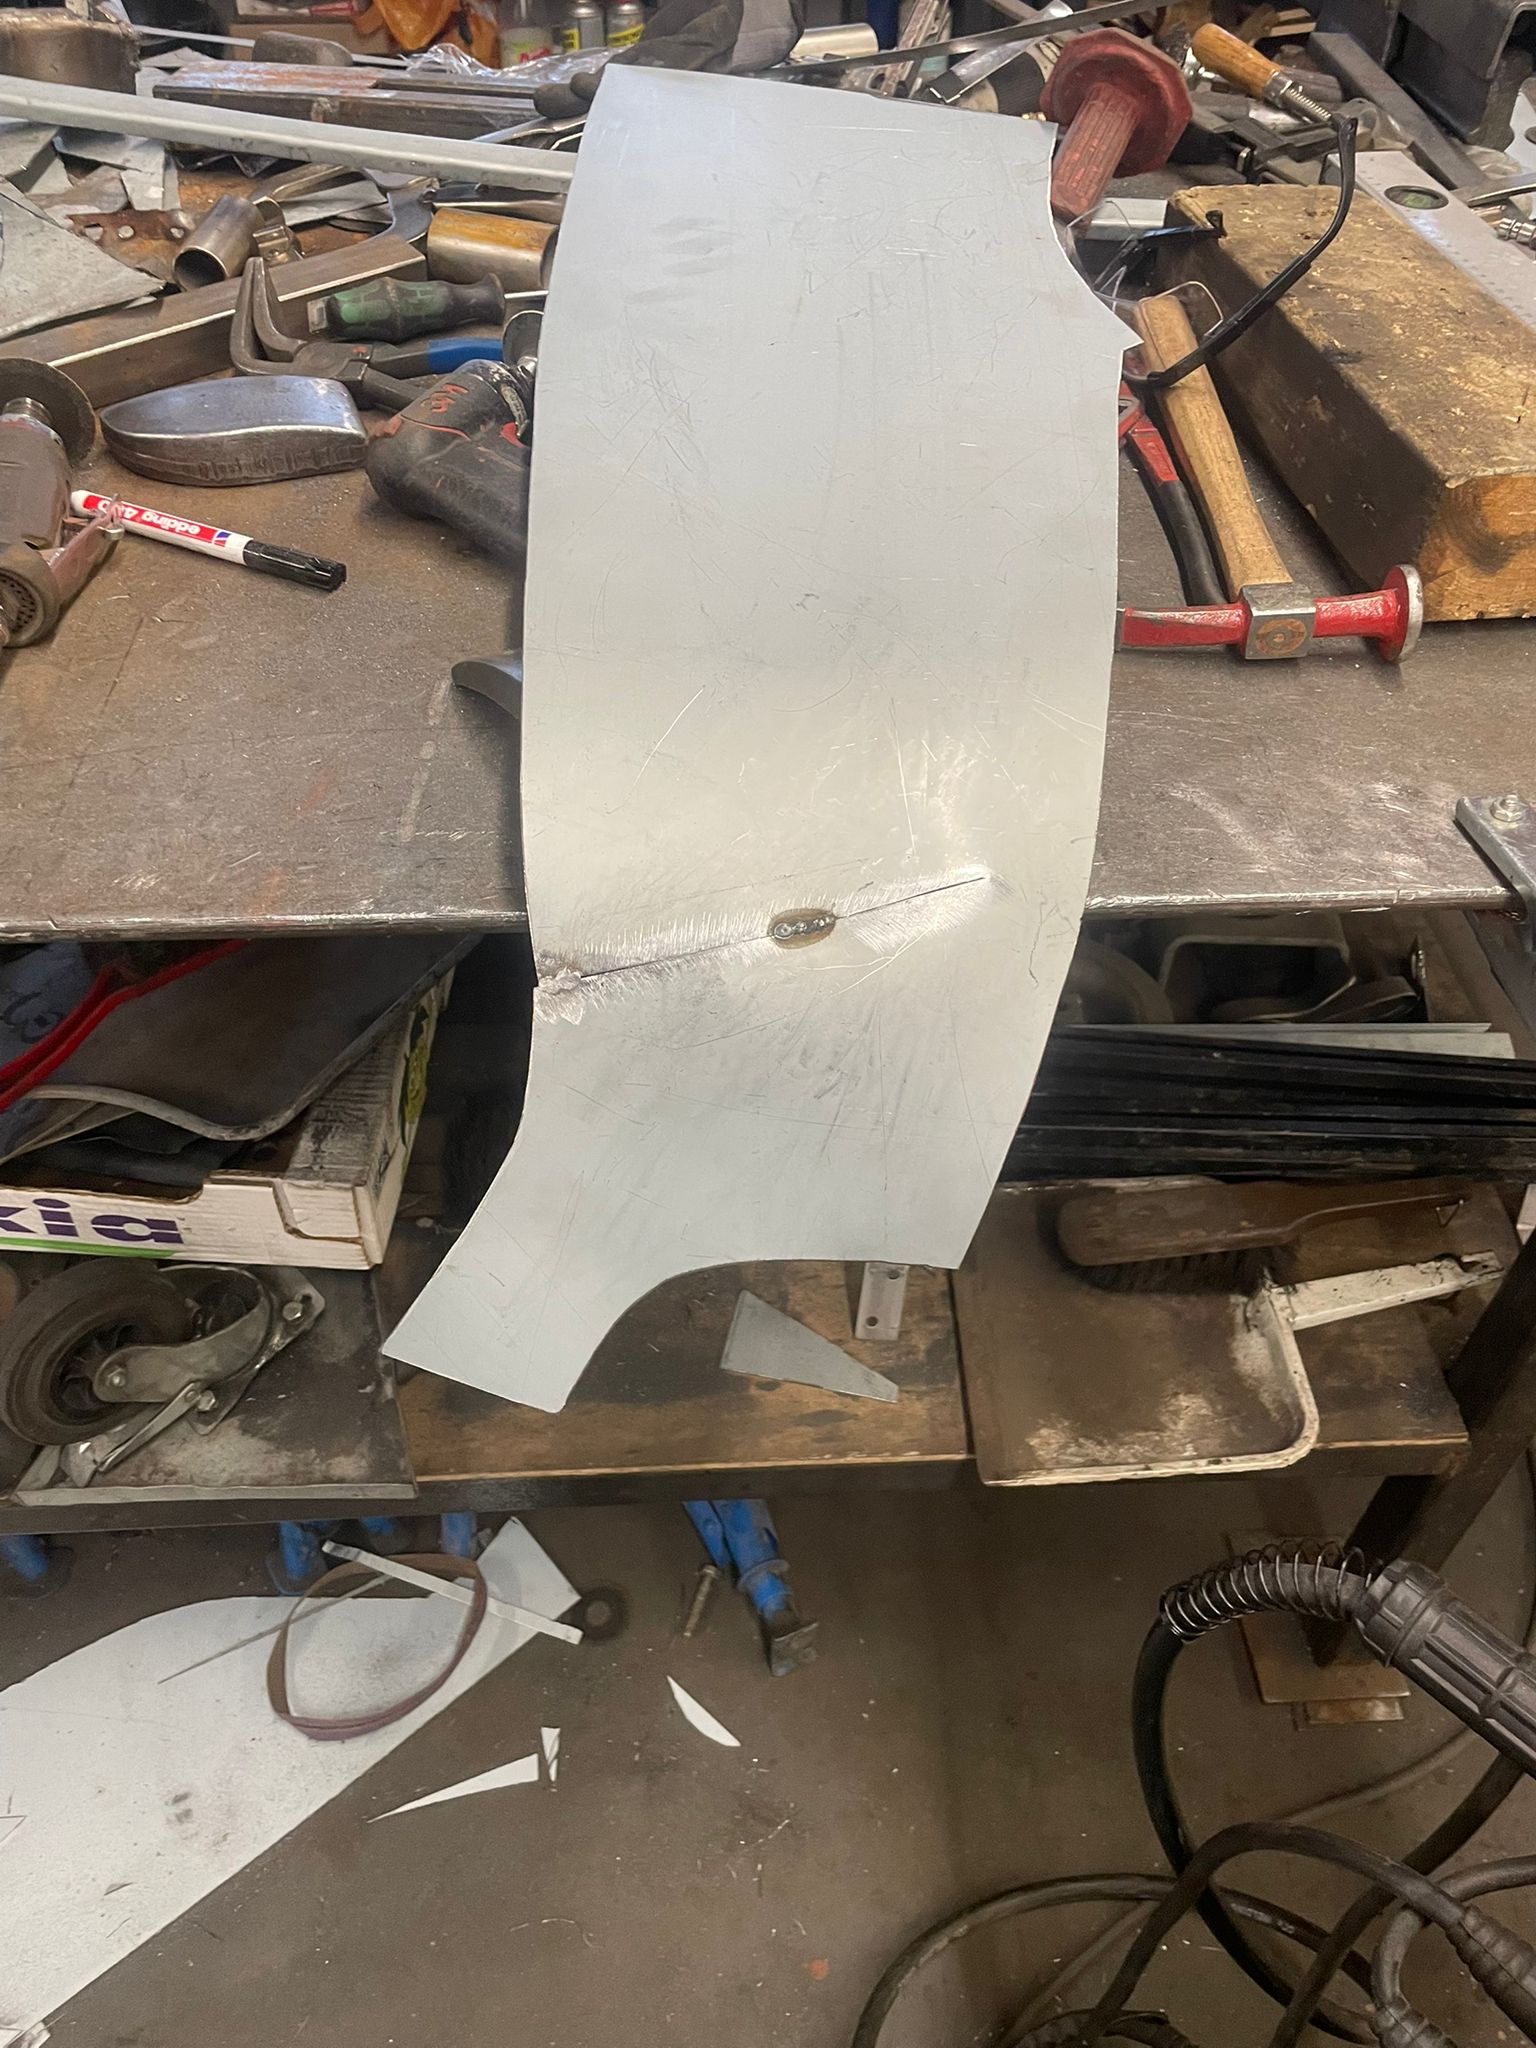
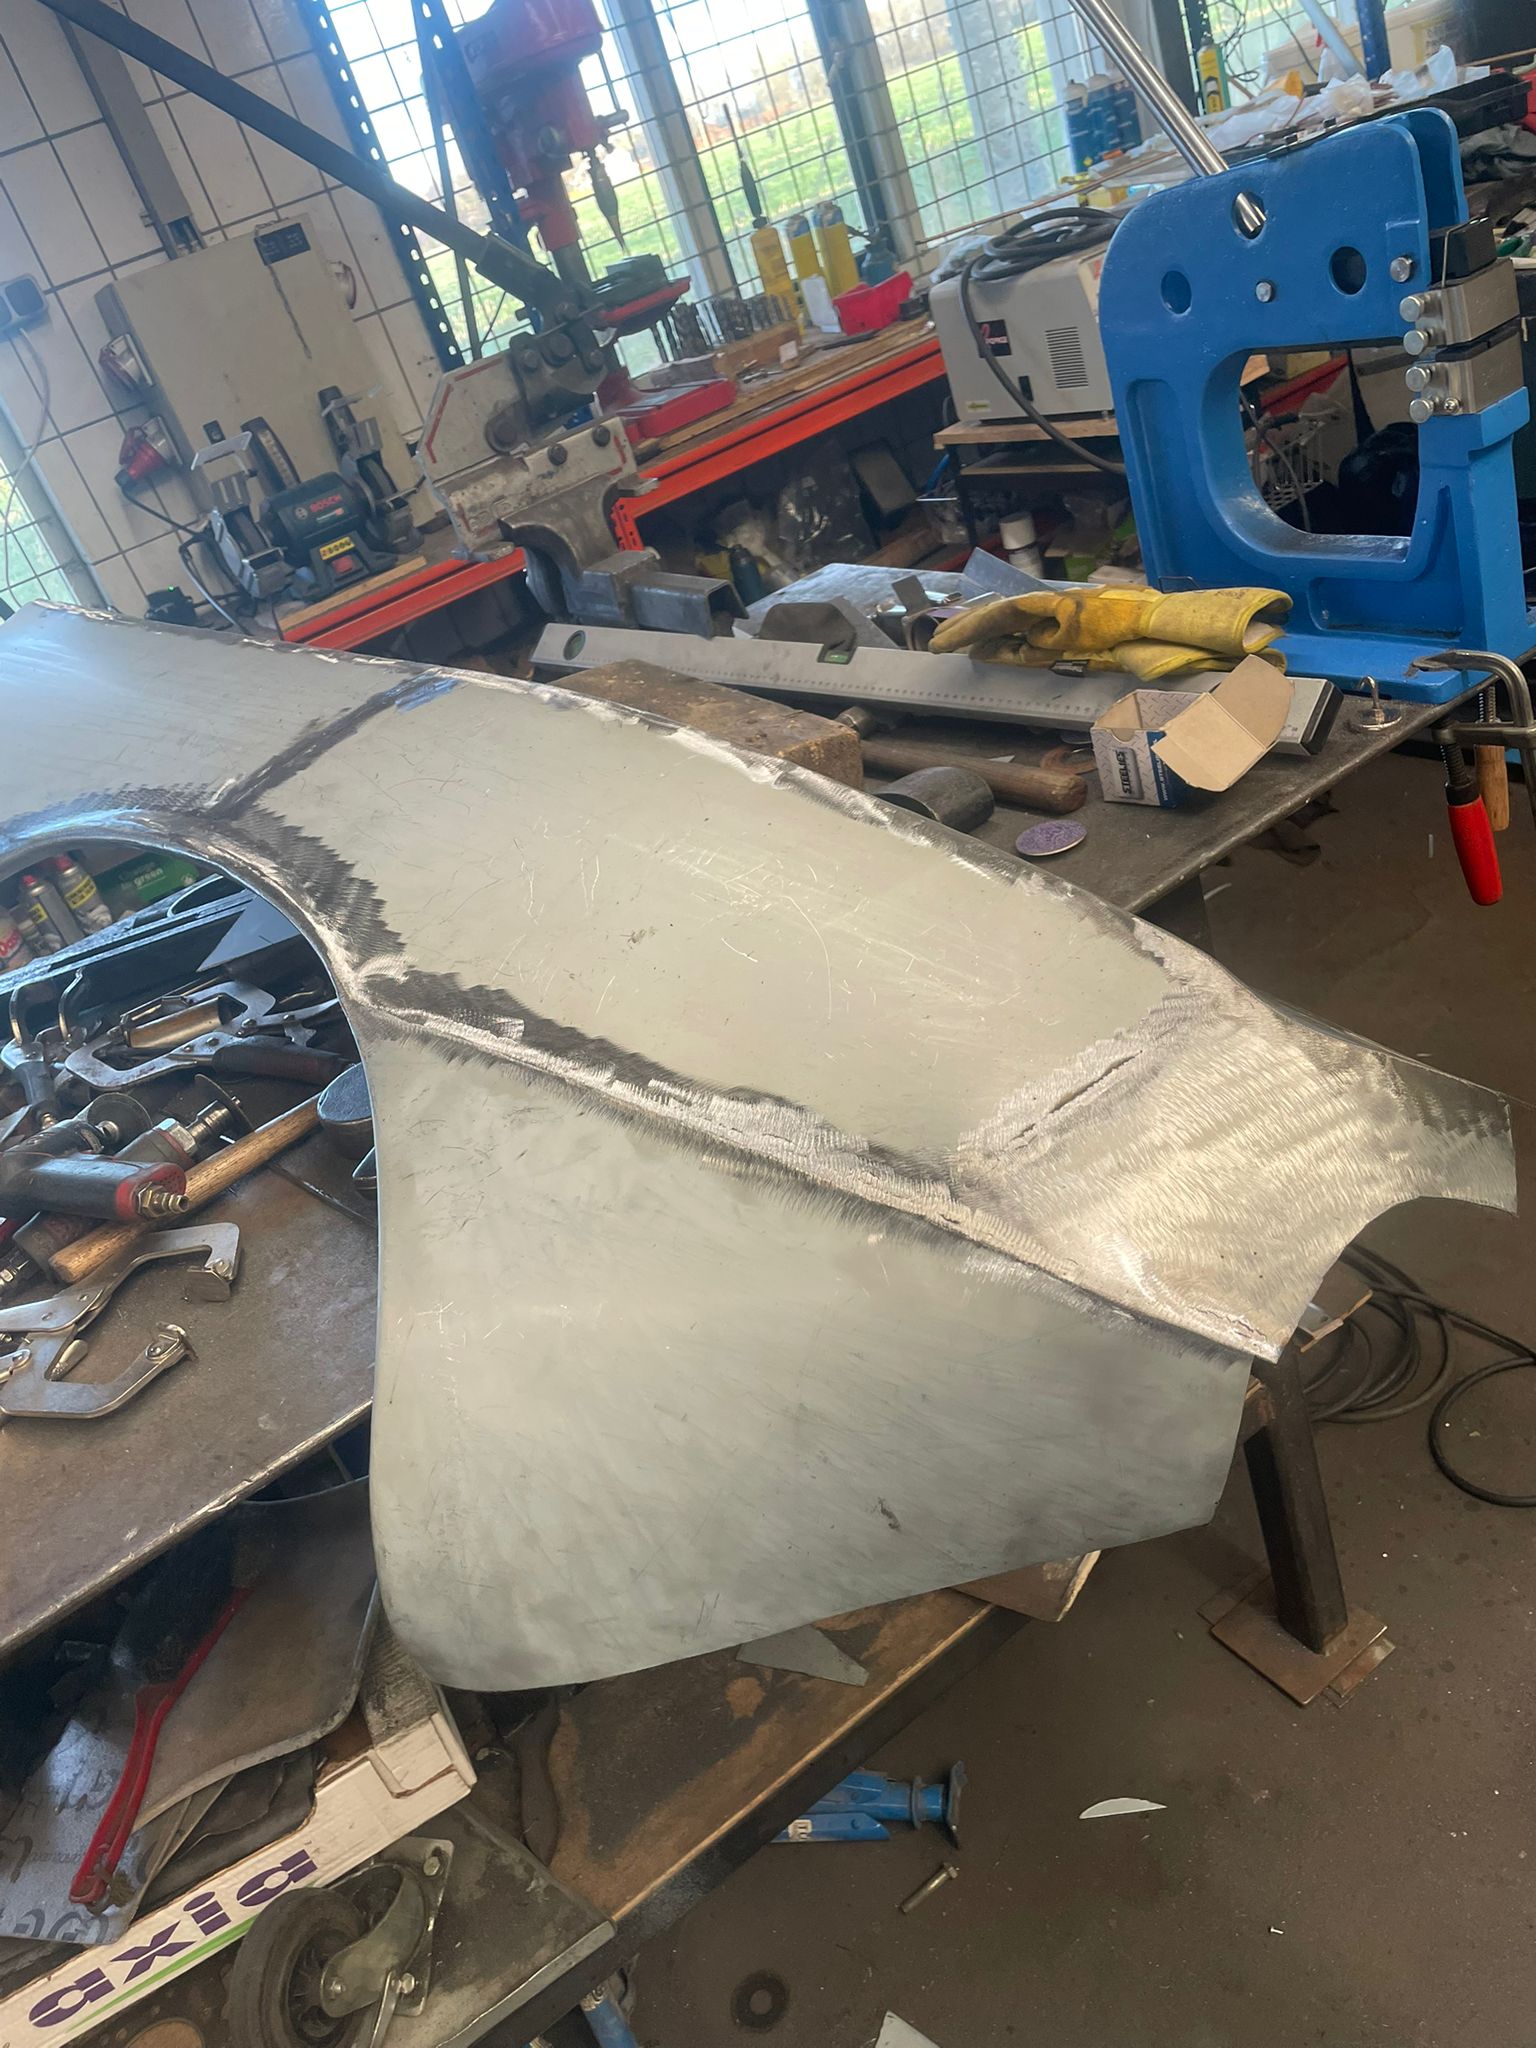
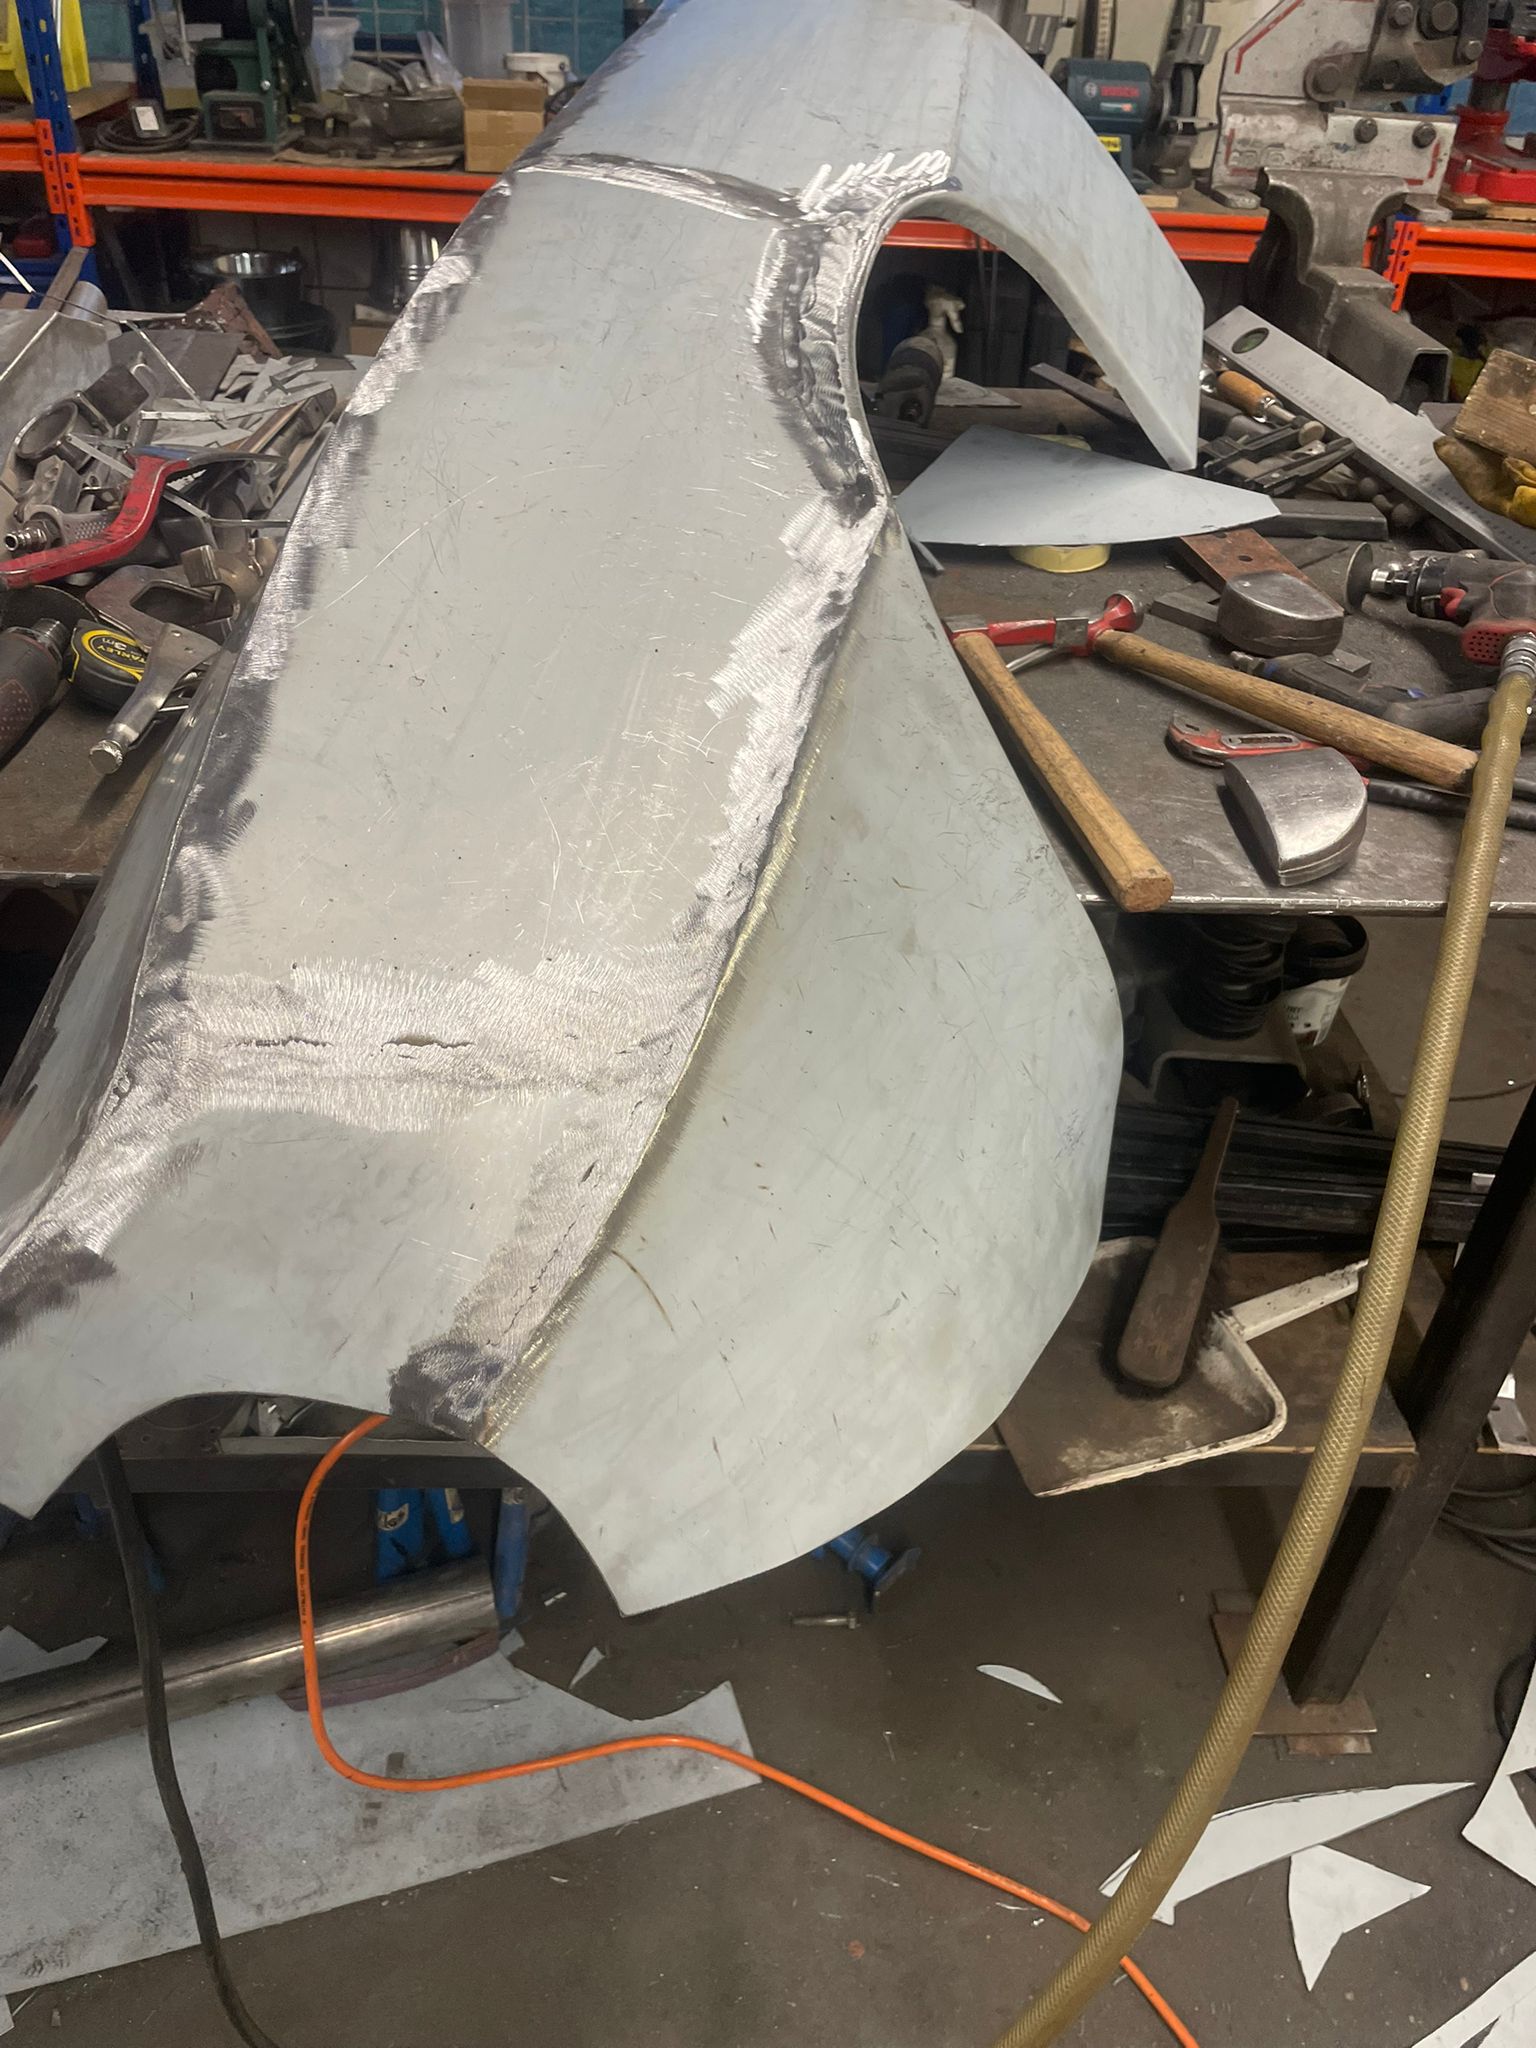
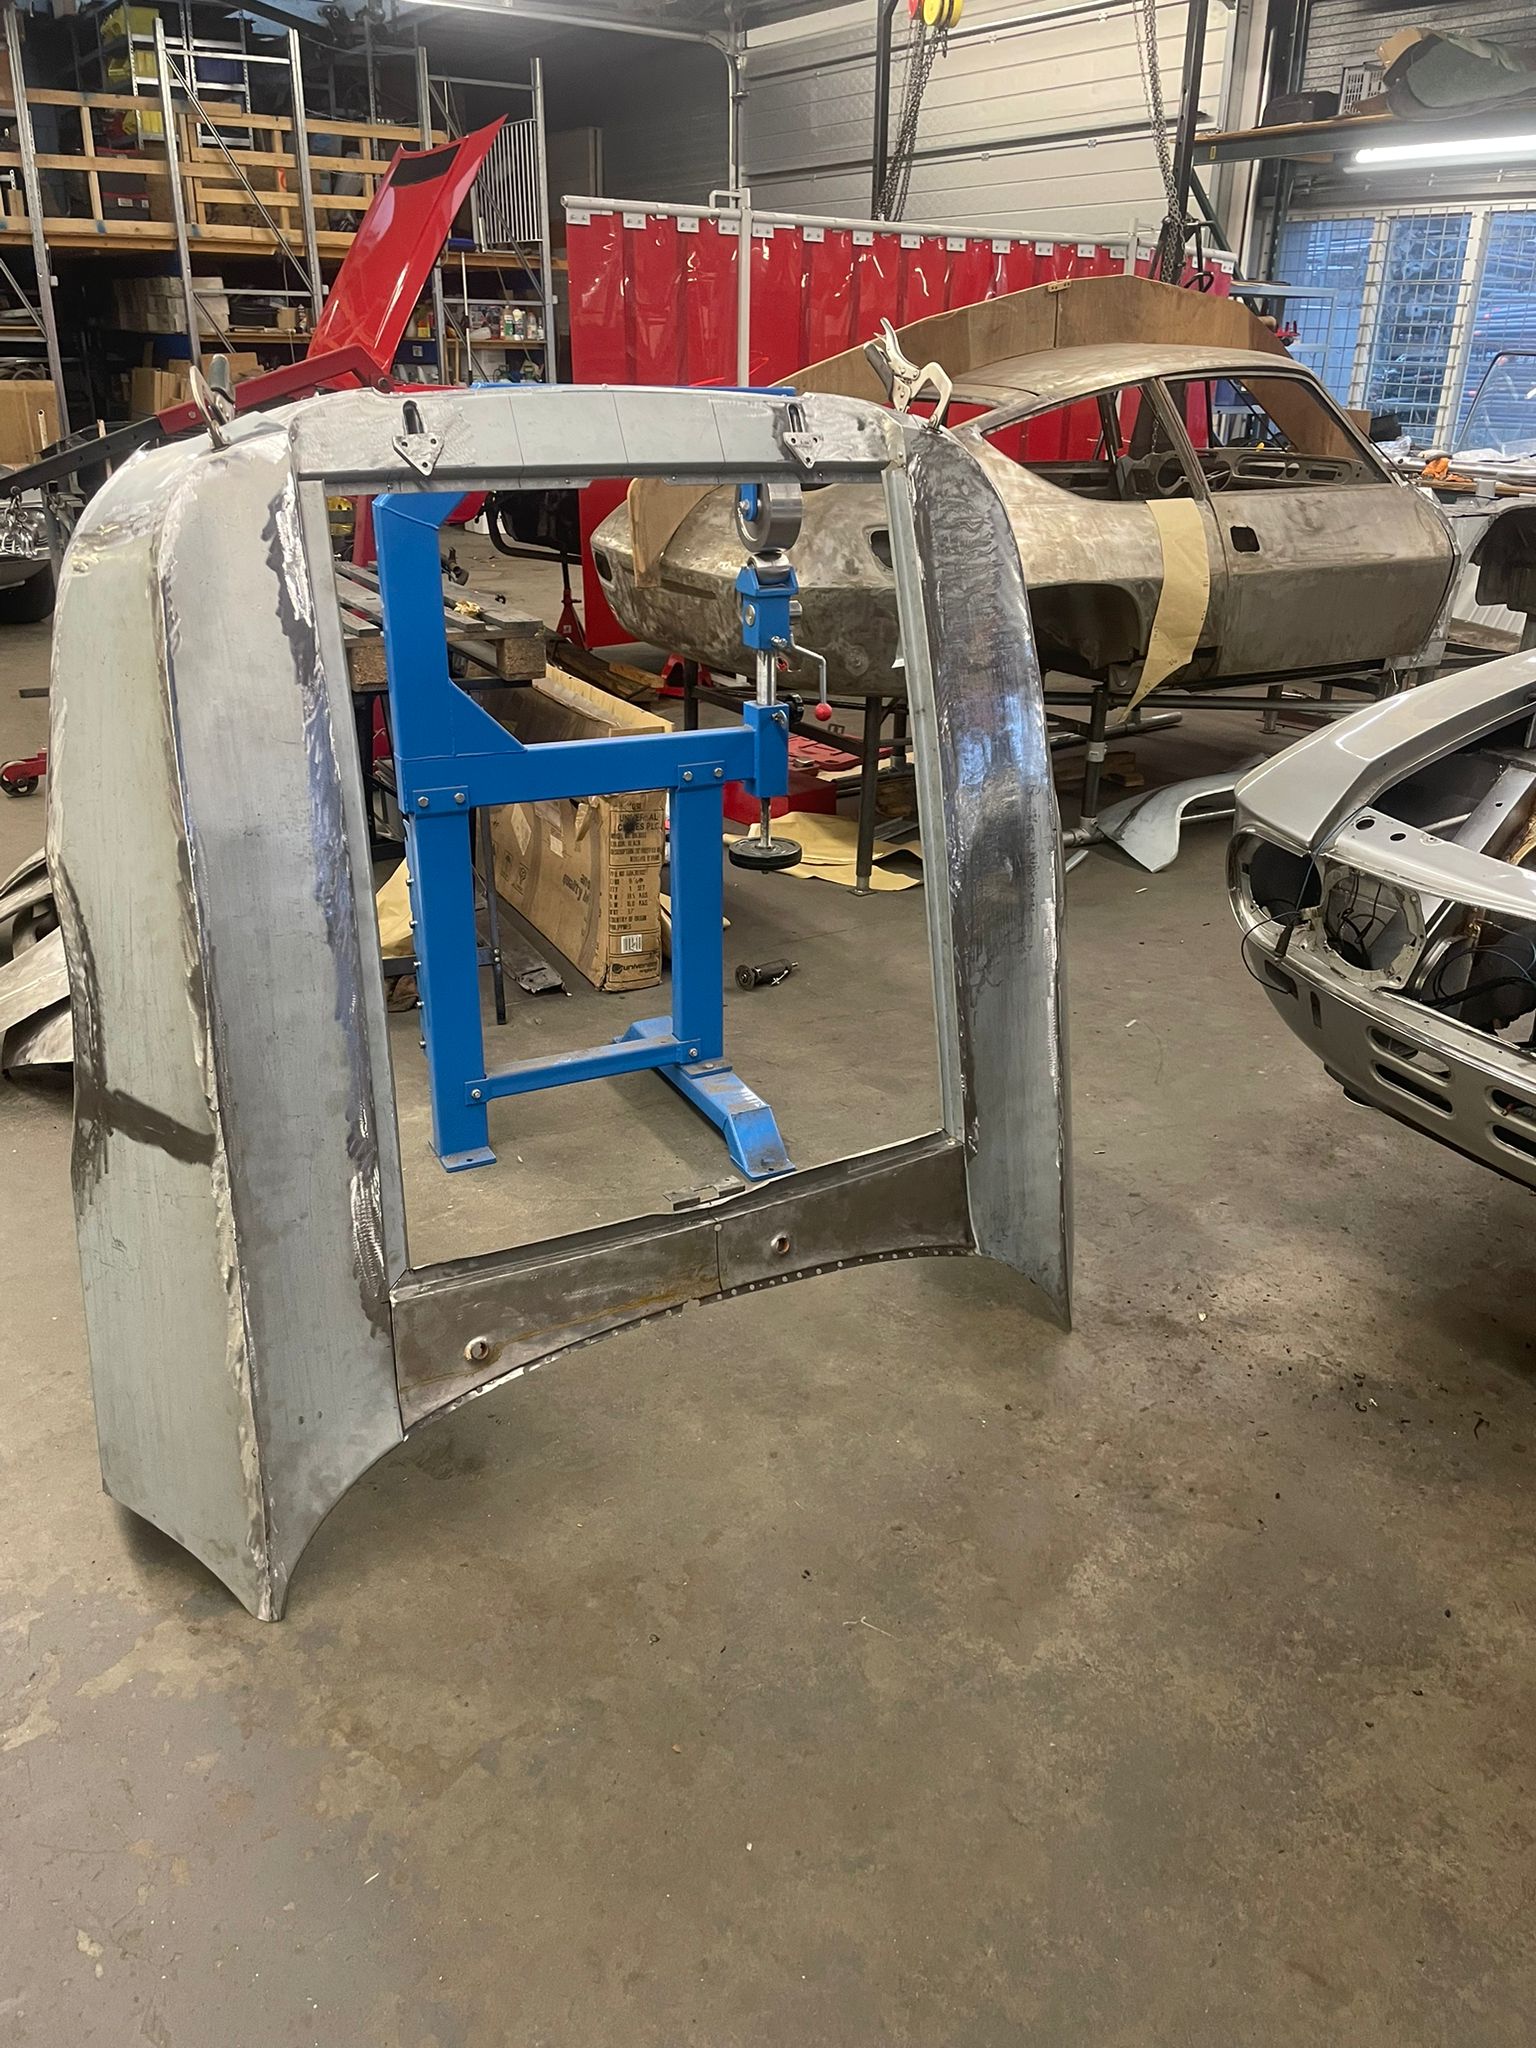
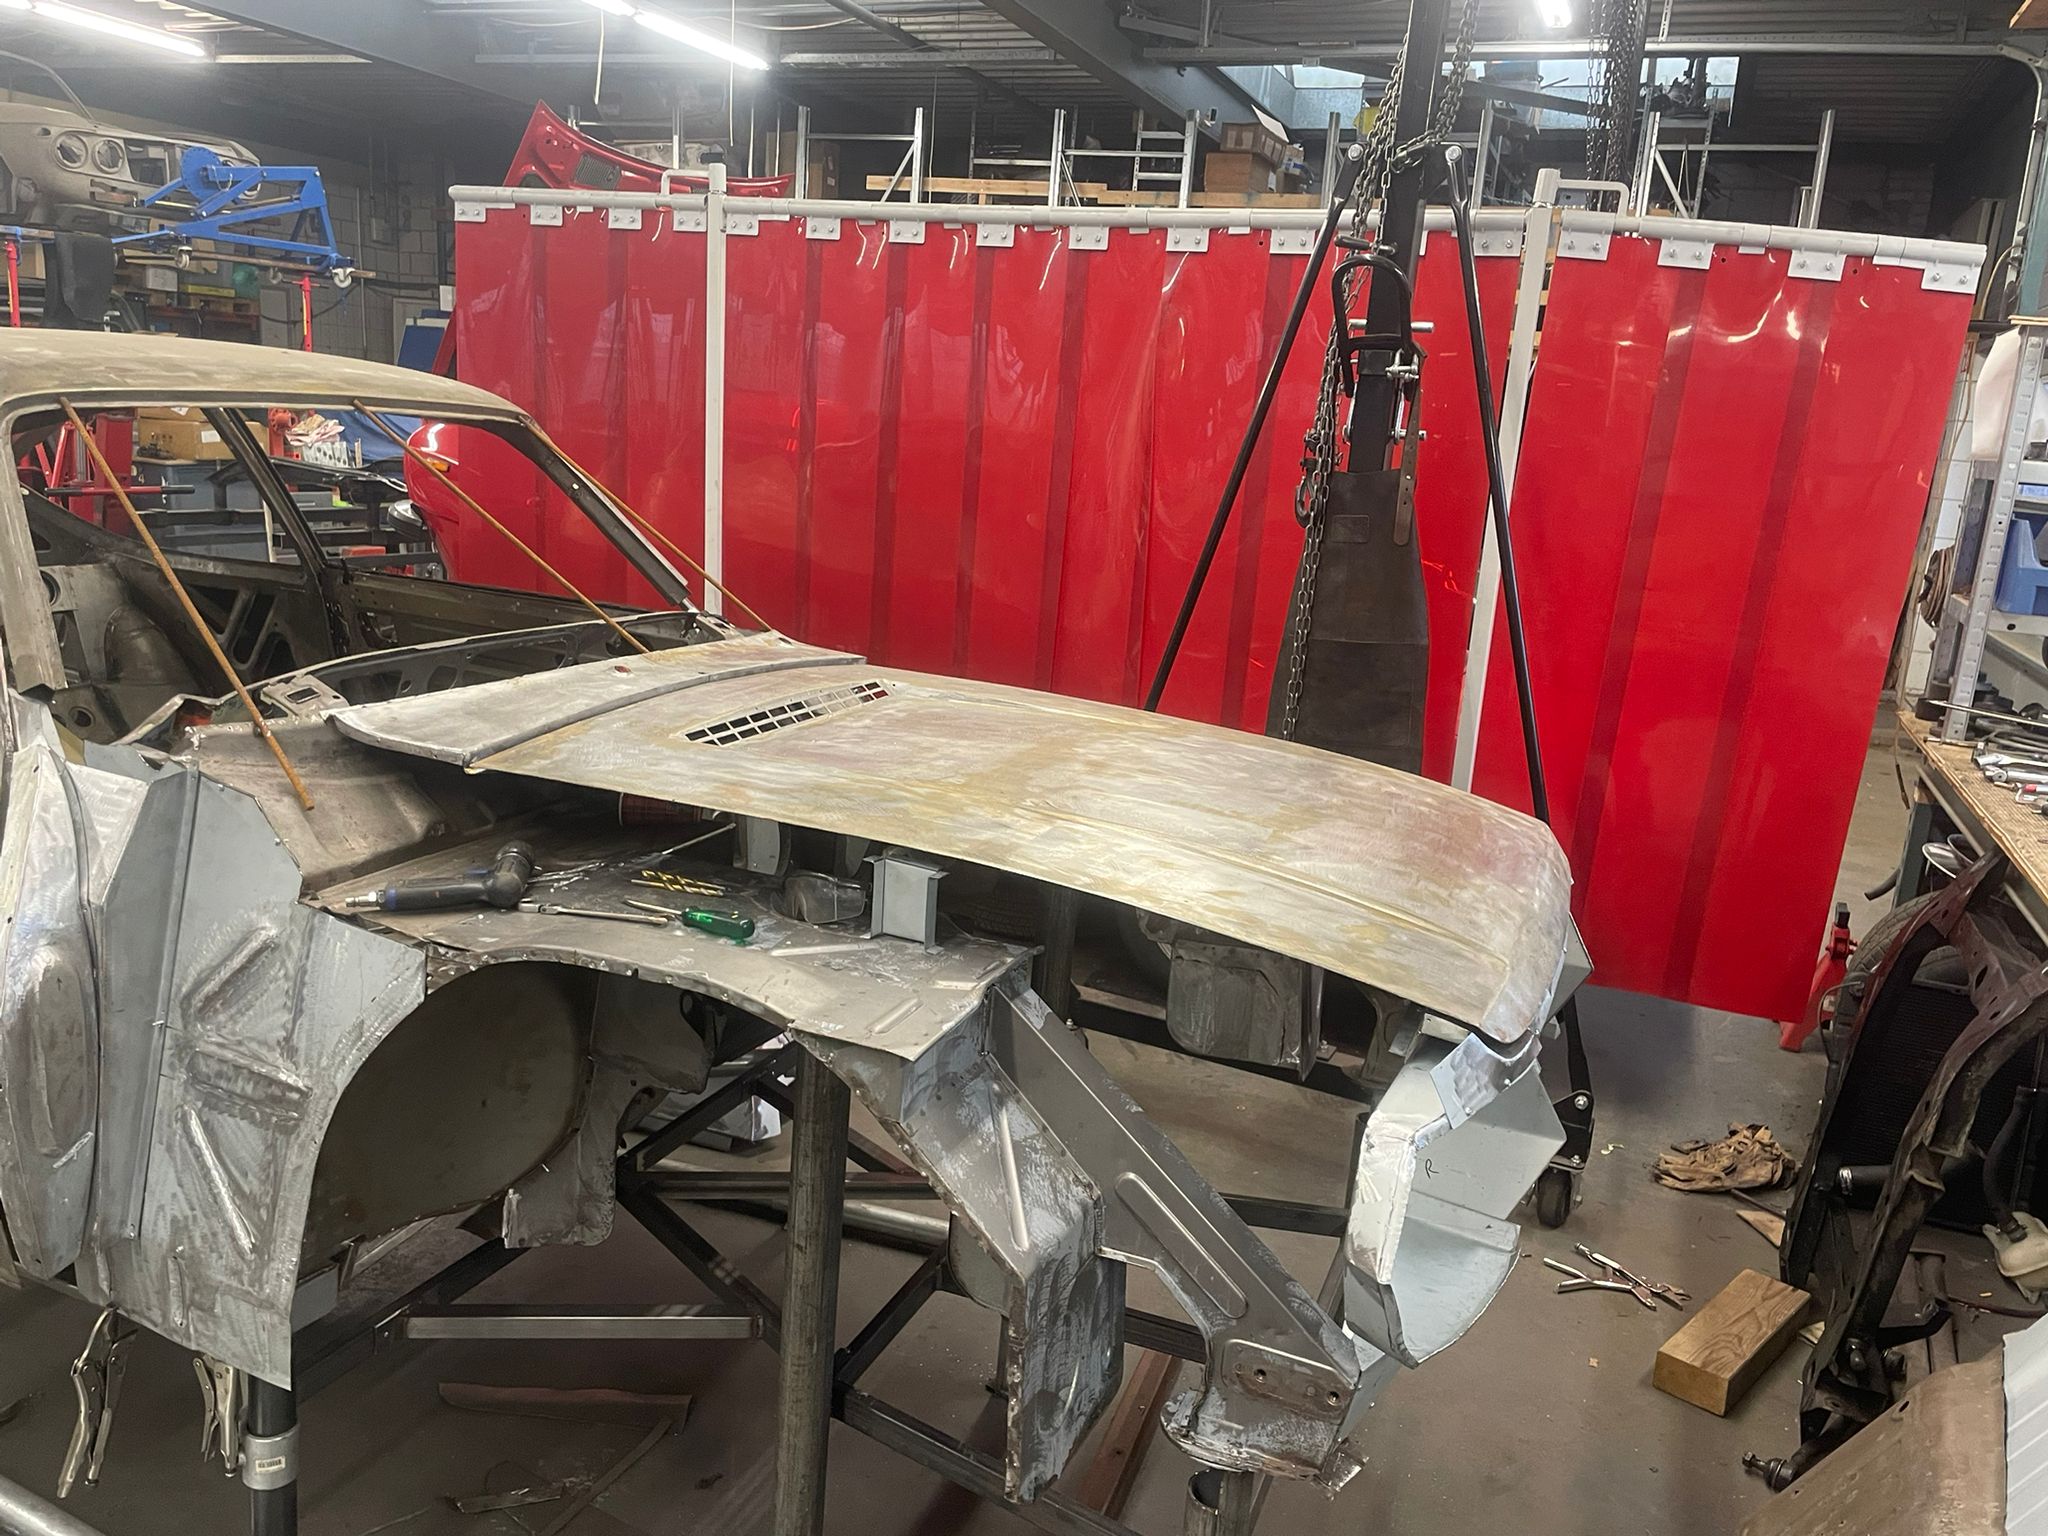
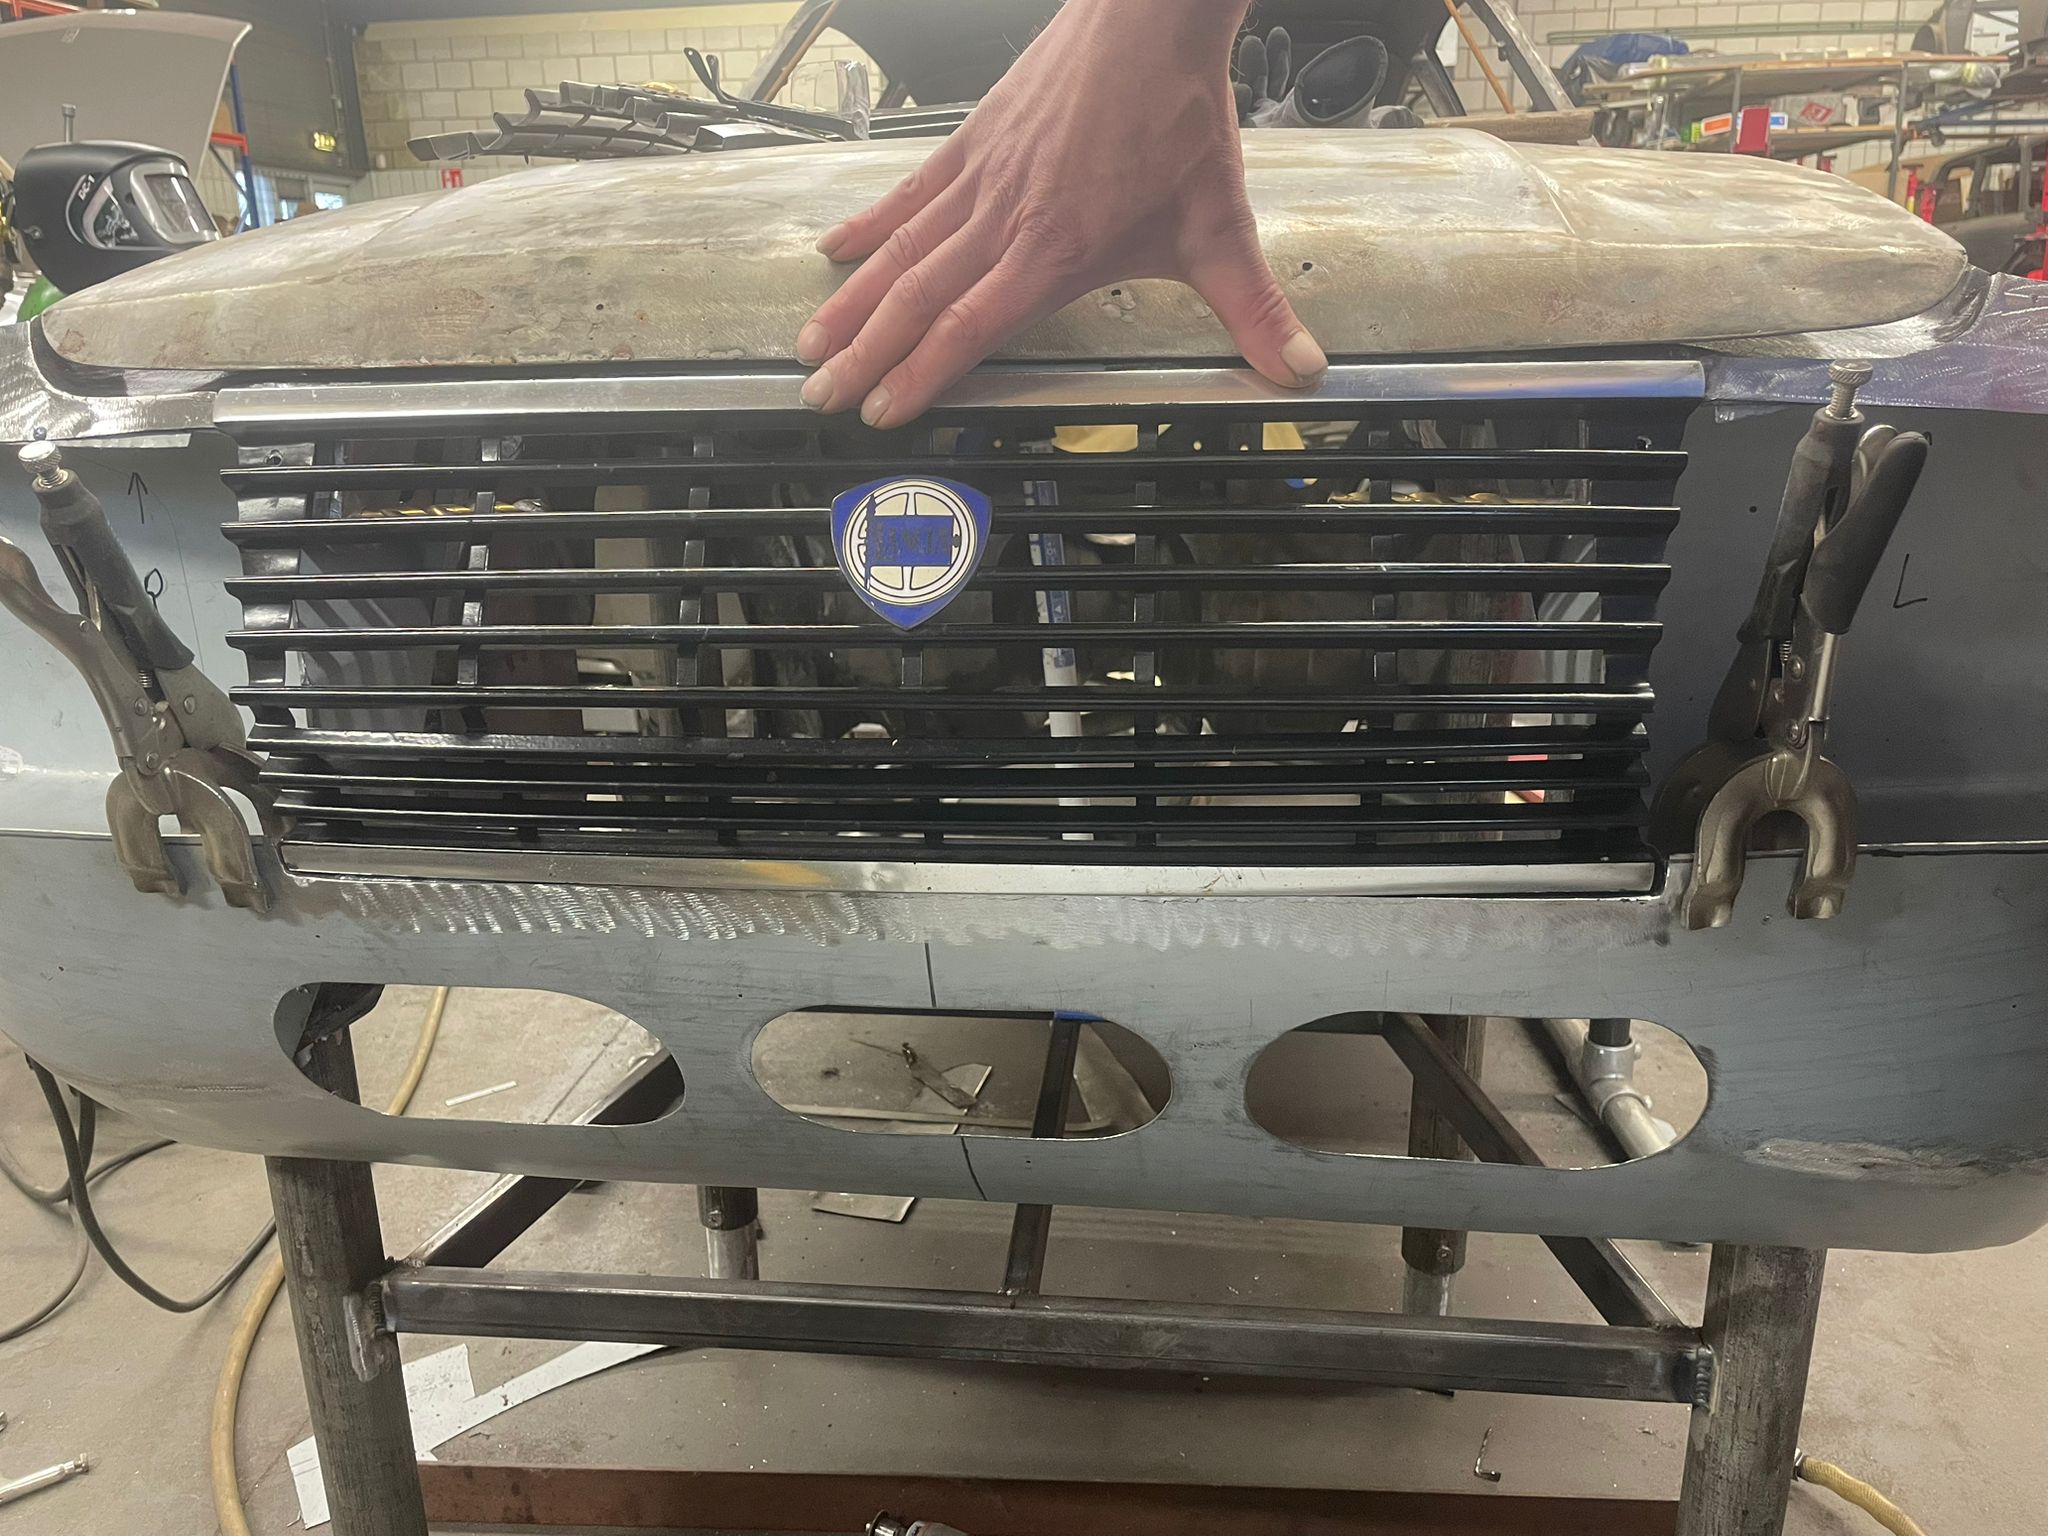
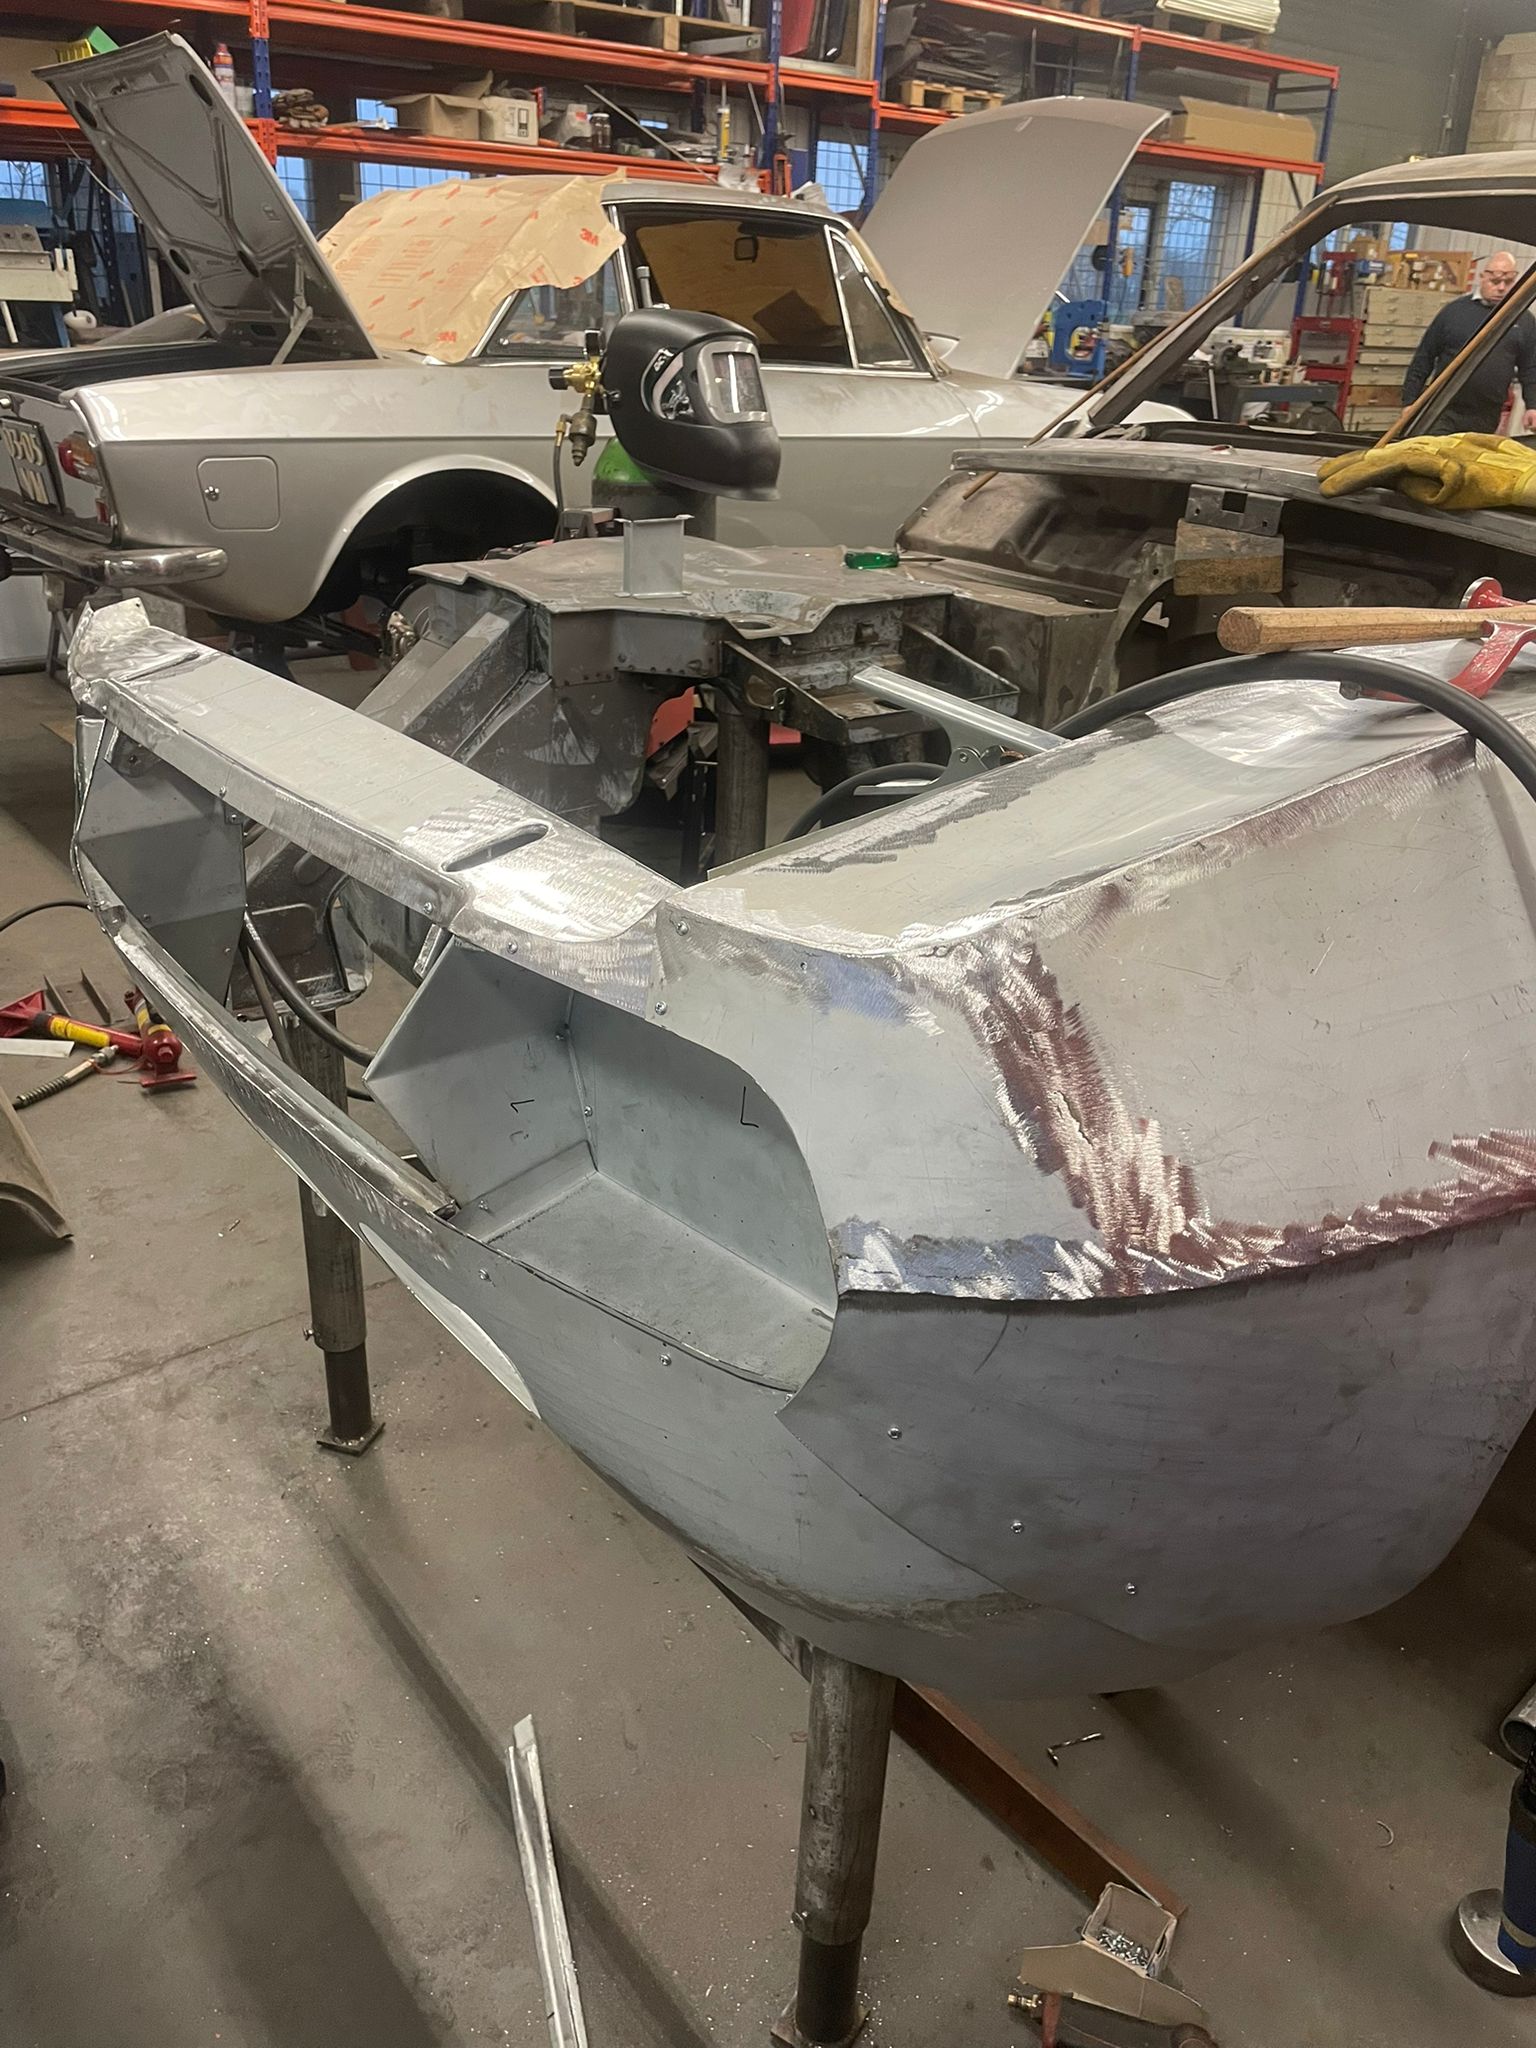
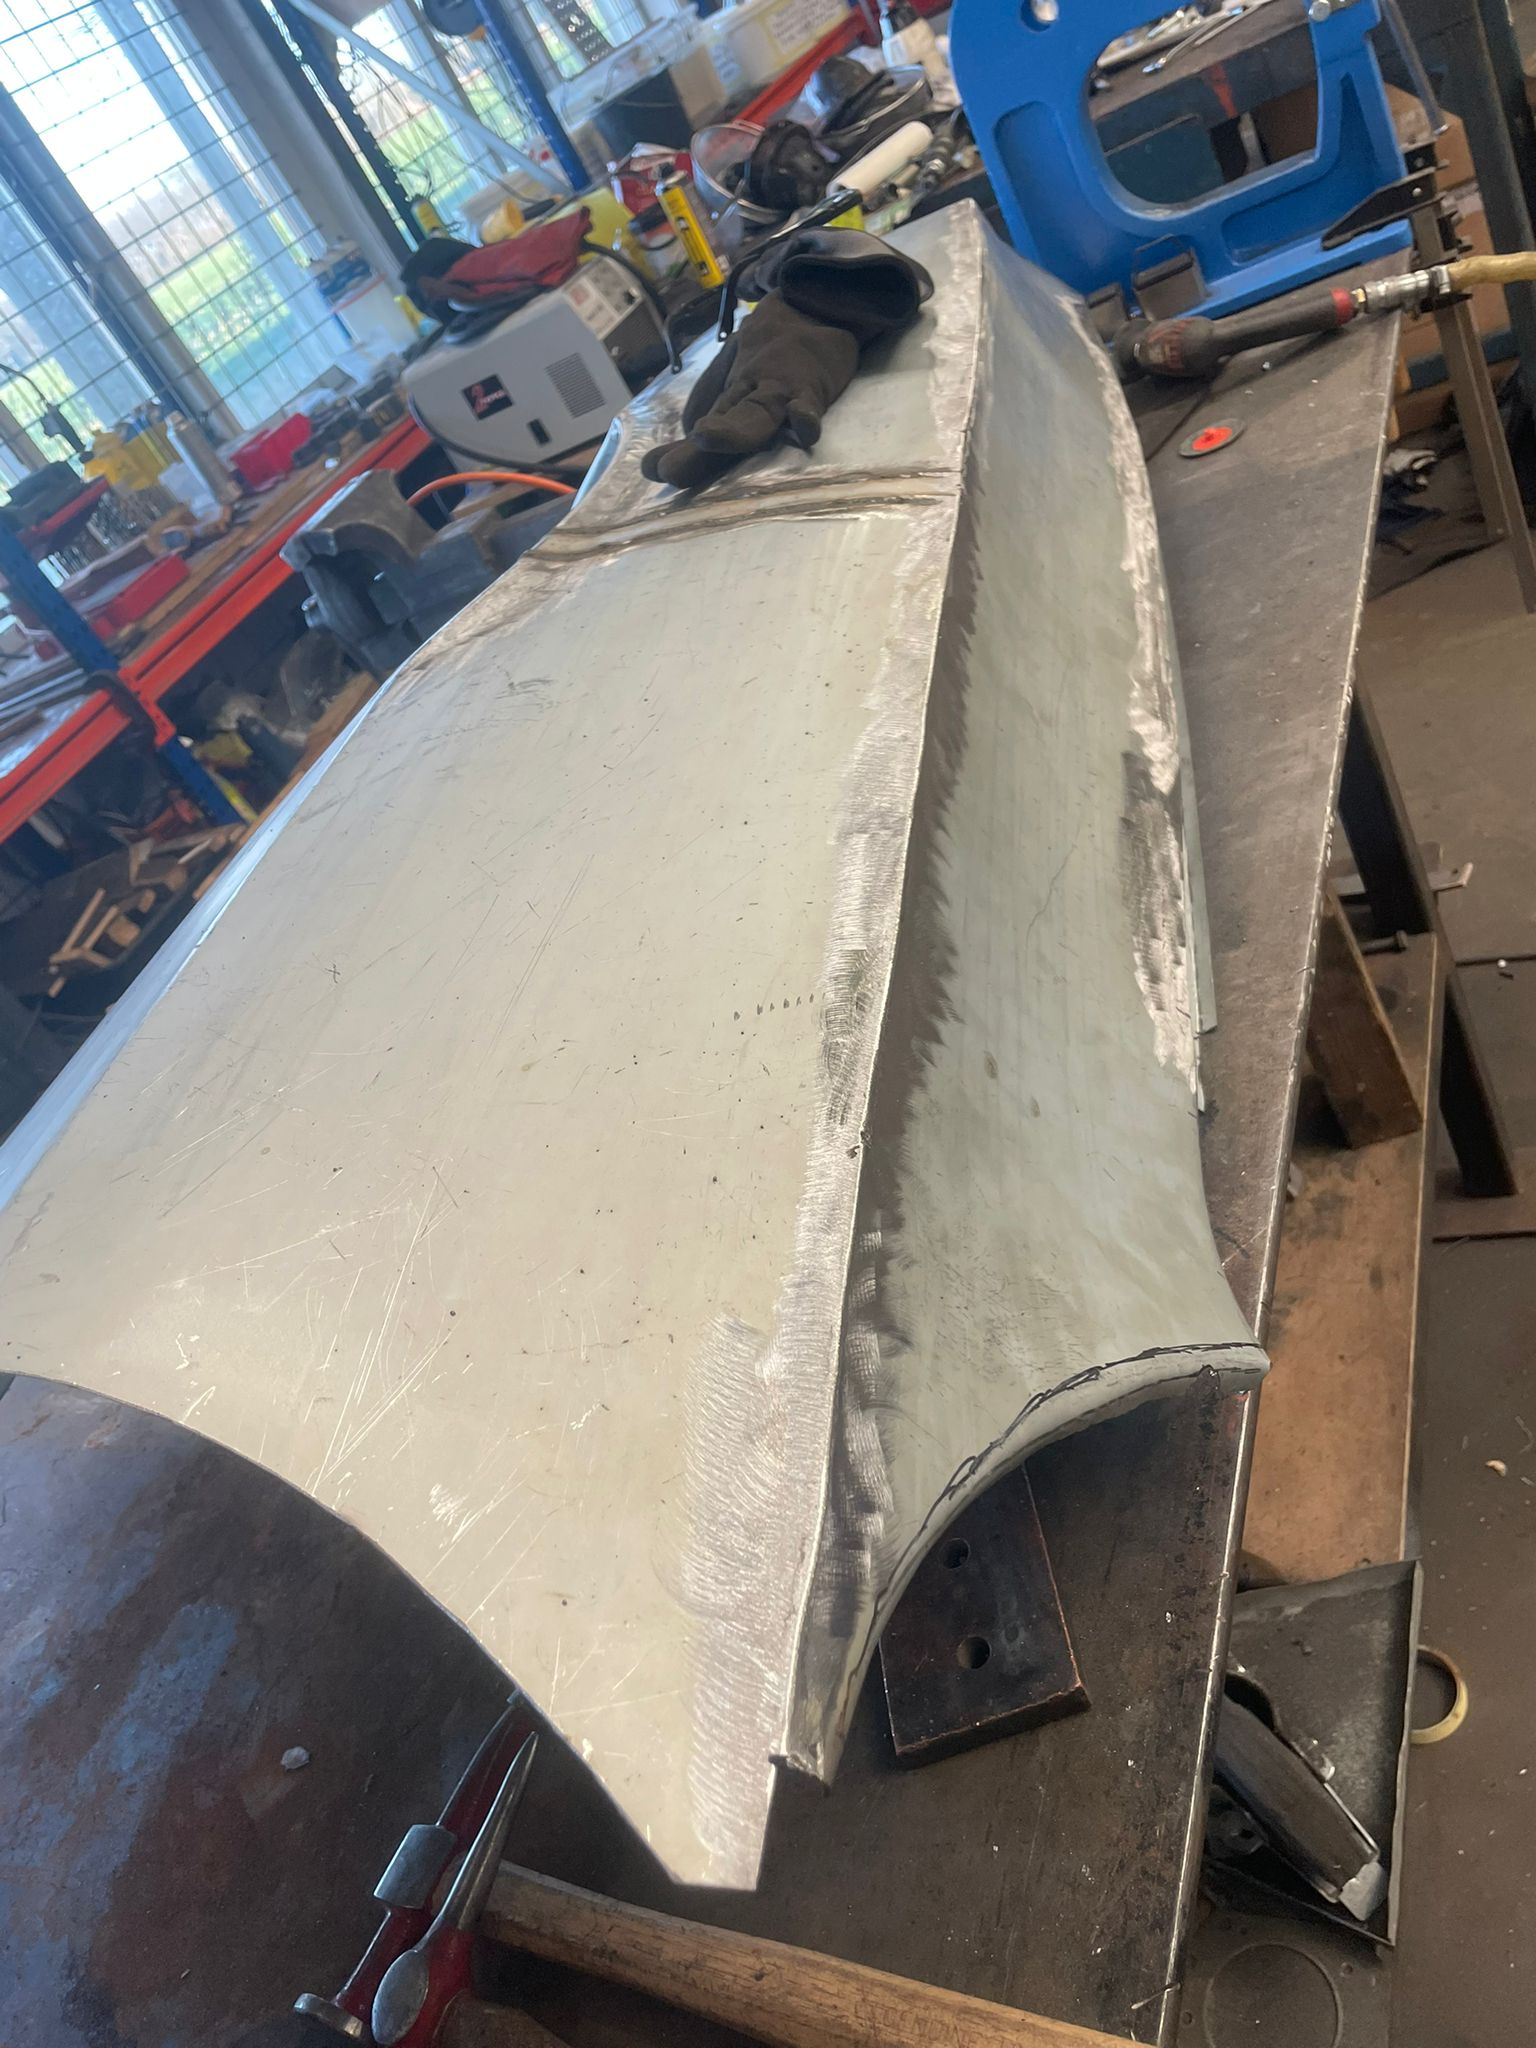
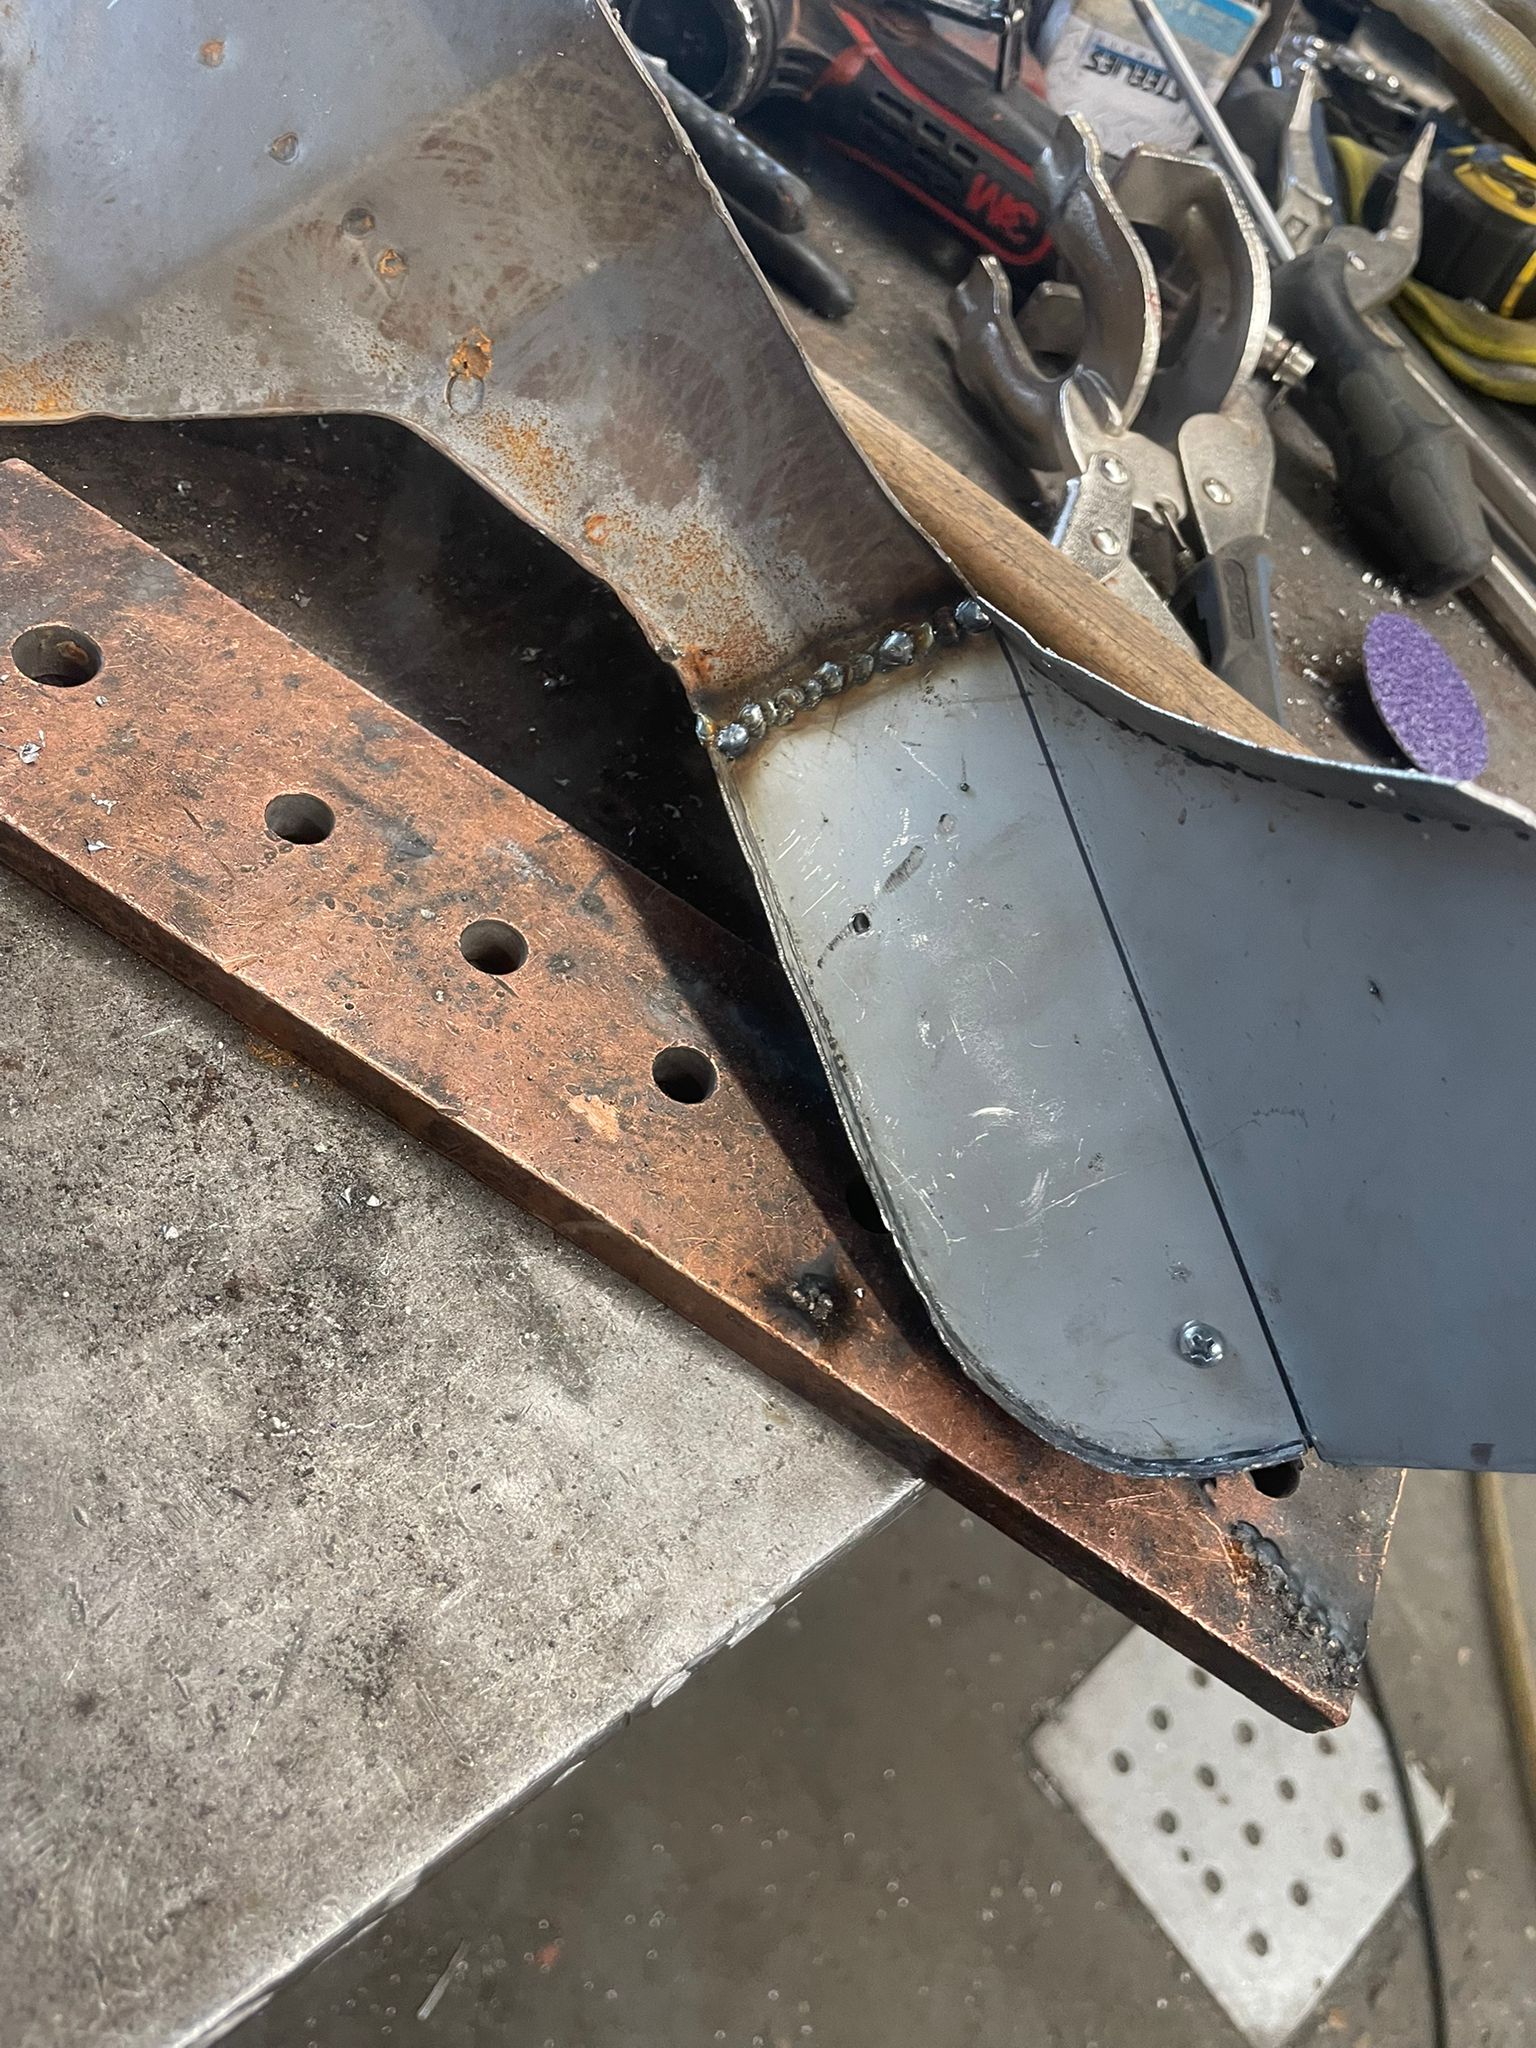
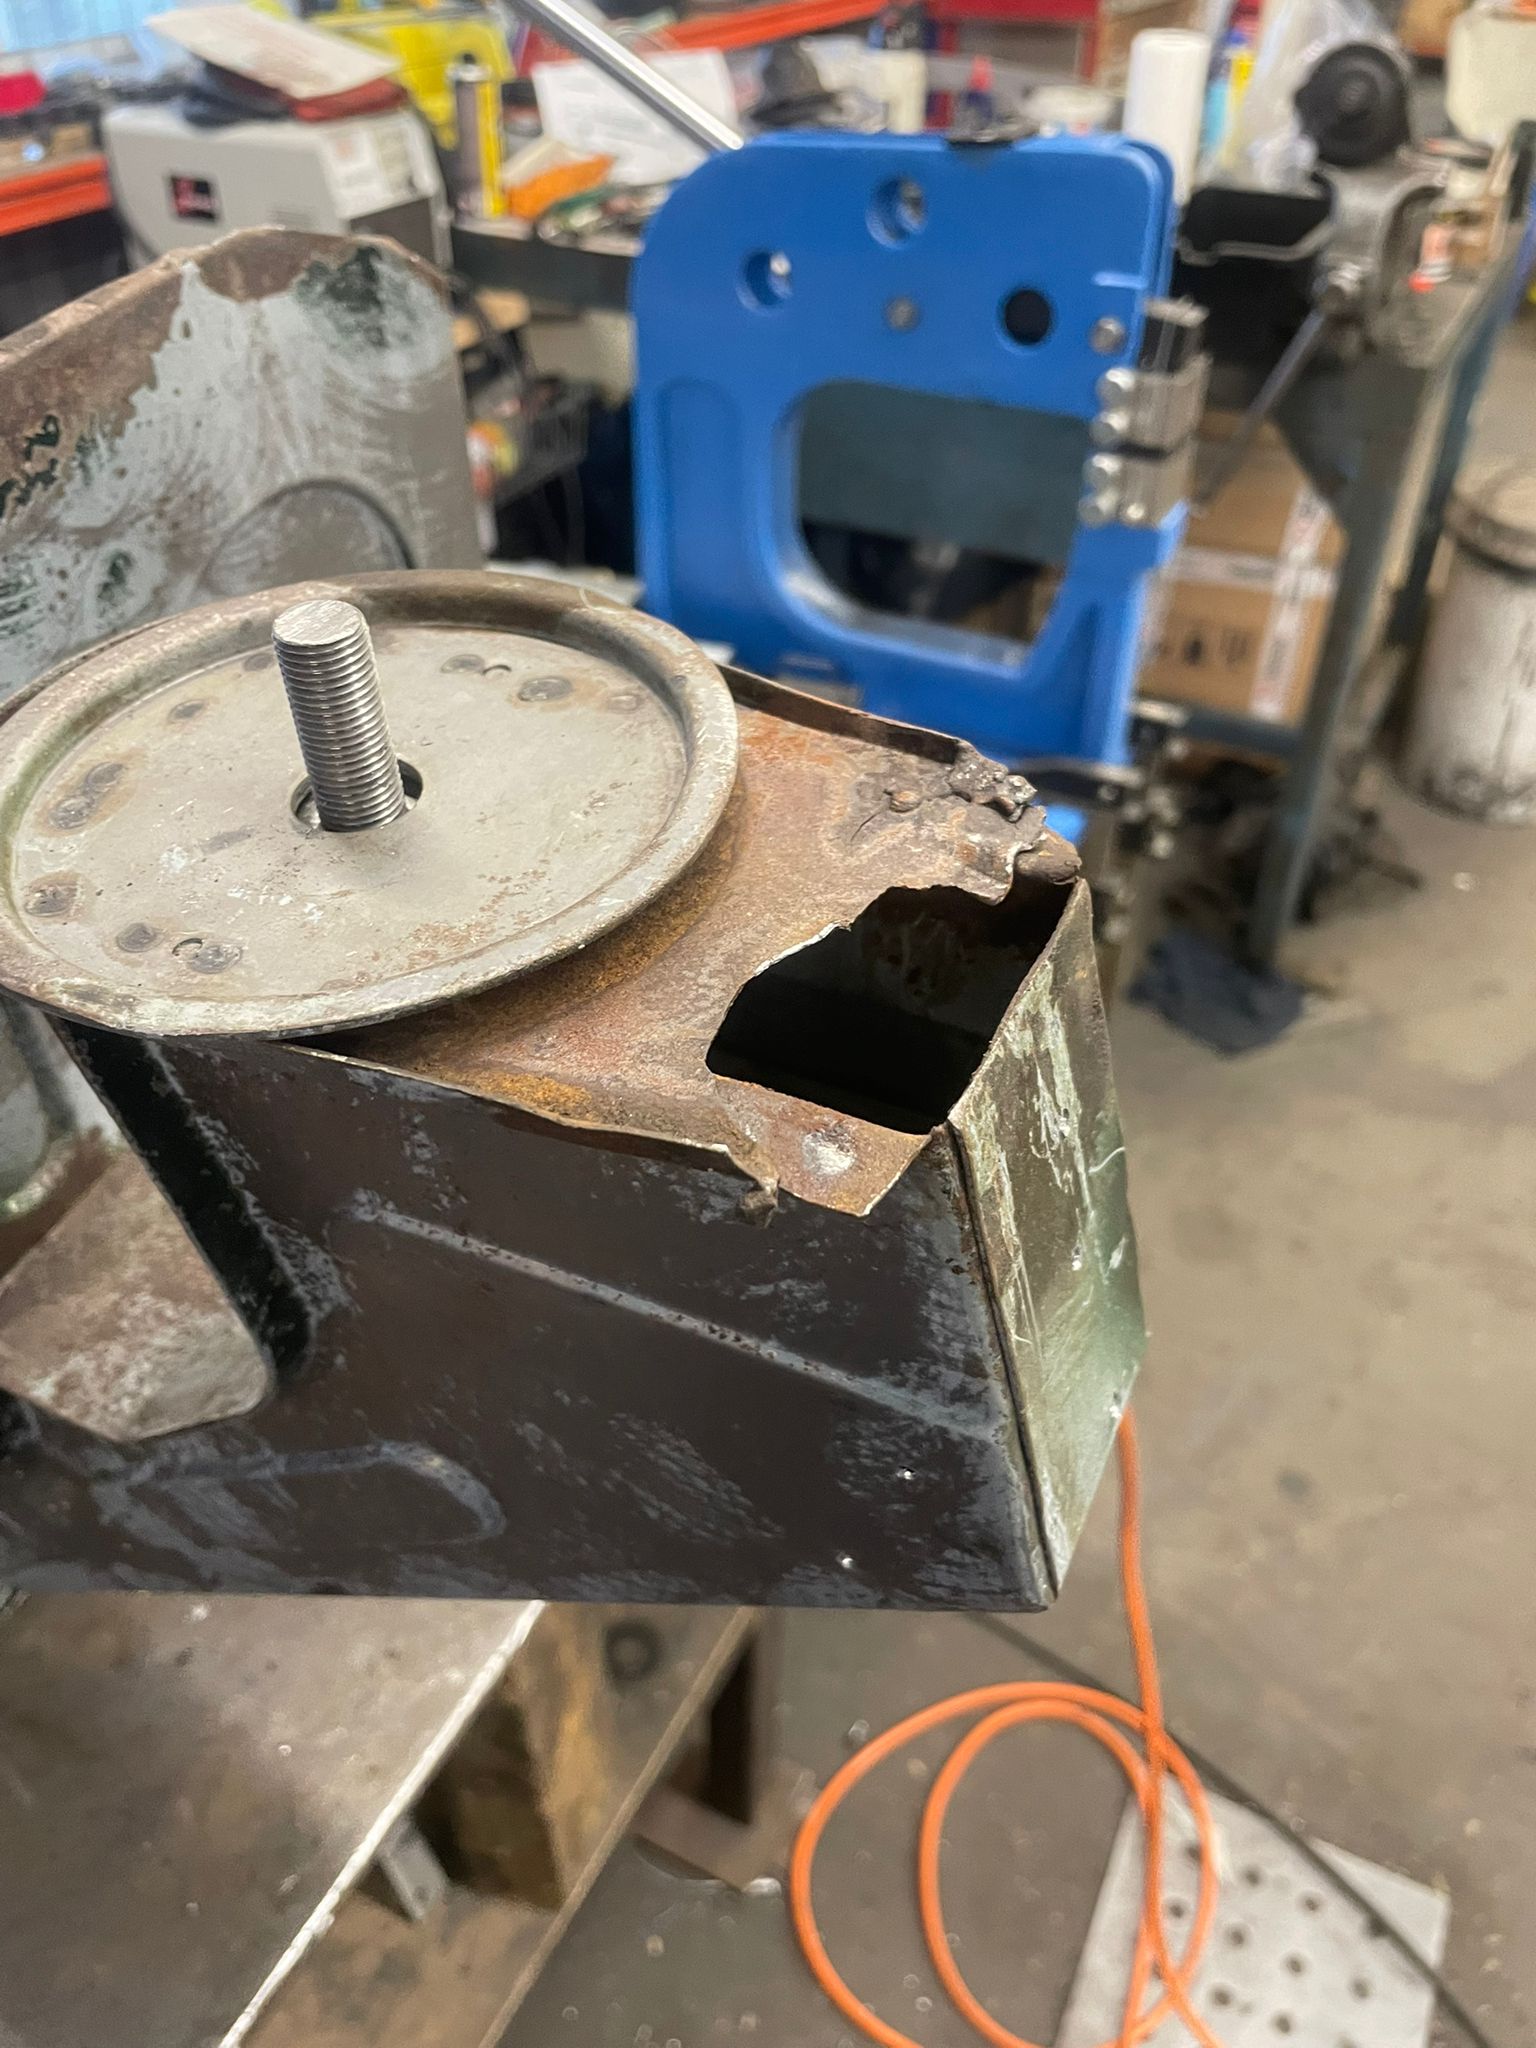
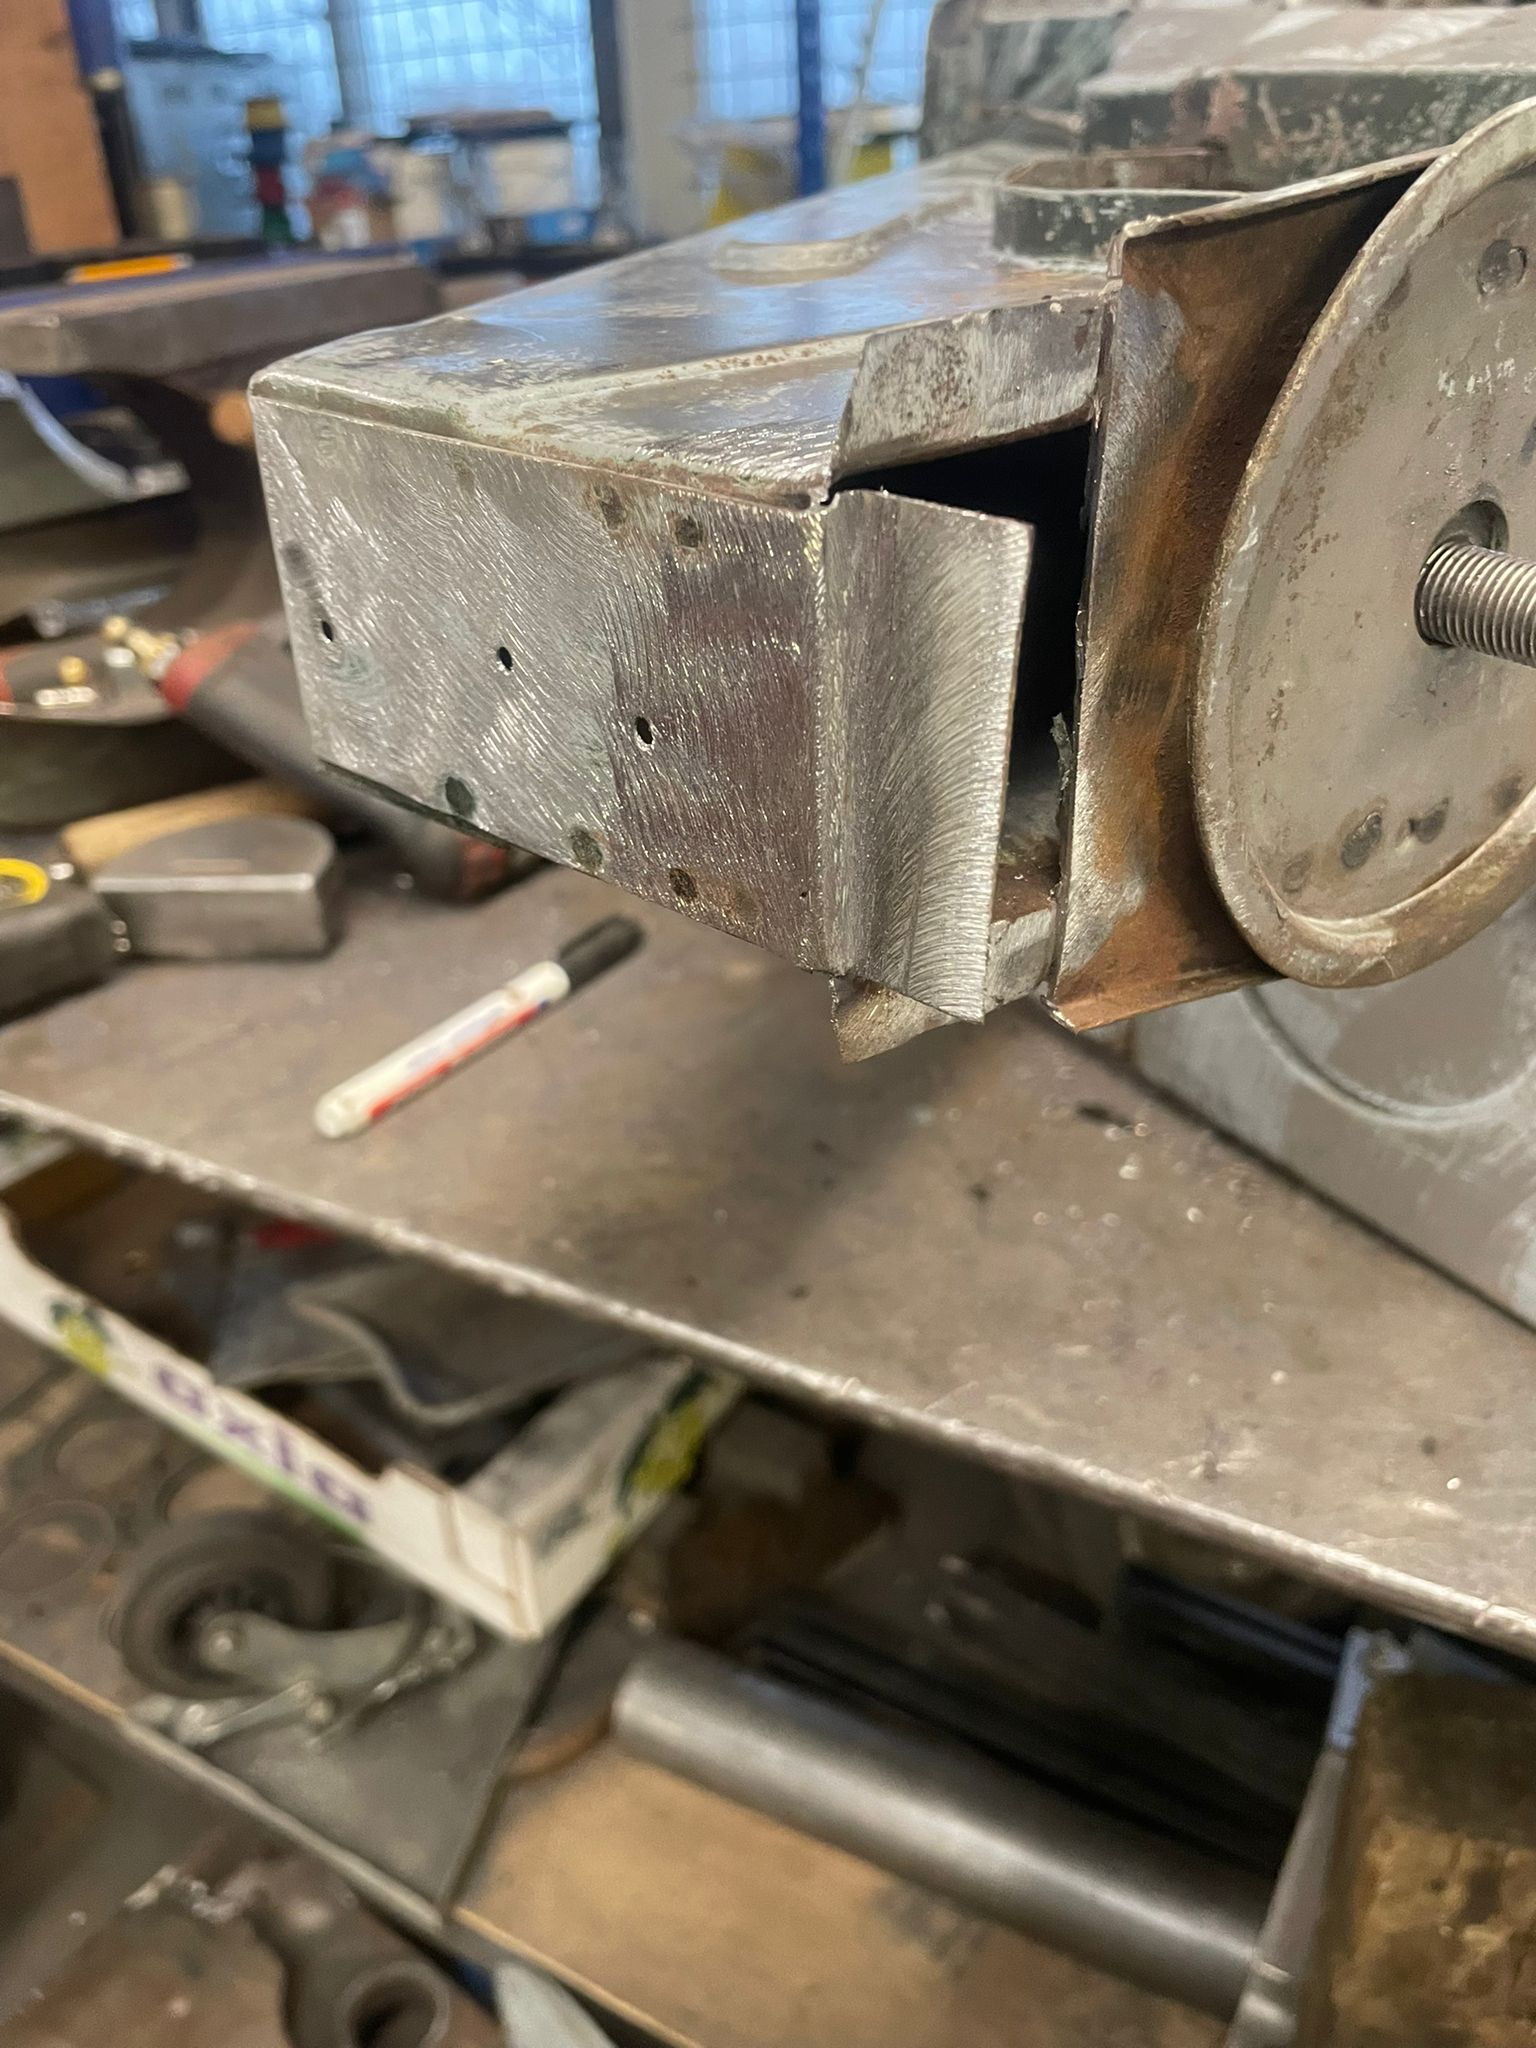
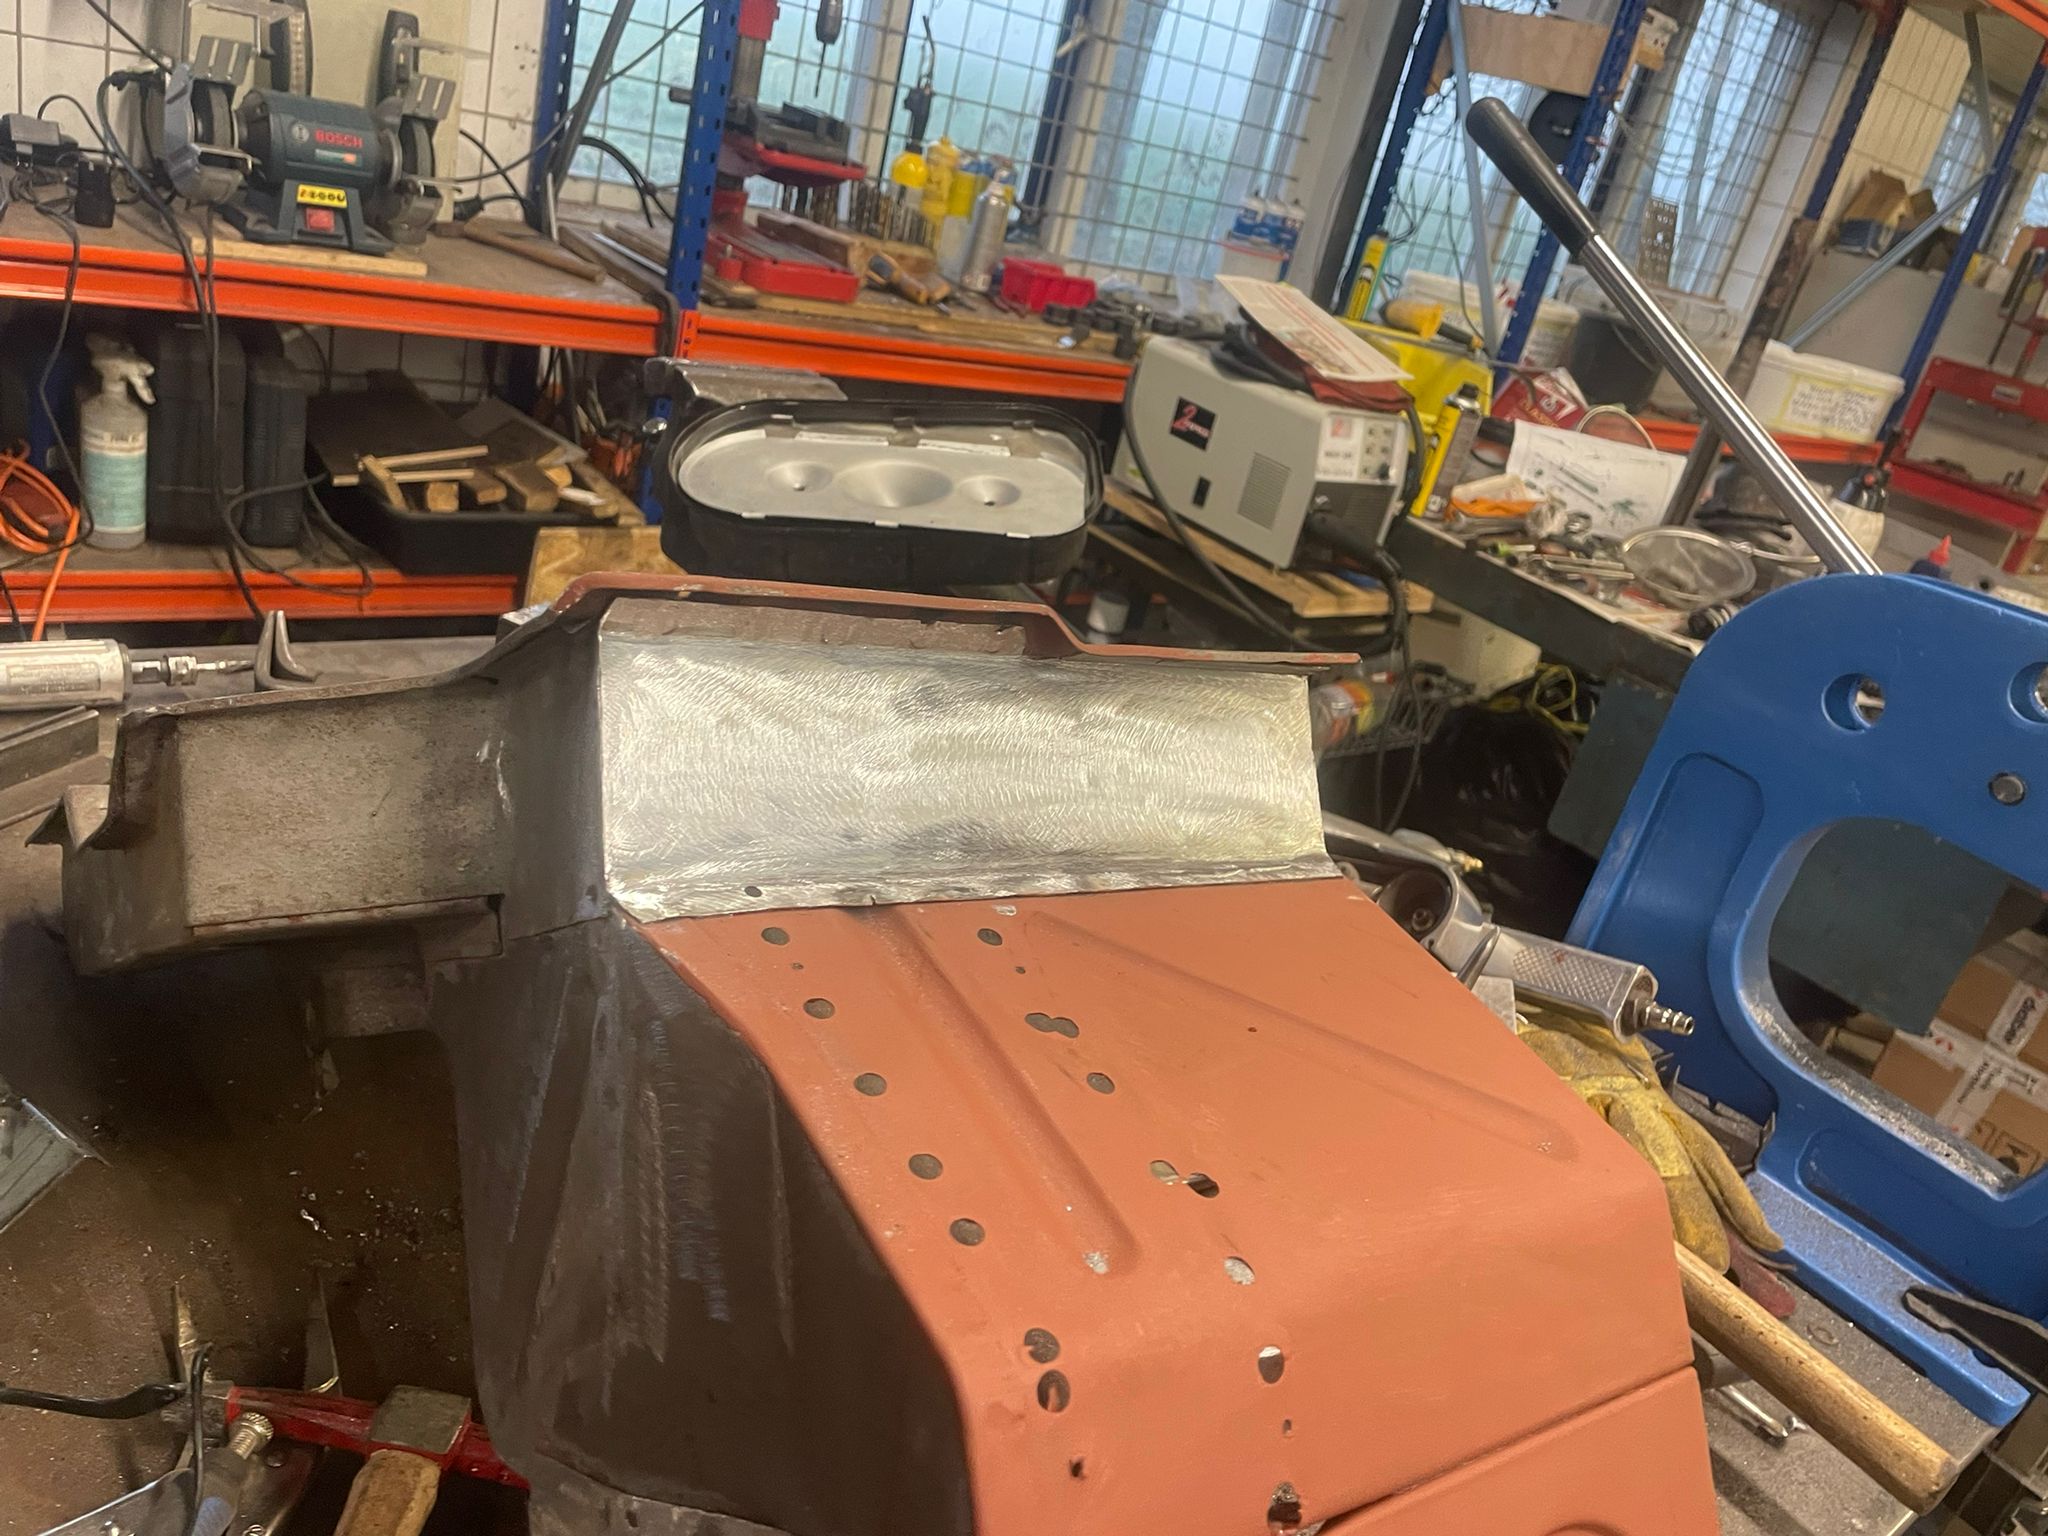
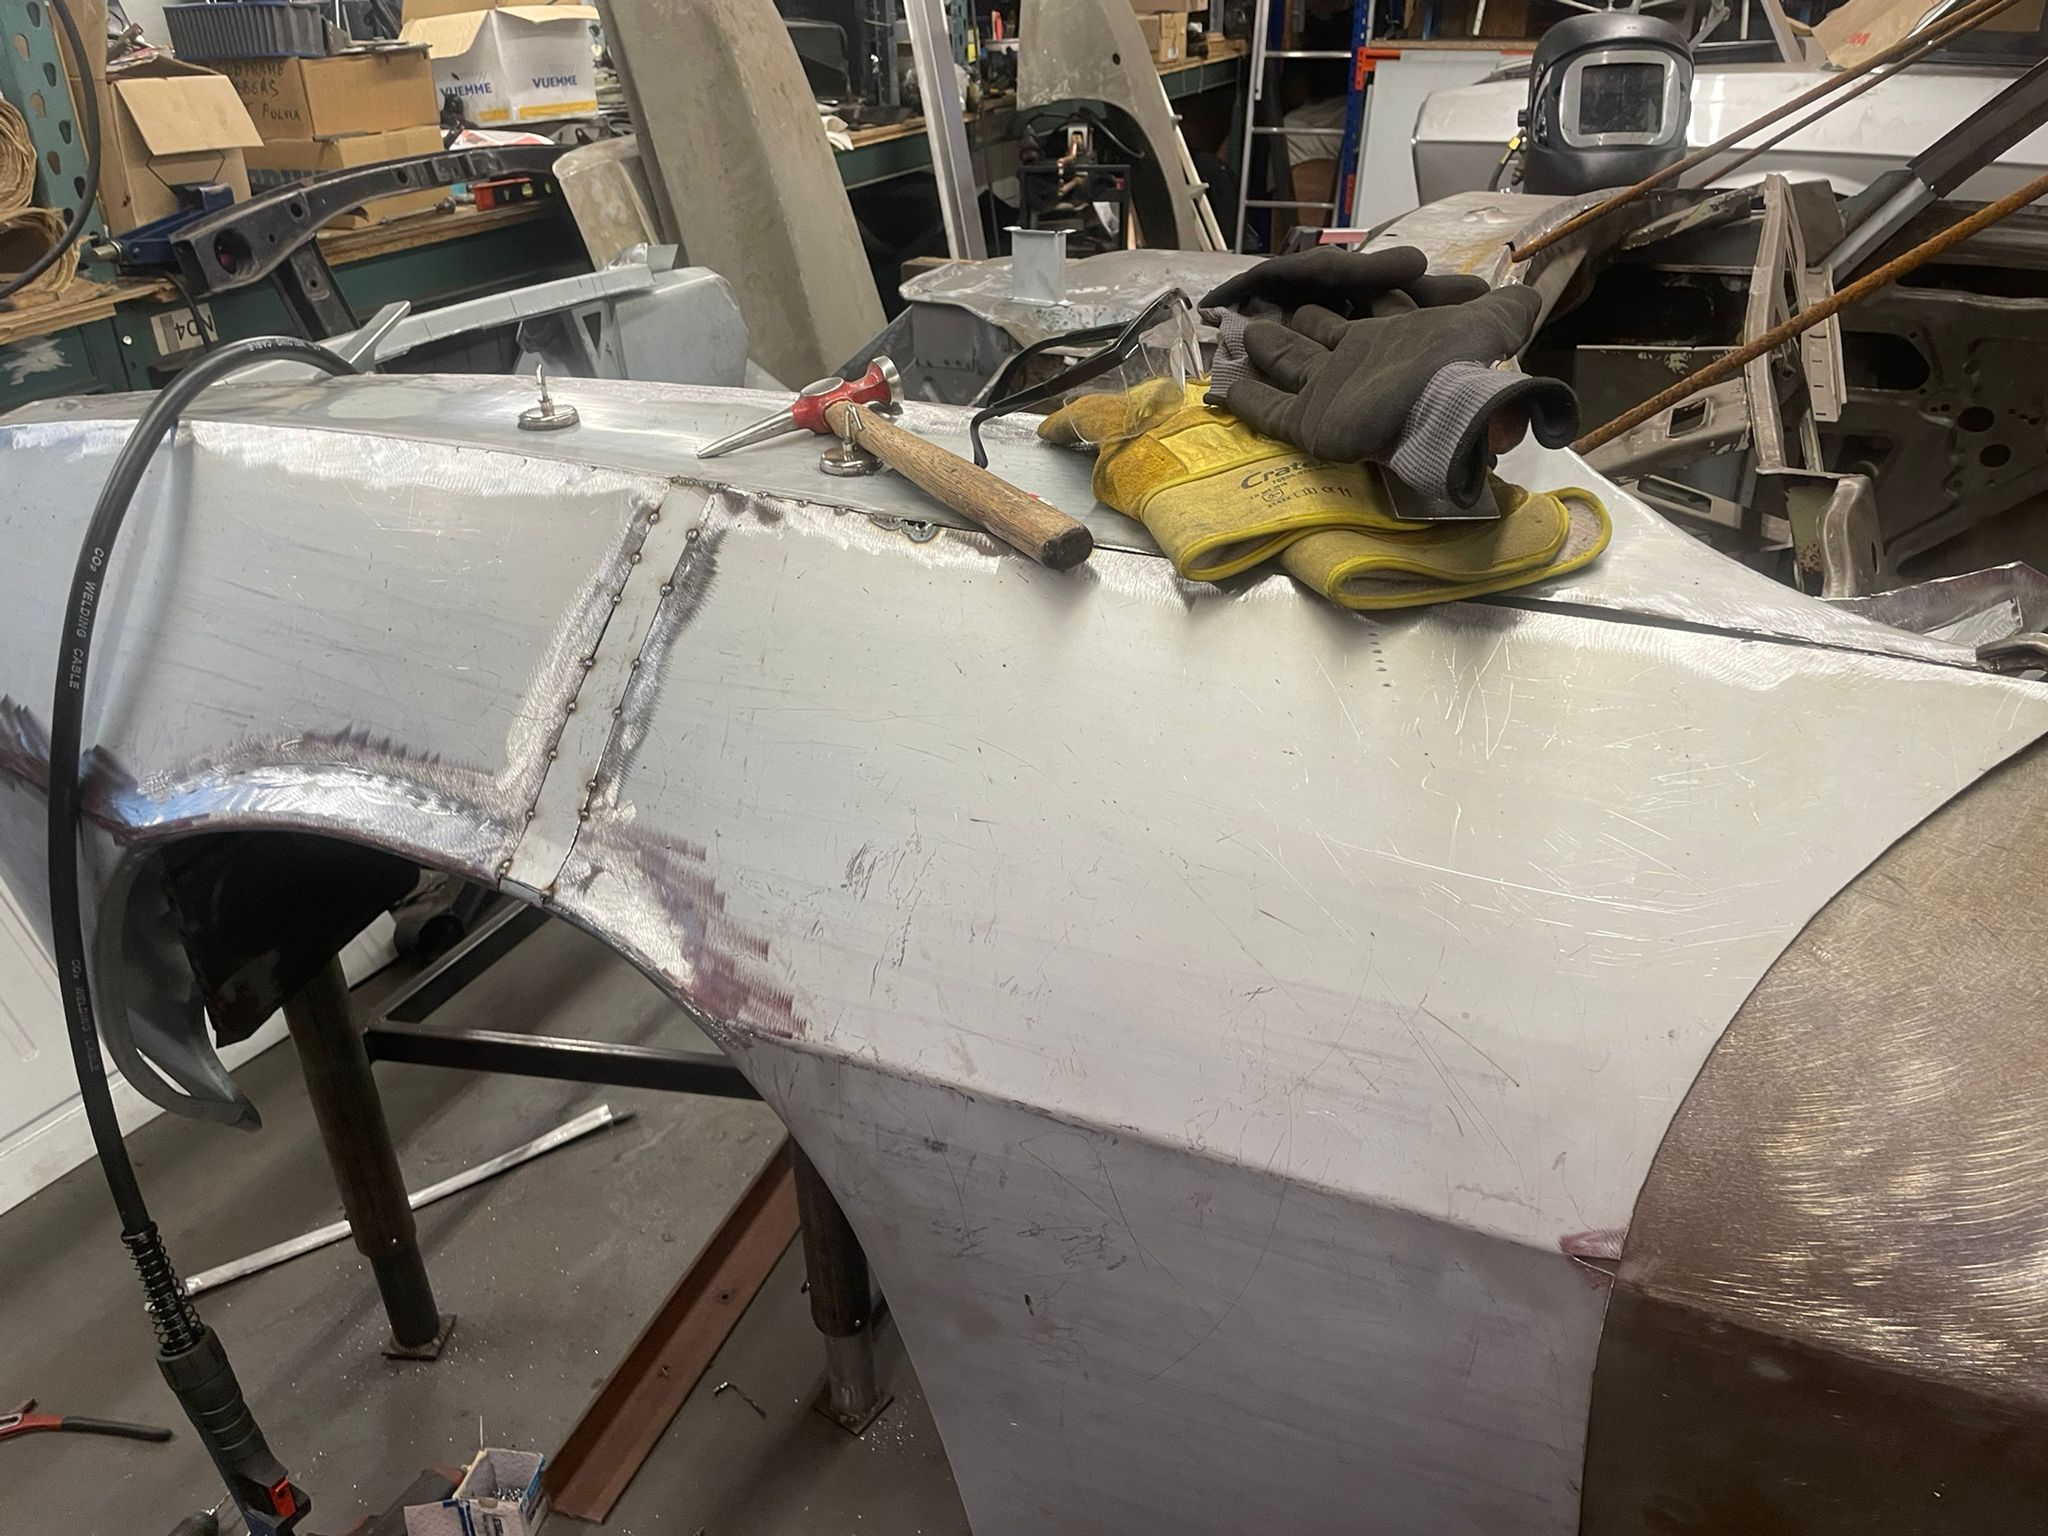
The end of the top needed to be a bit lower to line up with the door and the rearsection moved a little backwards. The exces now on top of the doorskin has some extra material to fold over the edge later on. The middle needed around 30mm added to it
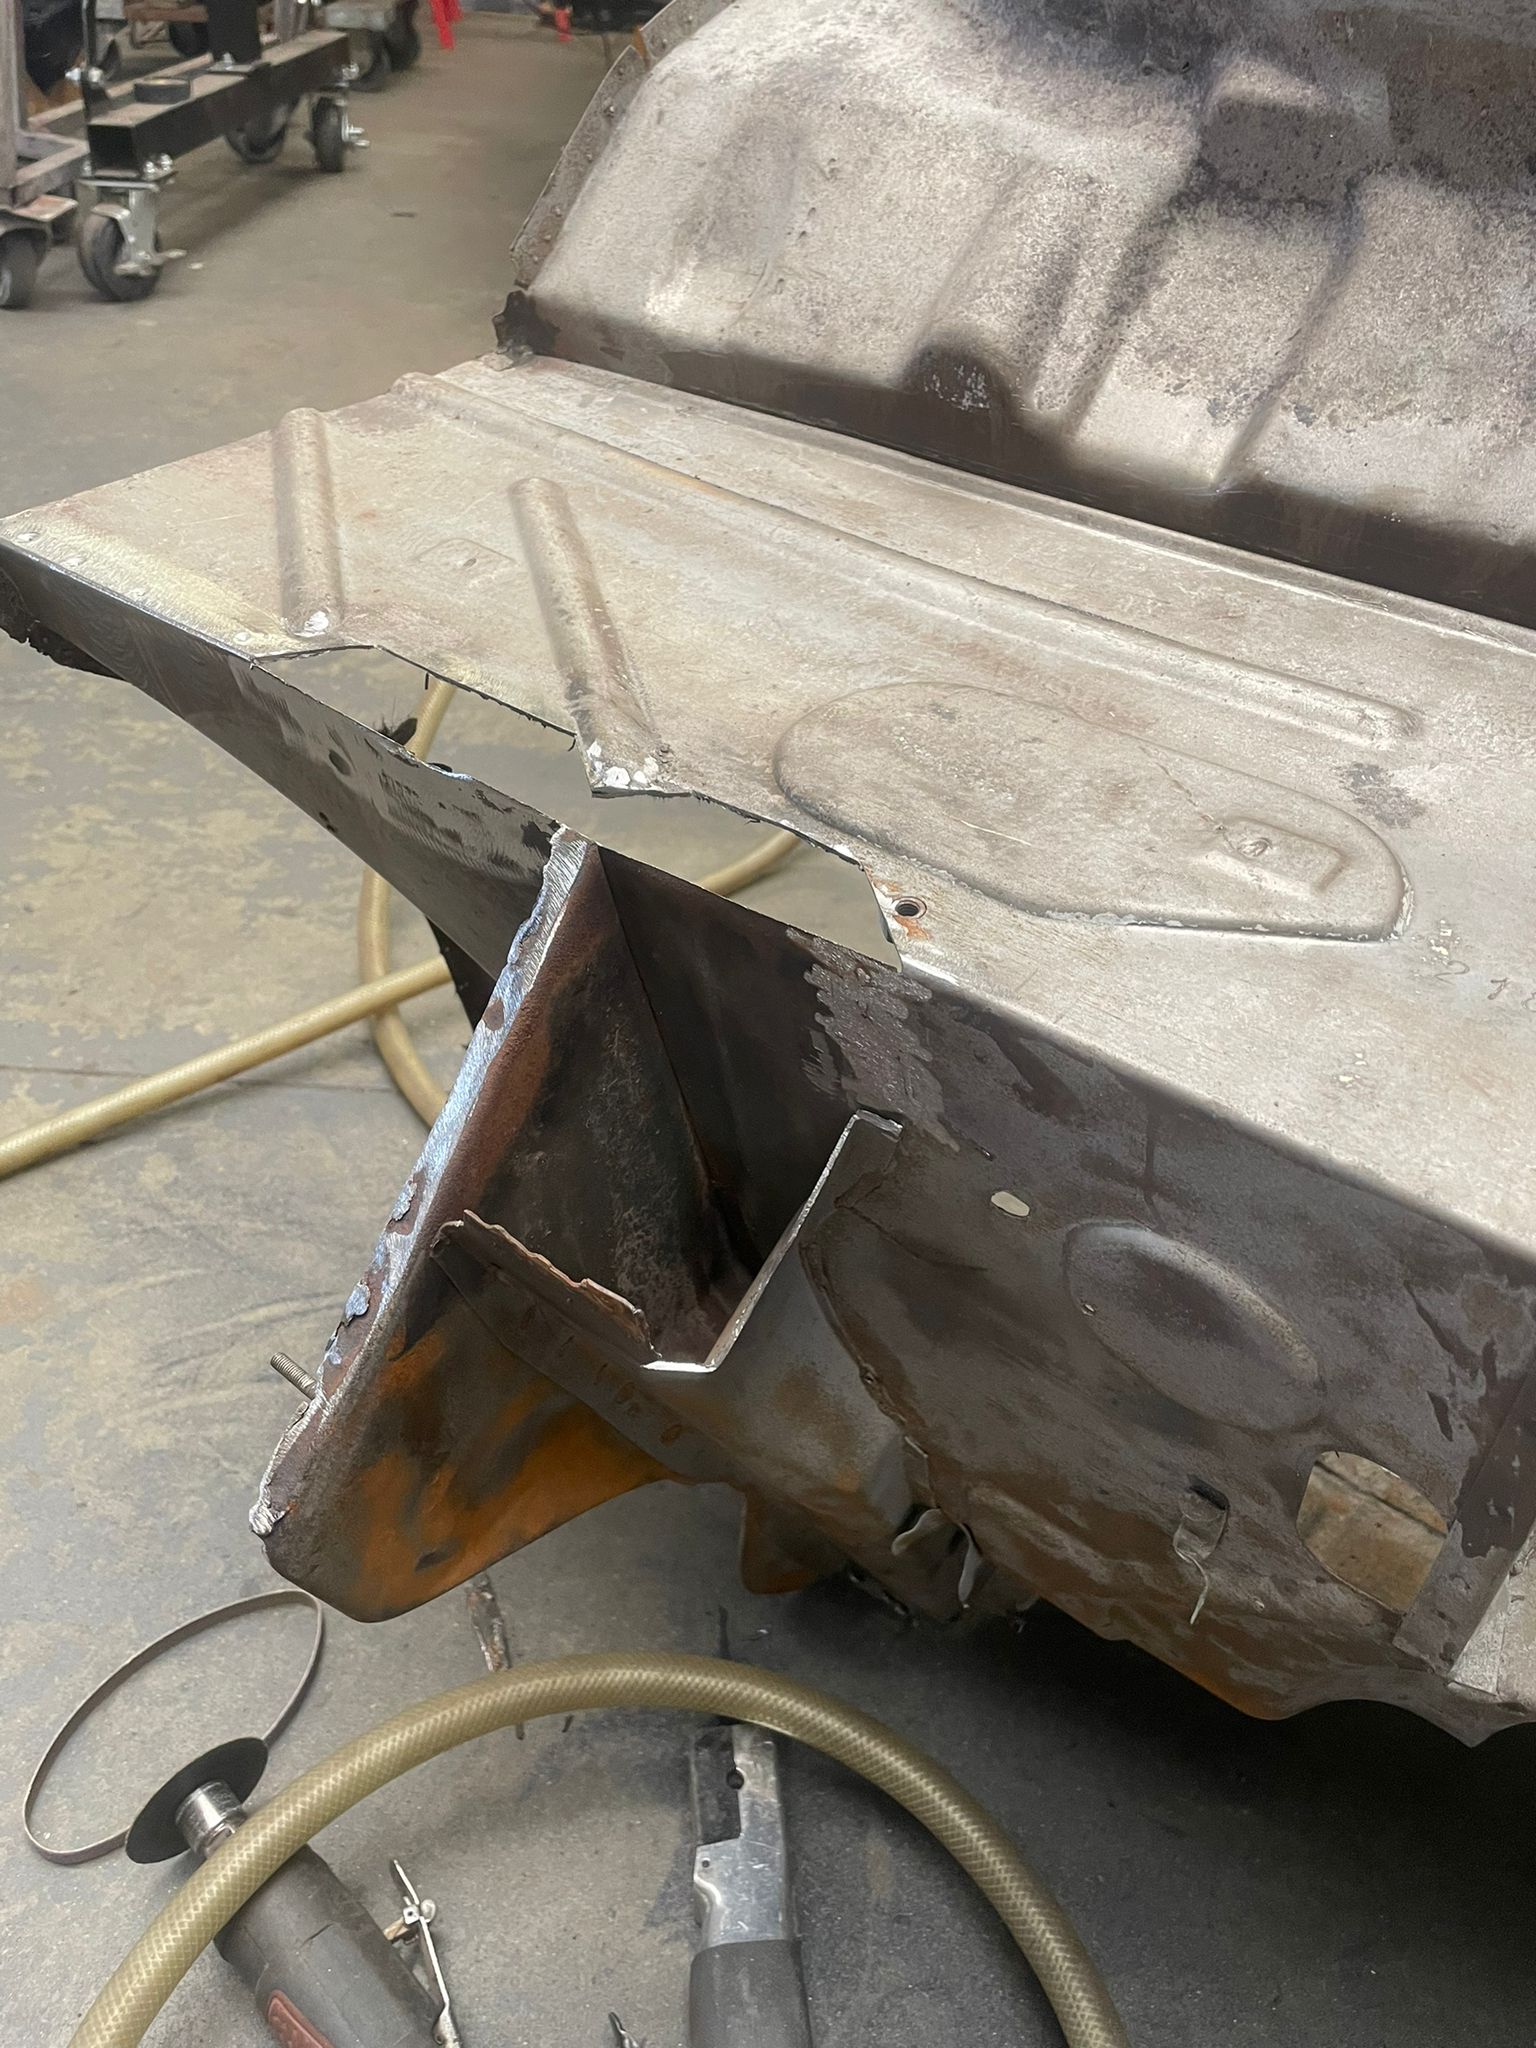
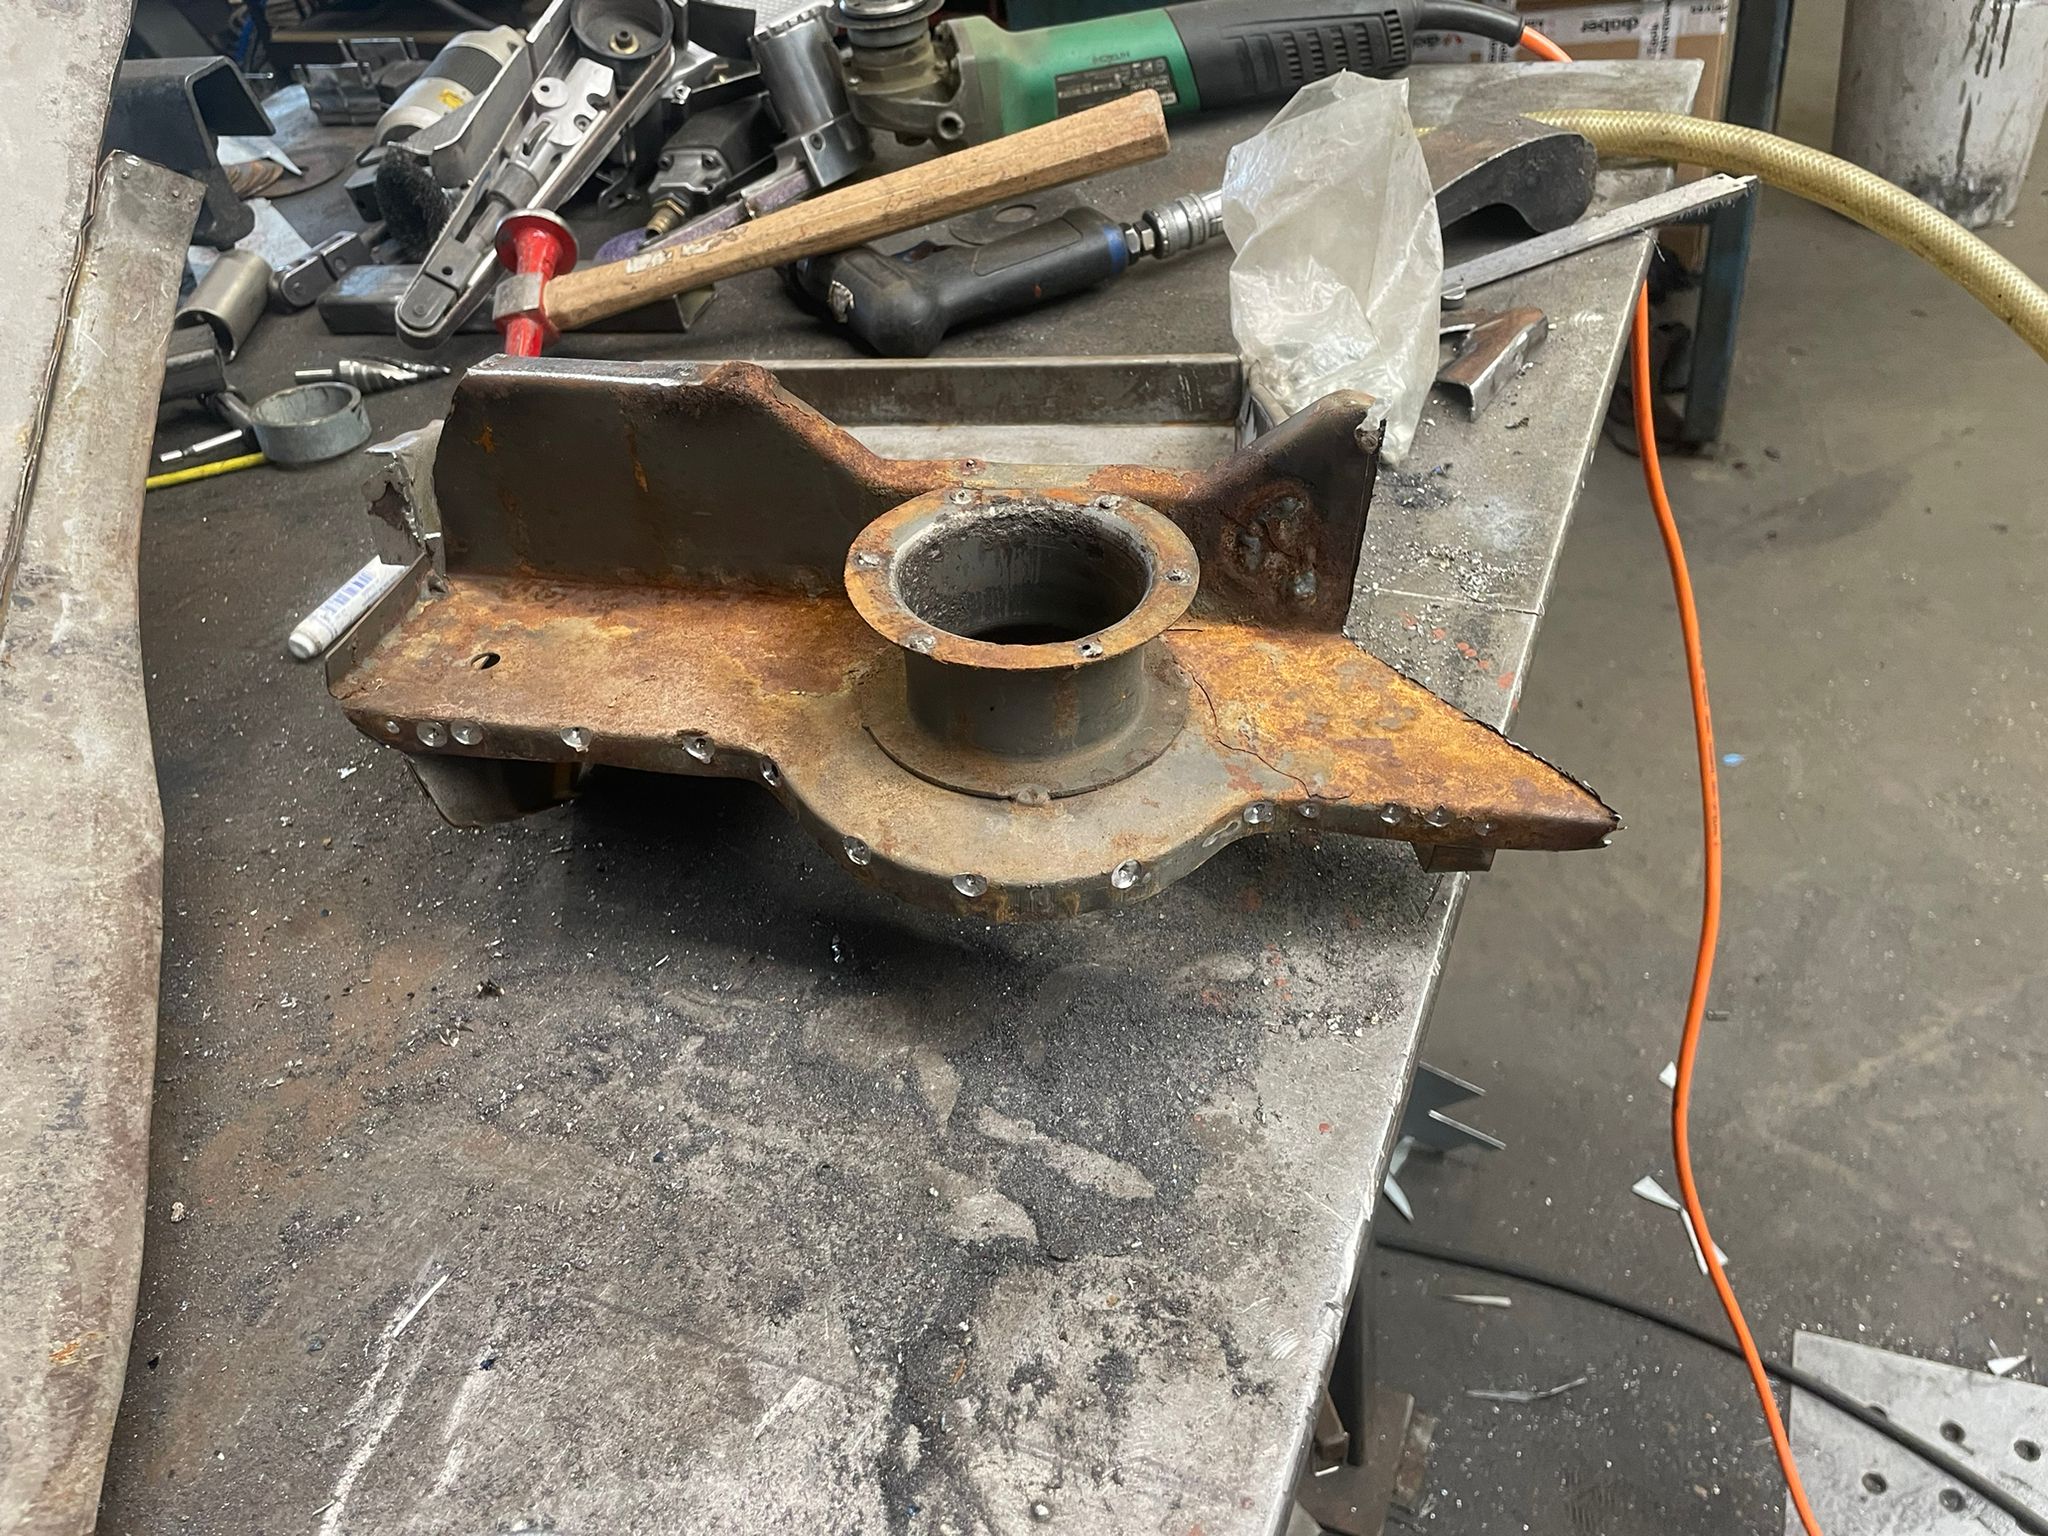
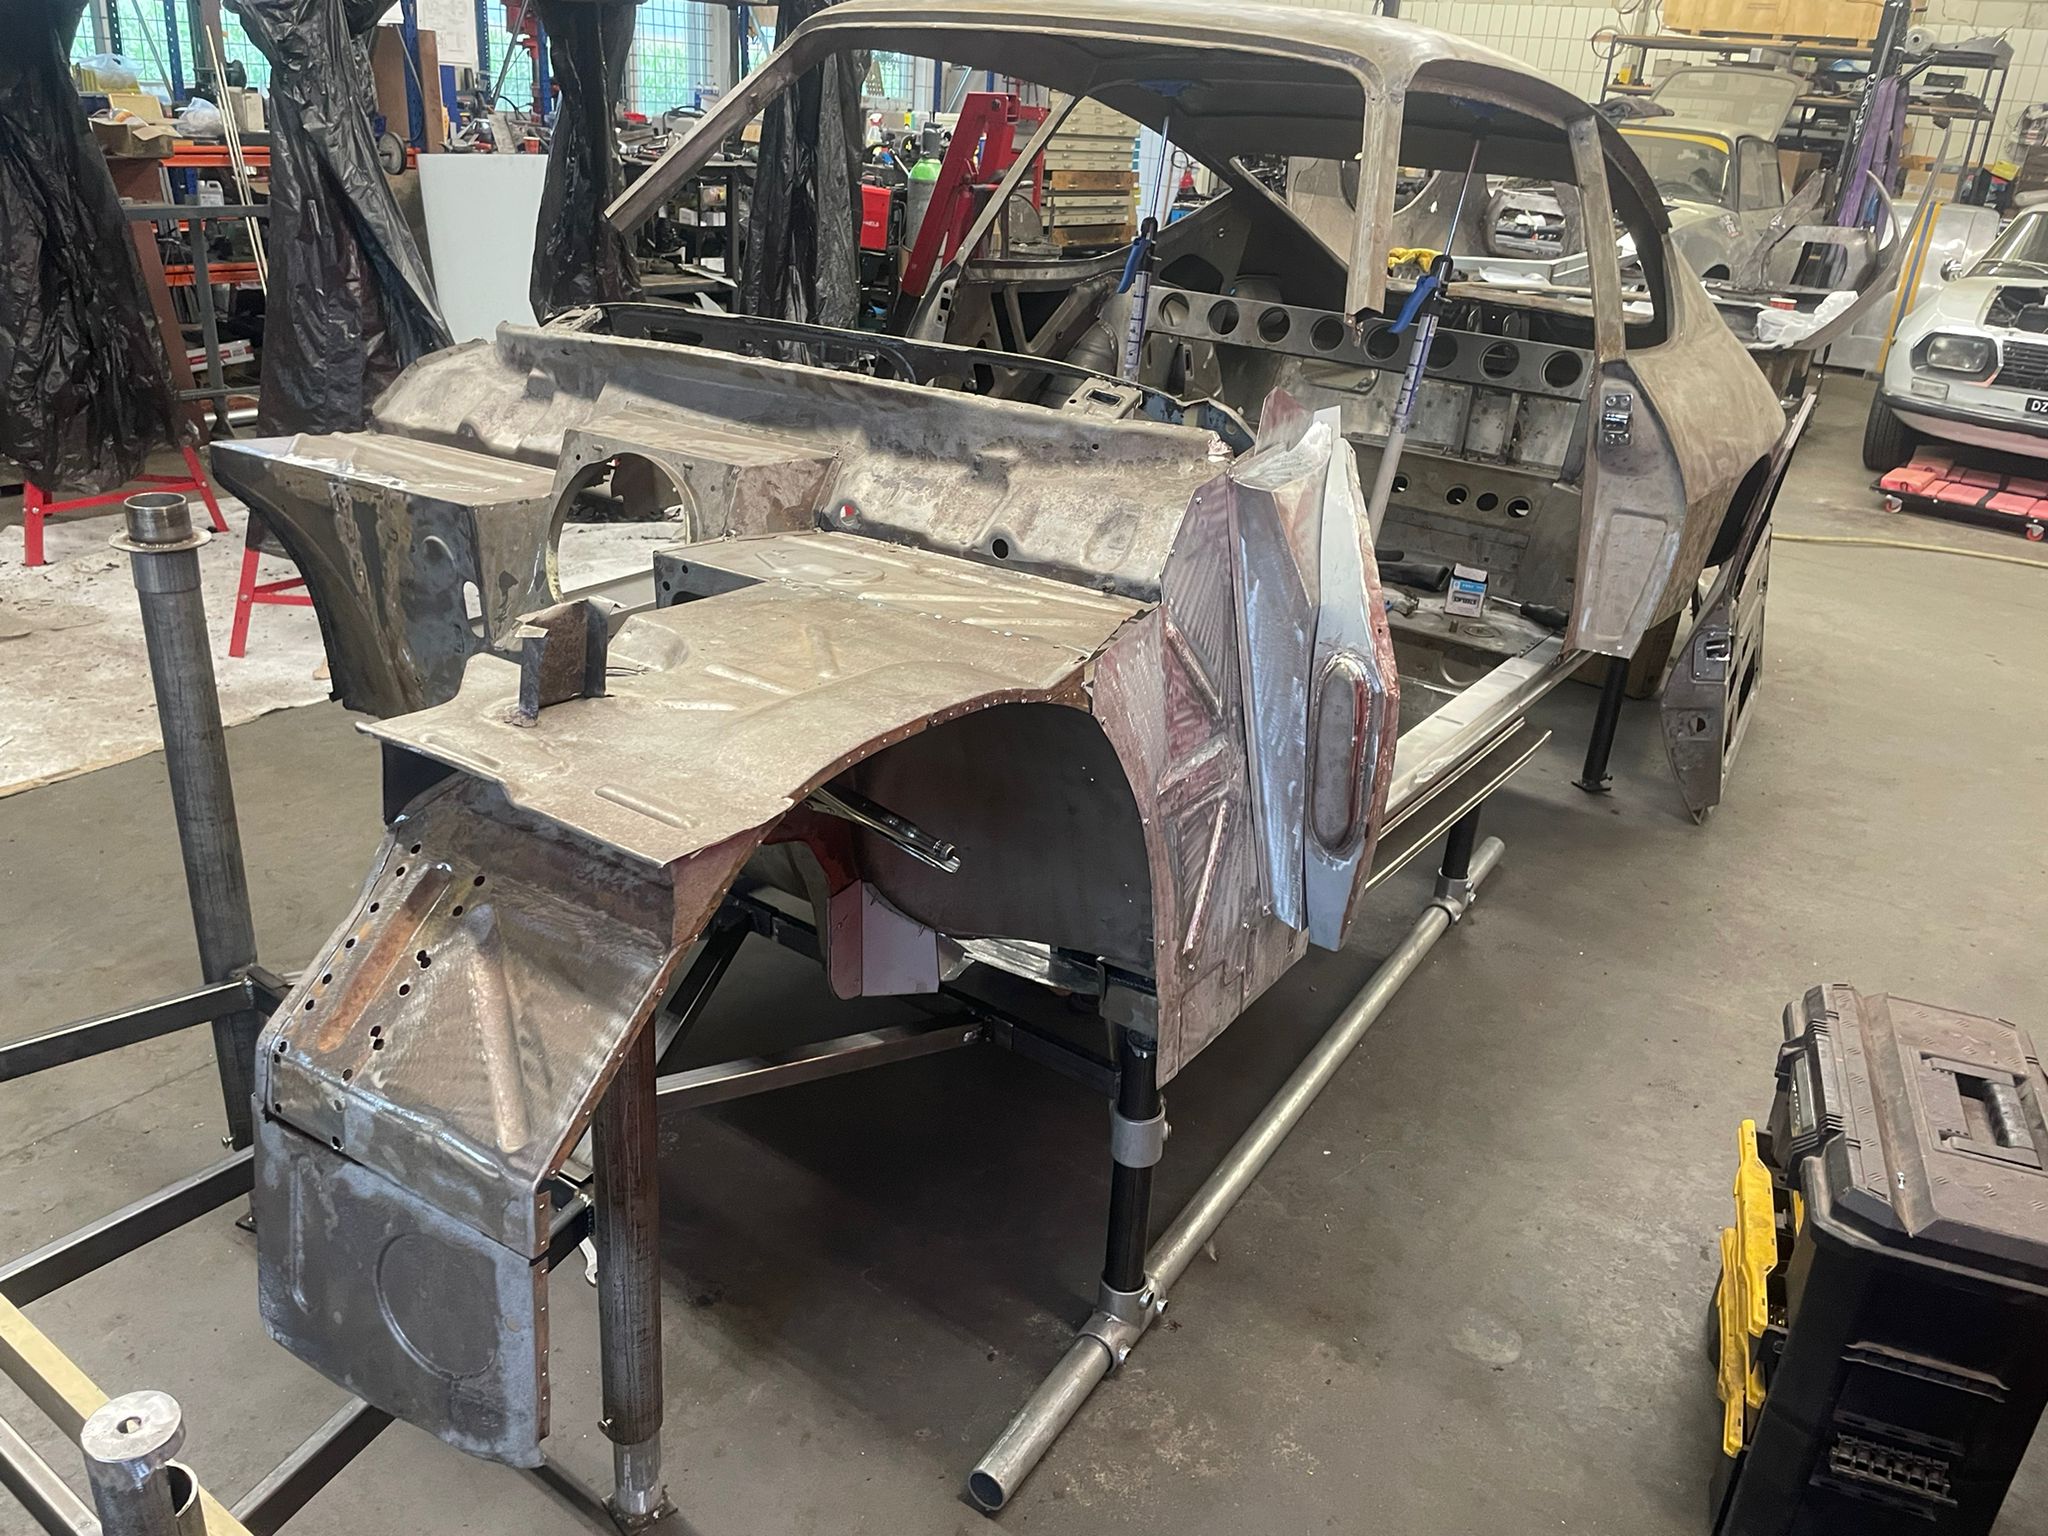
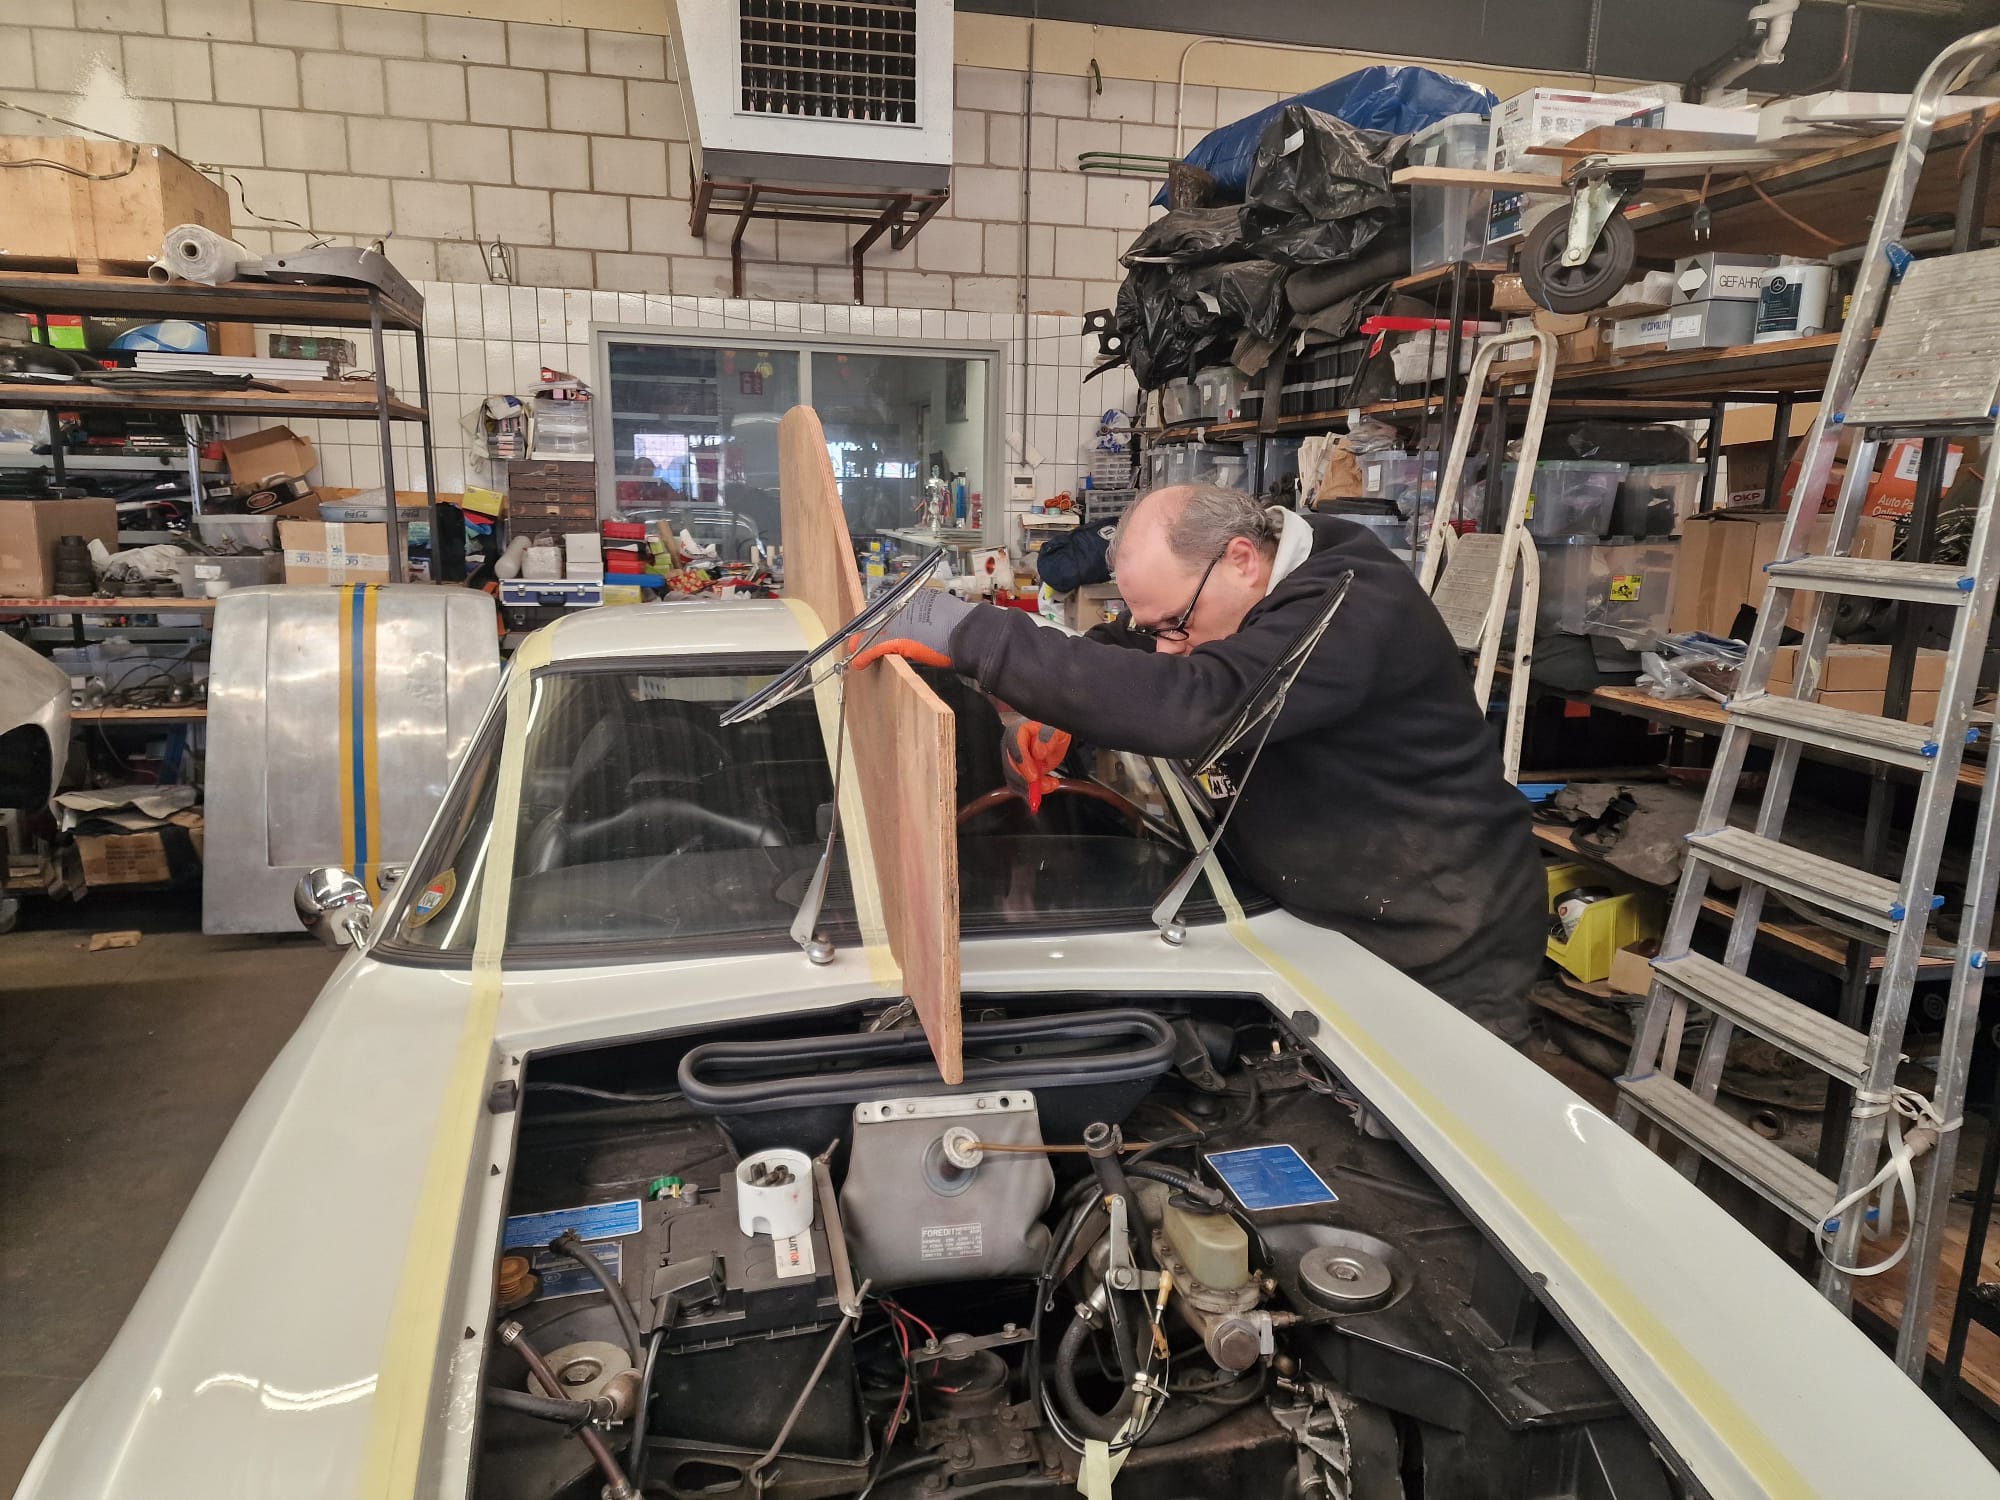
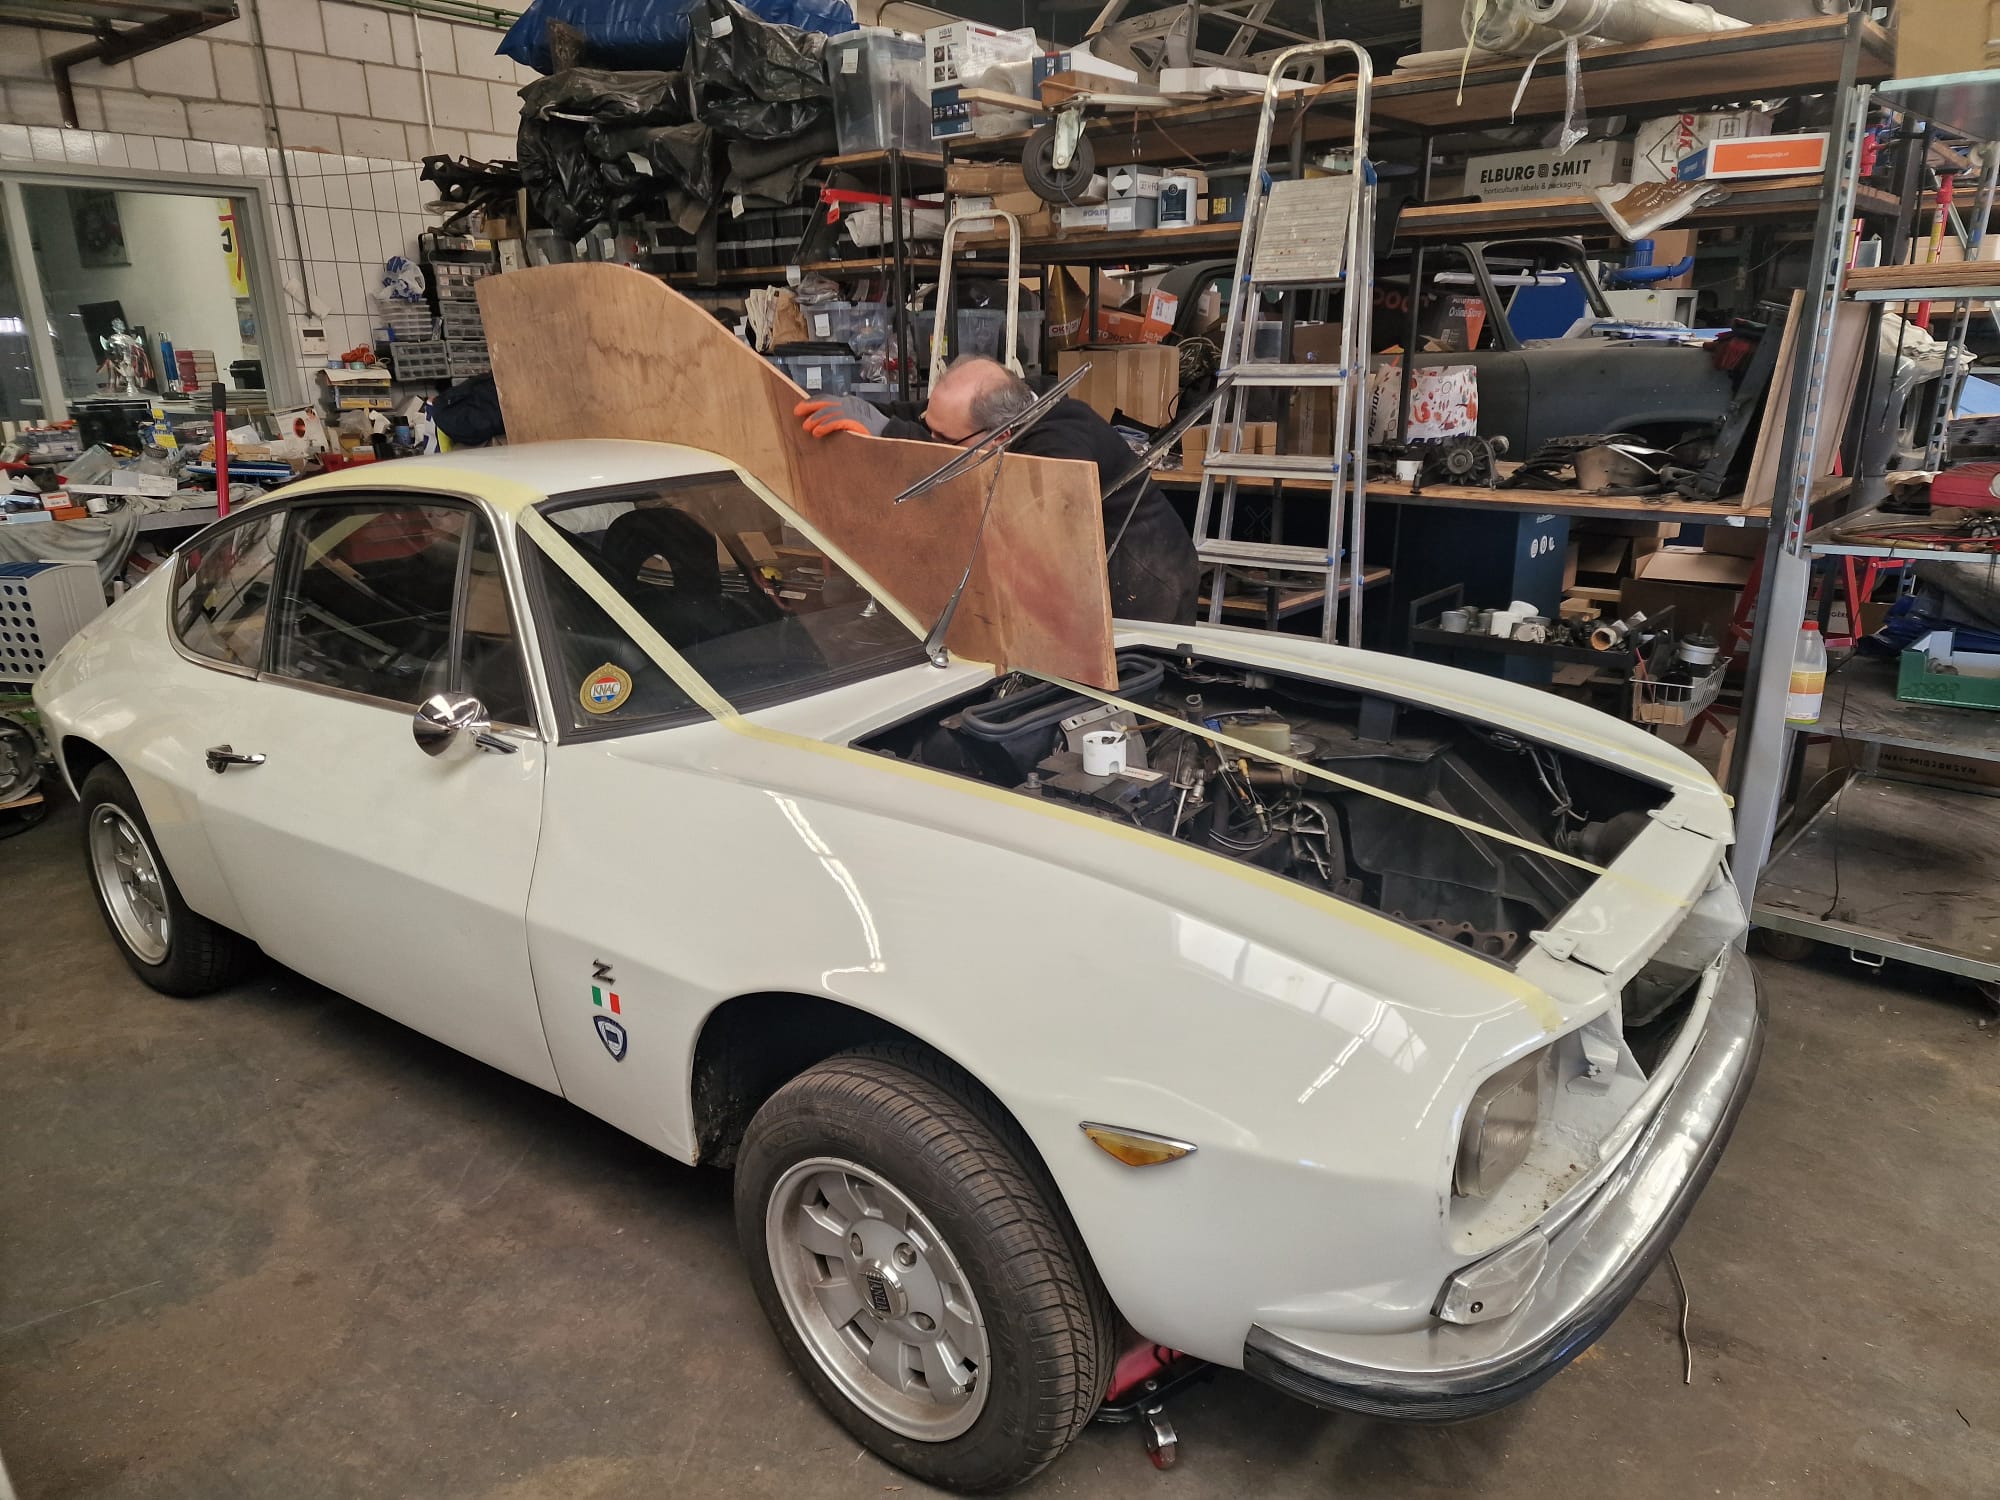
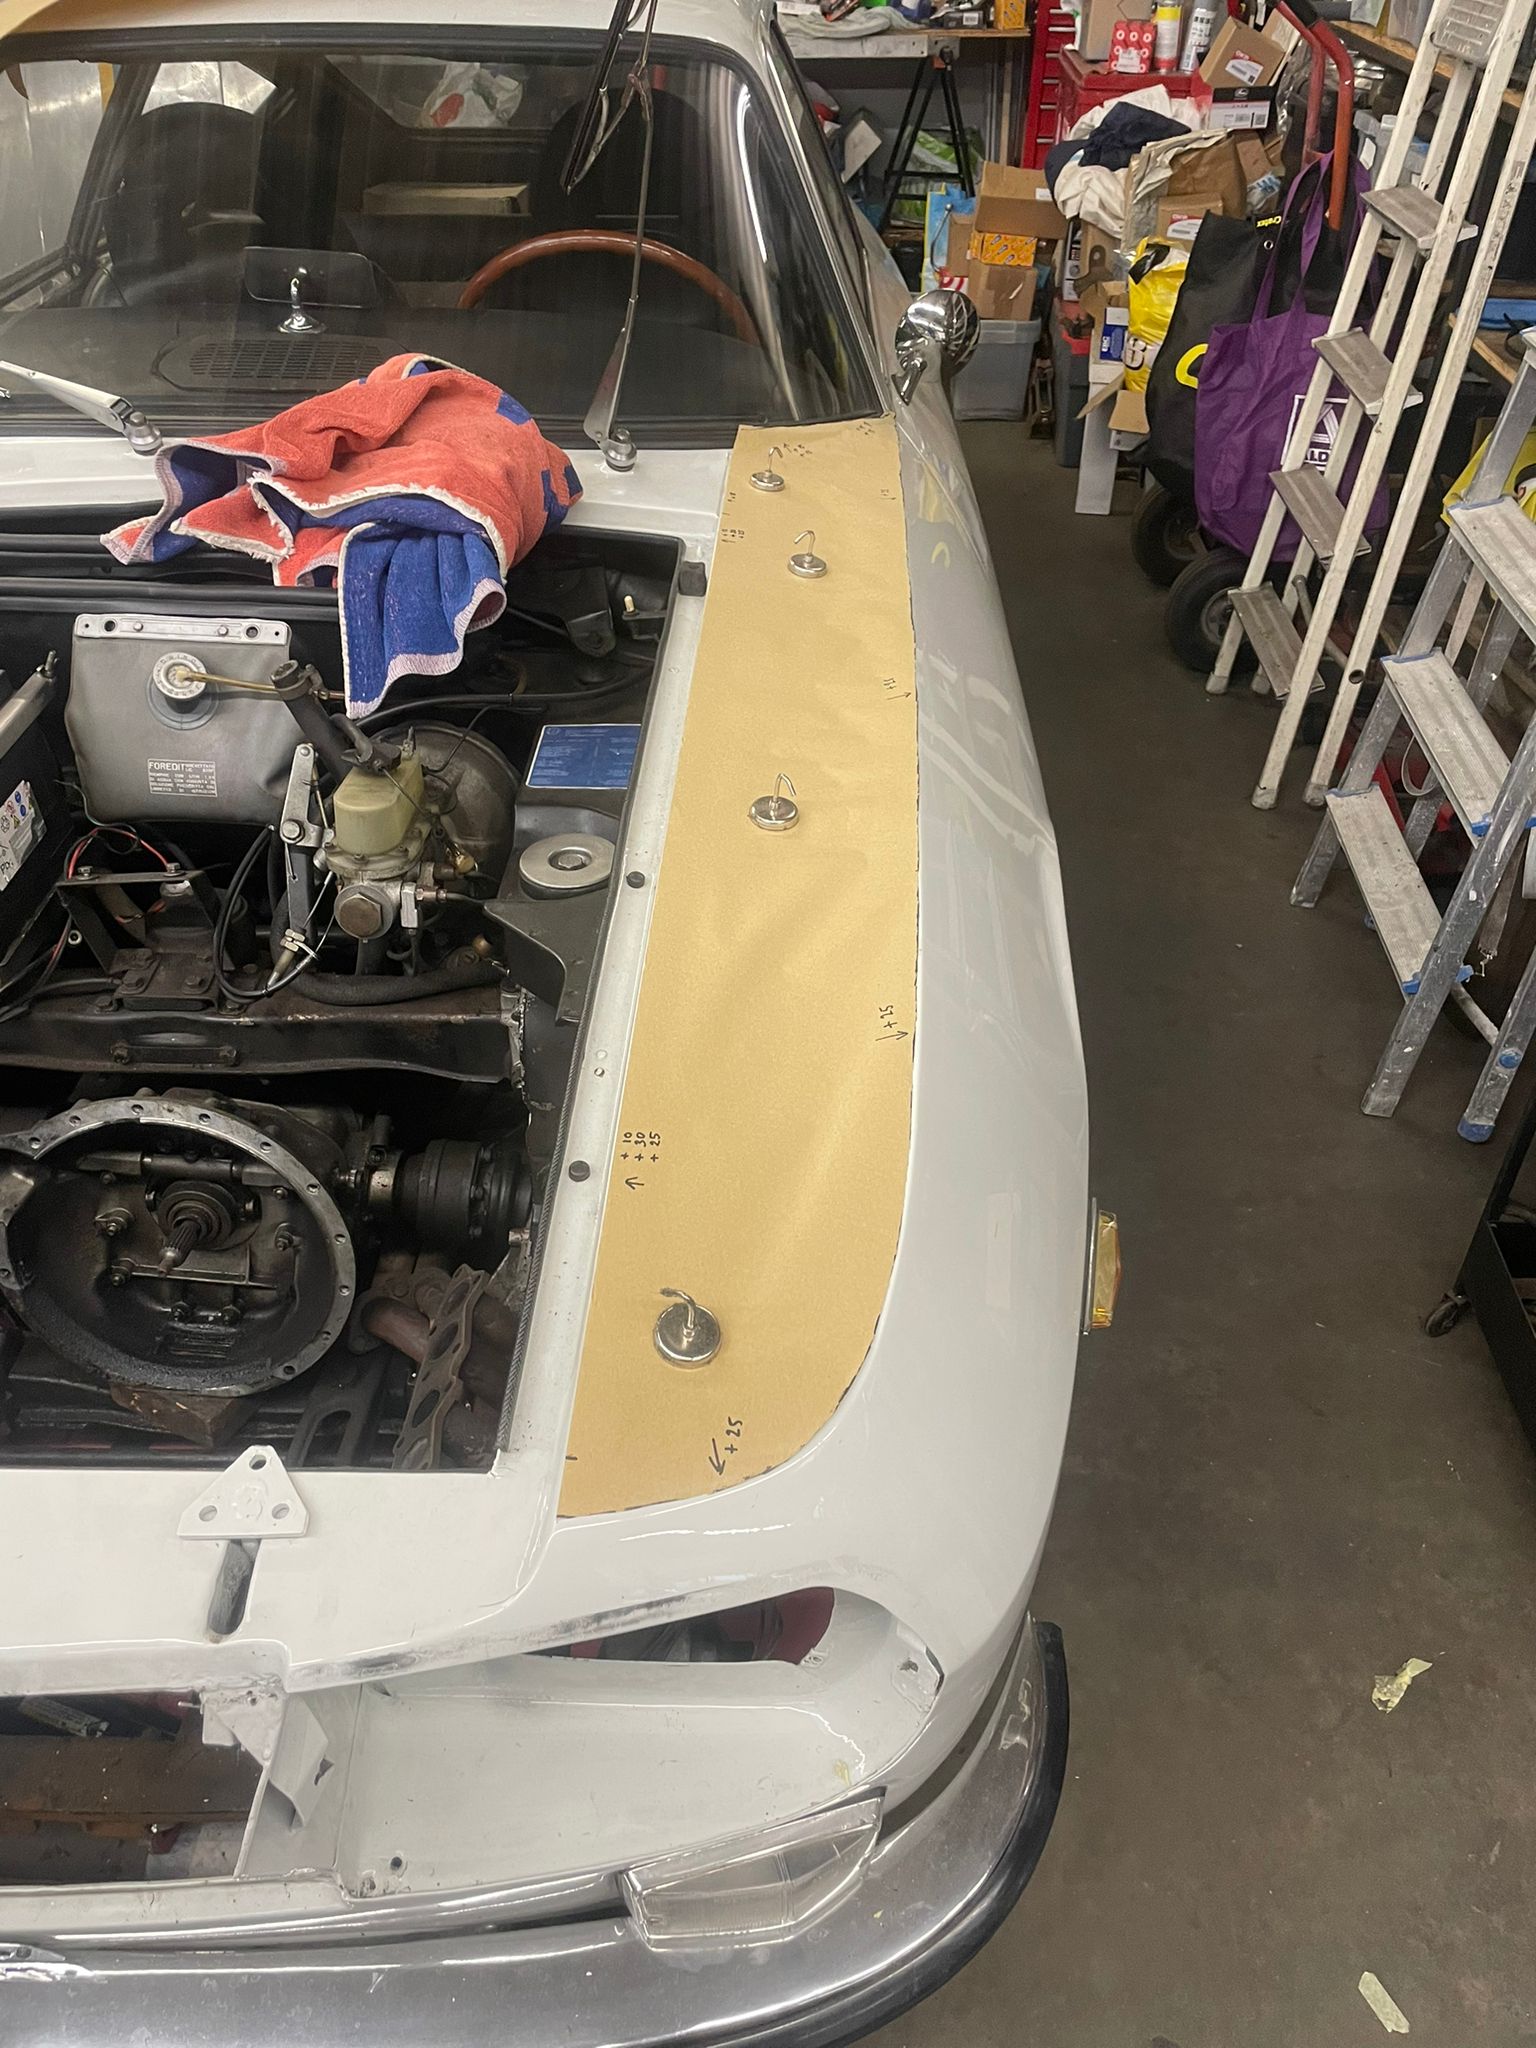
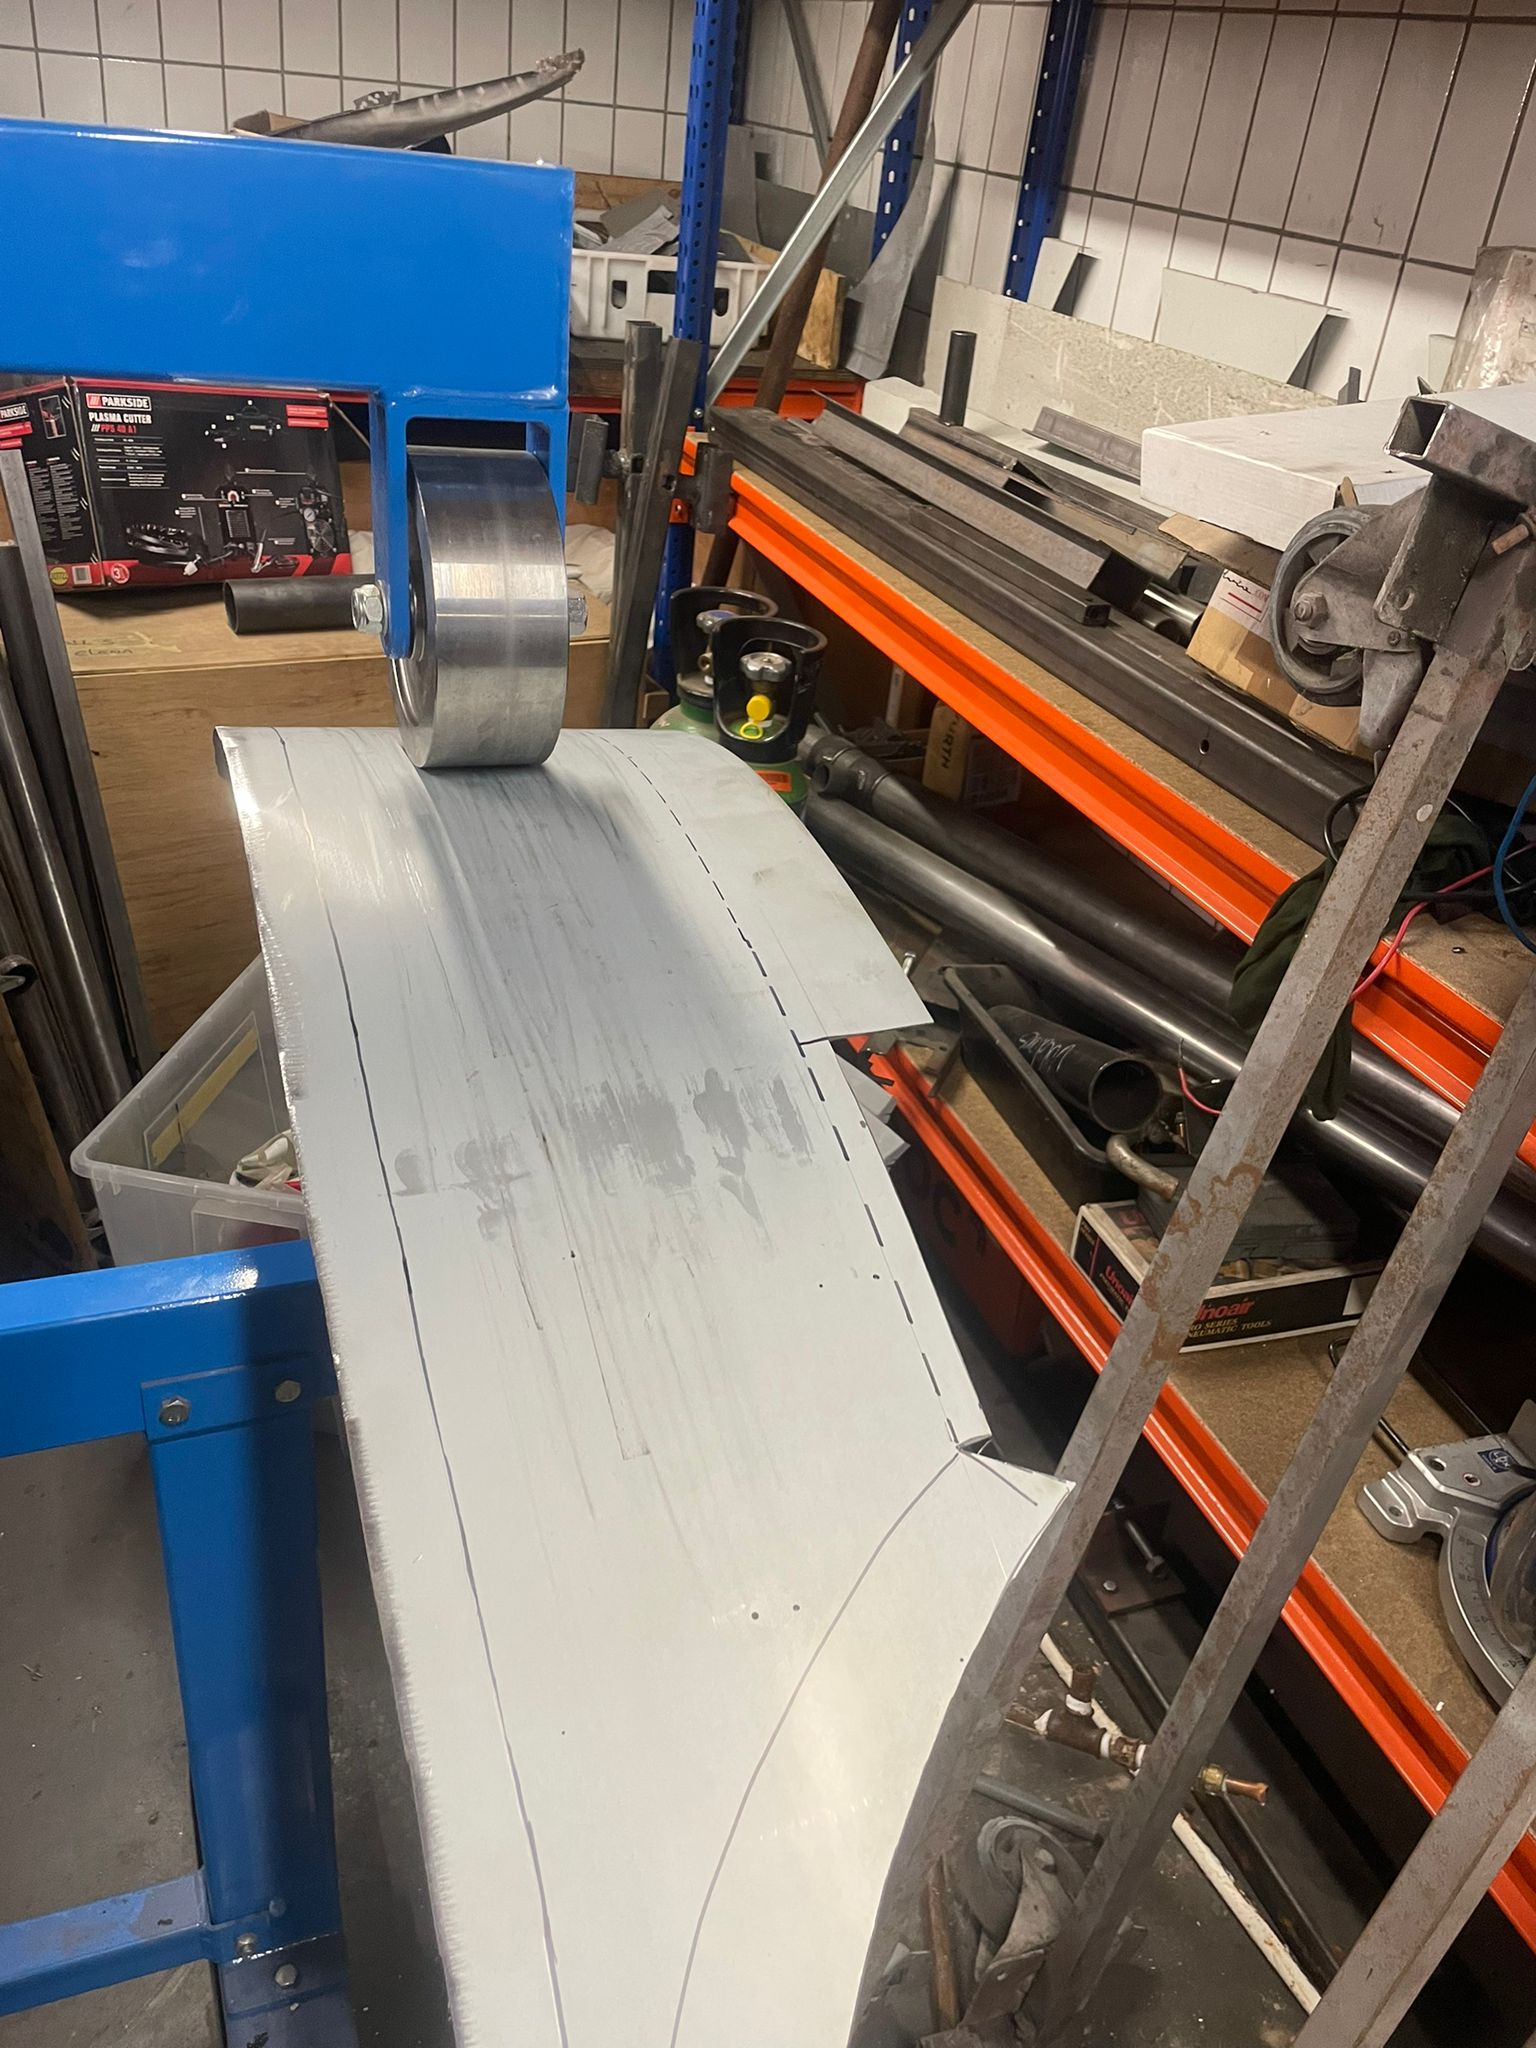
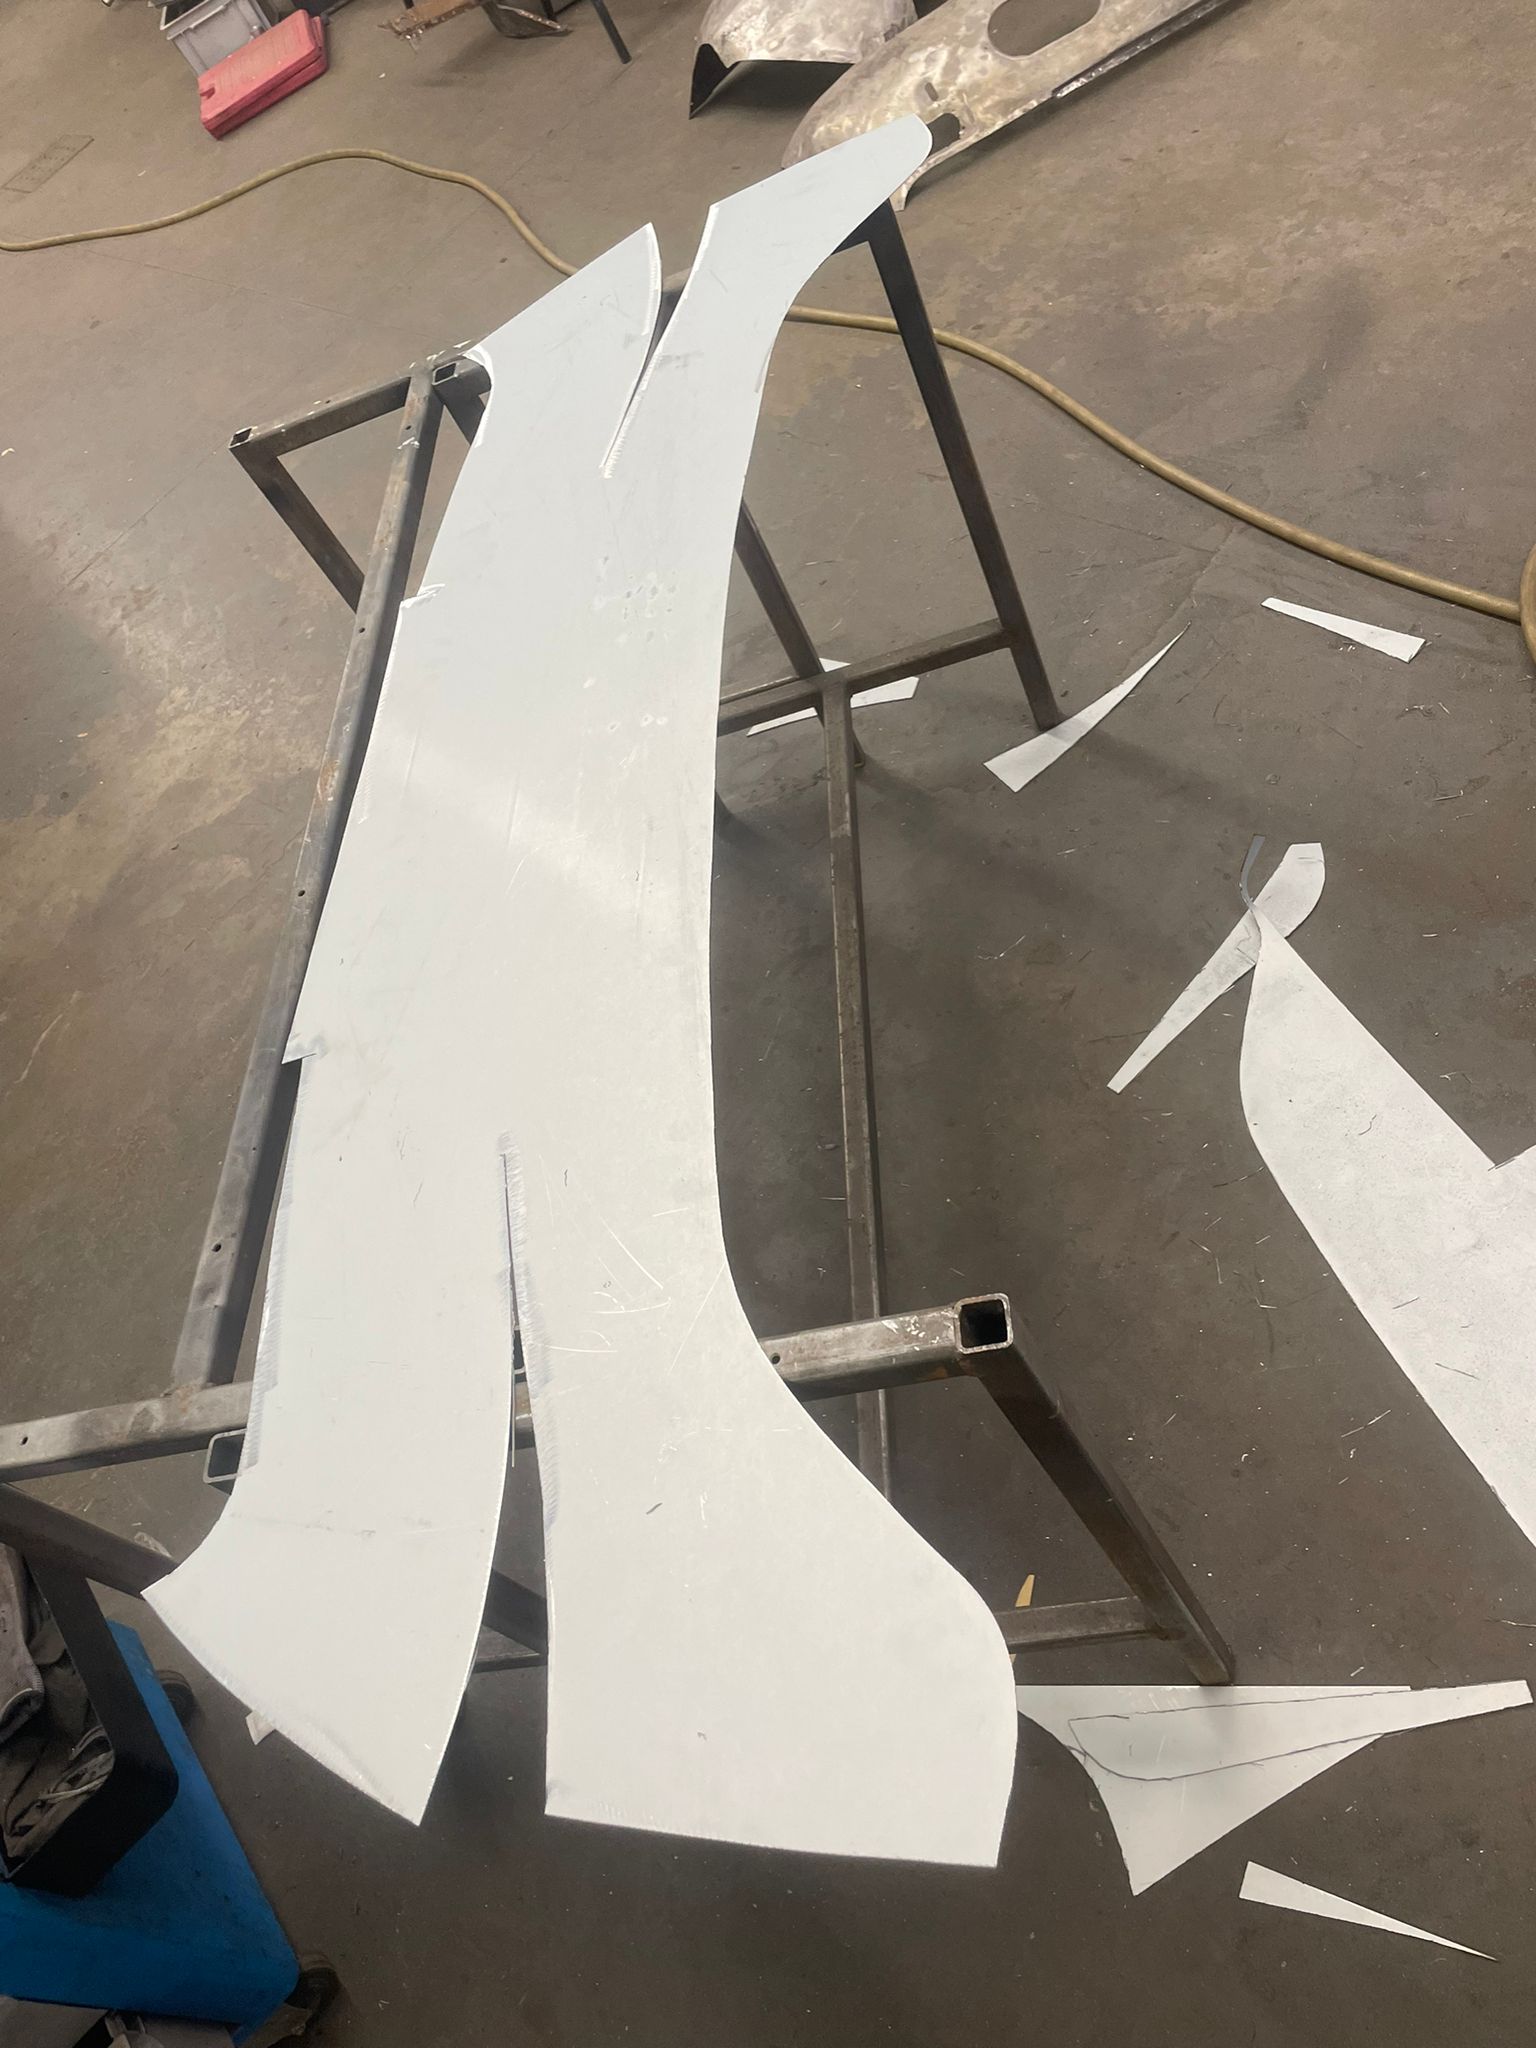
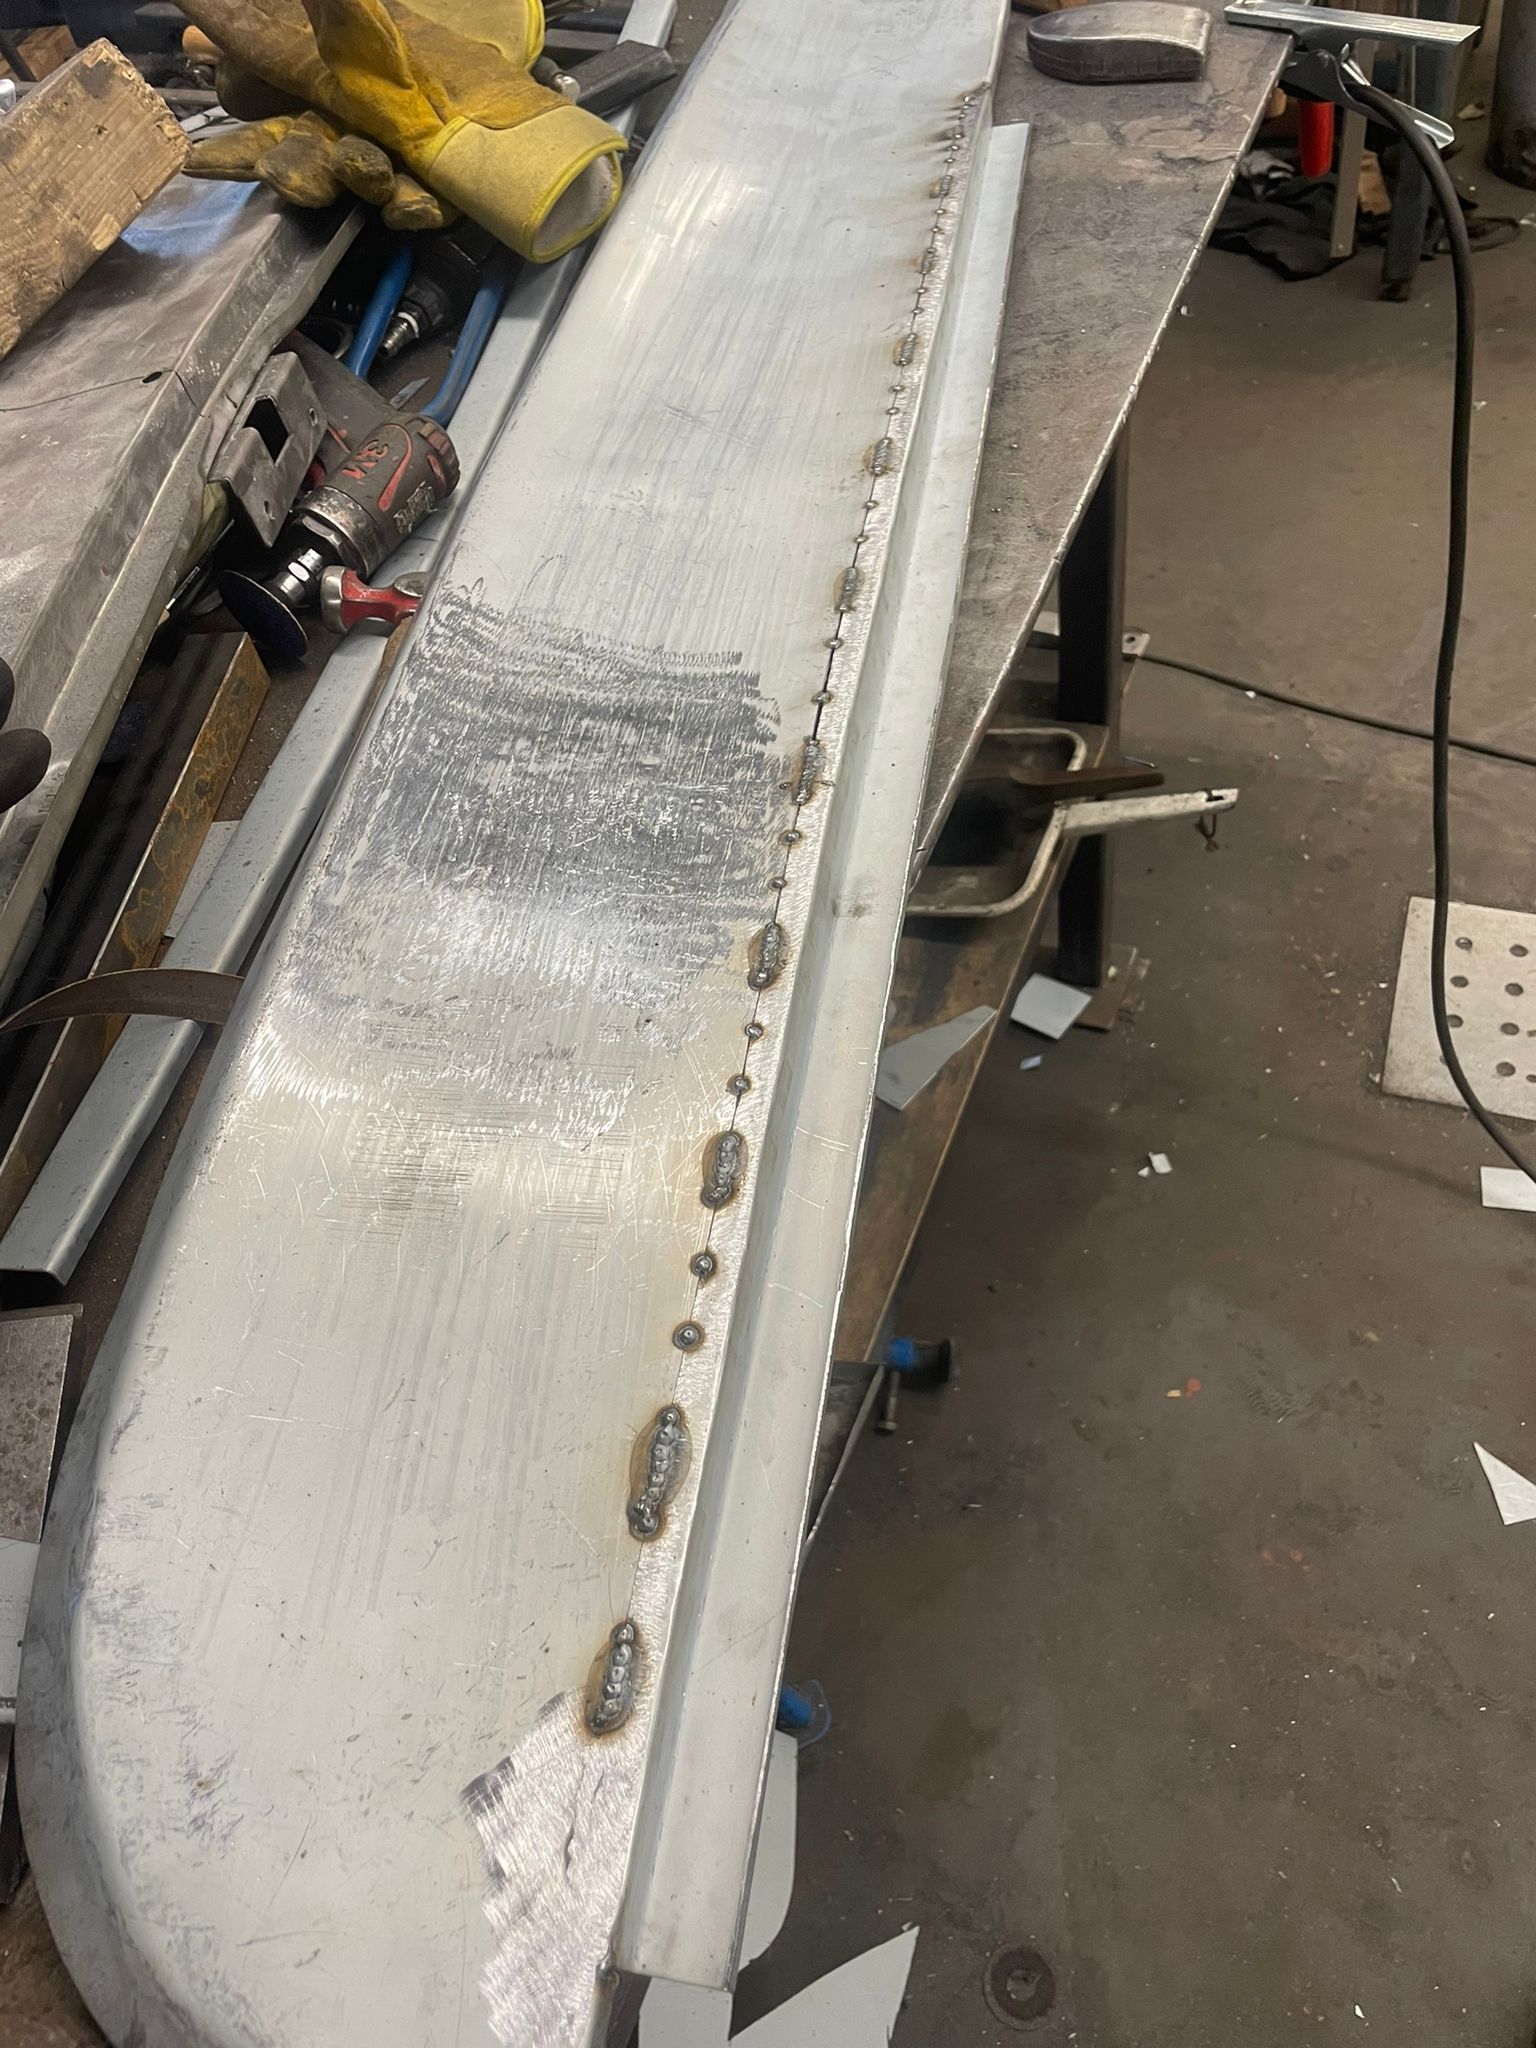
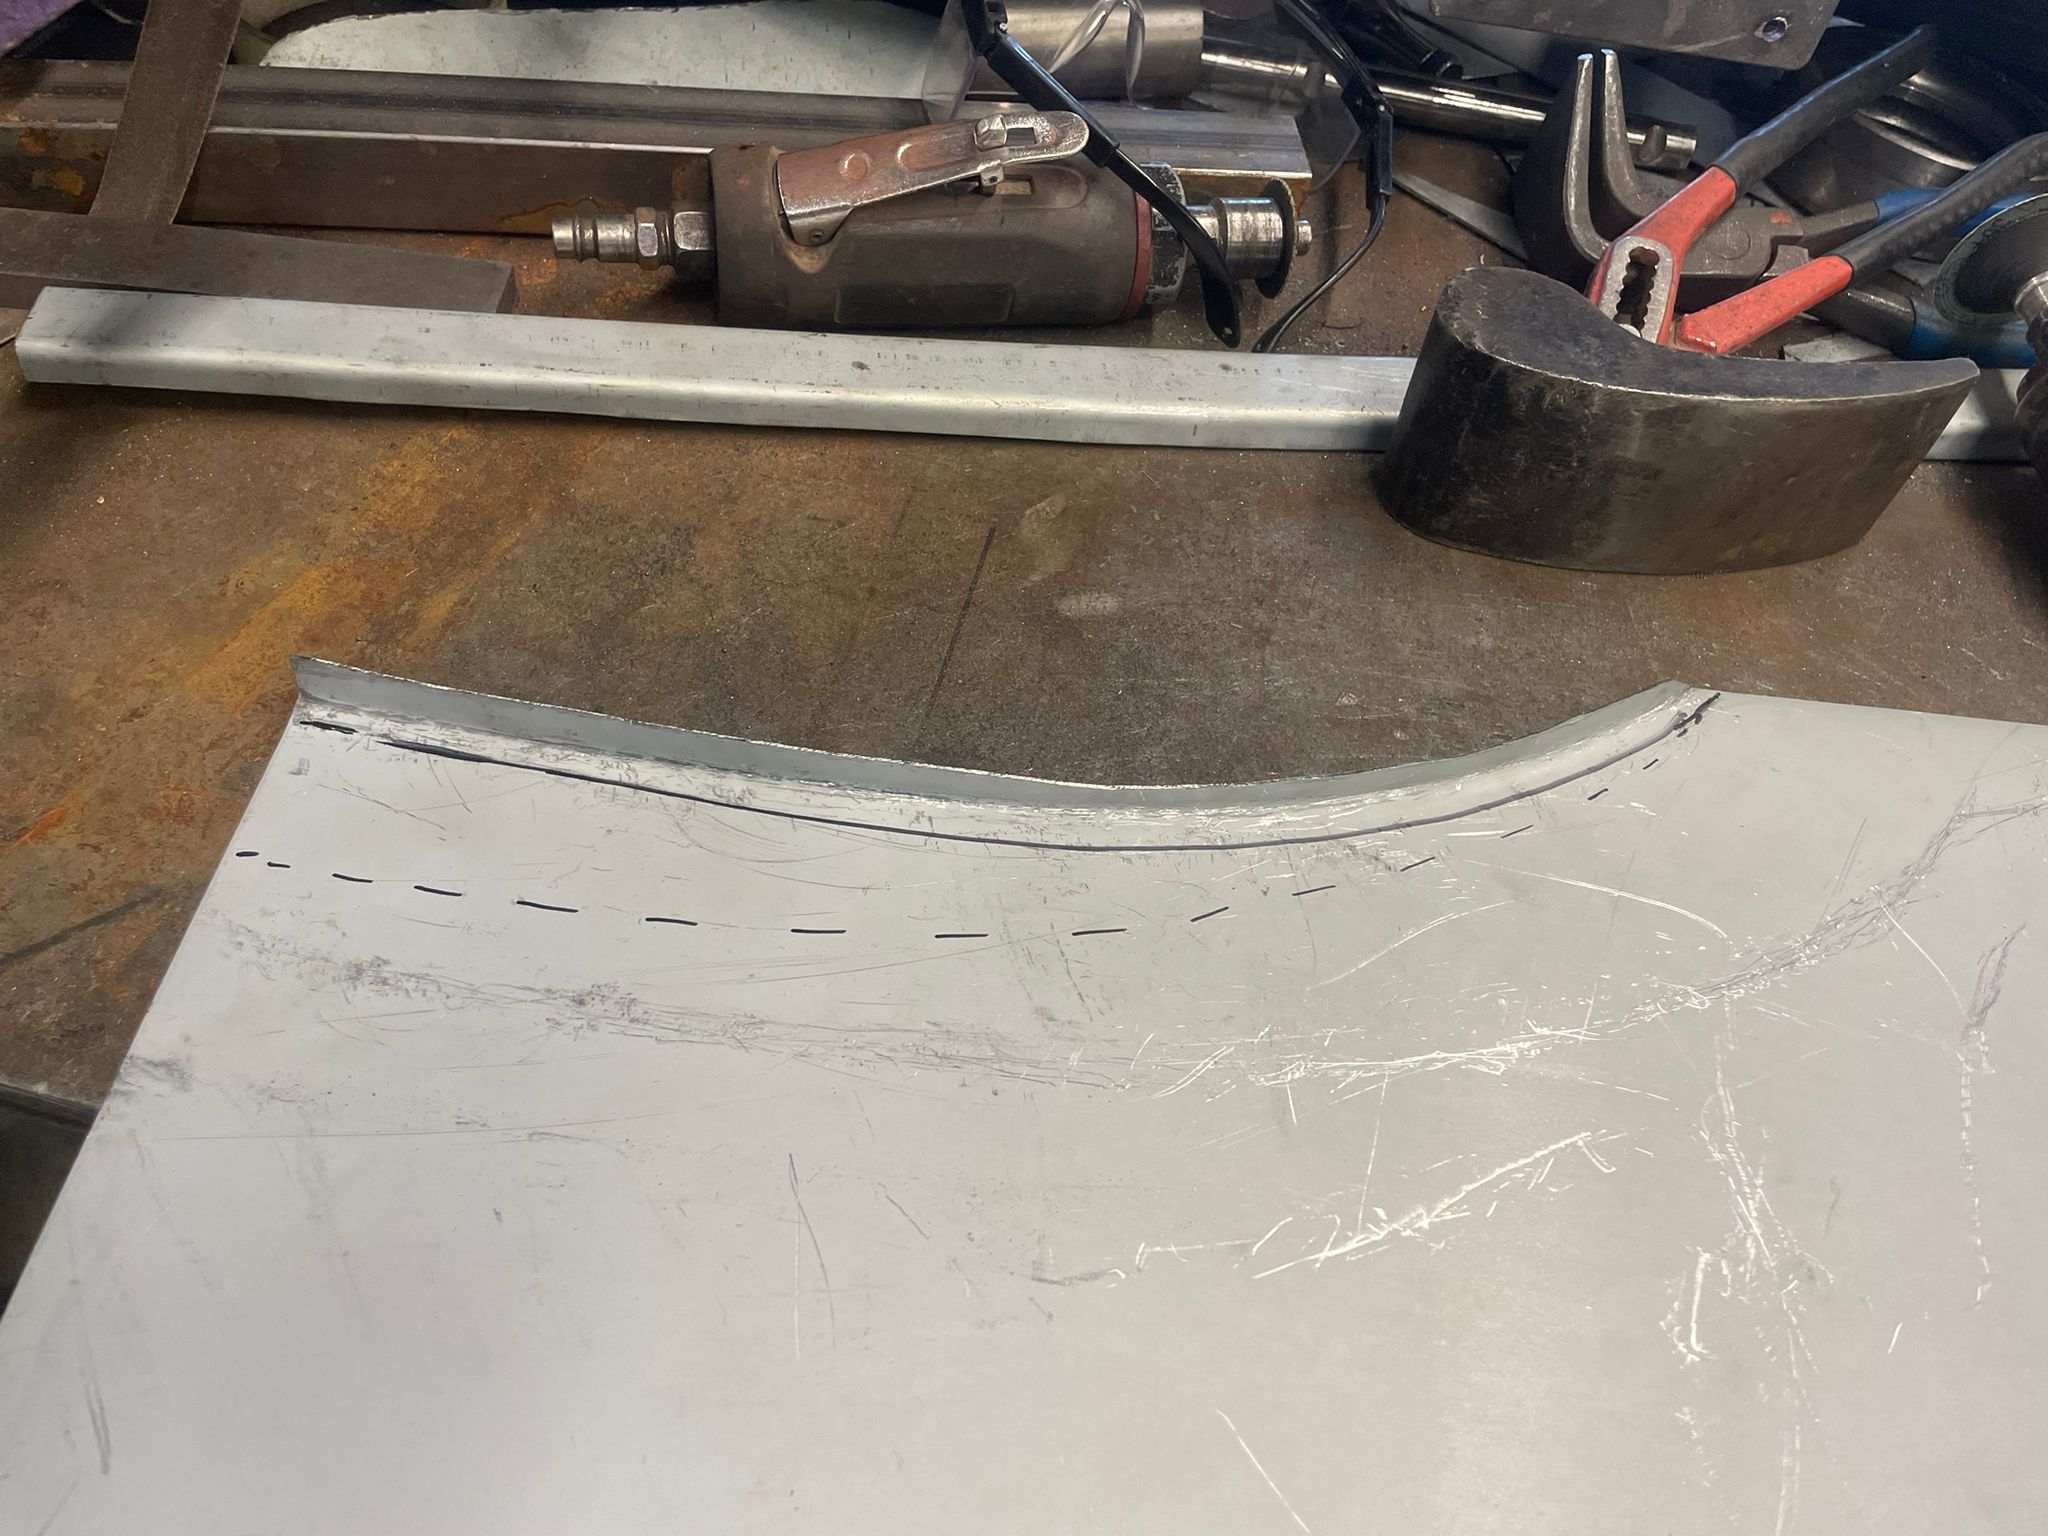
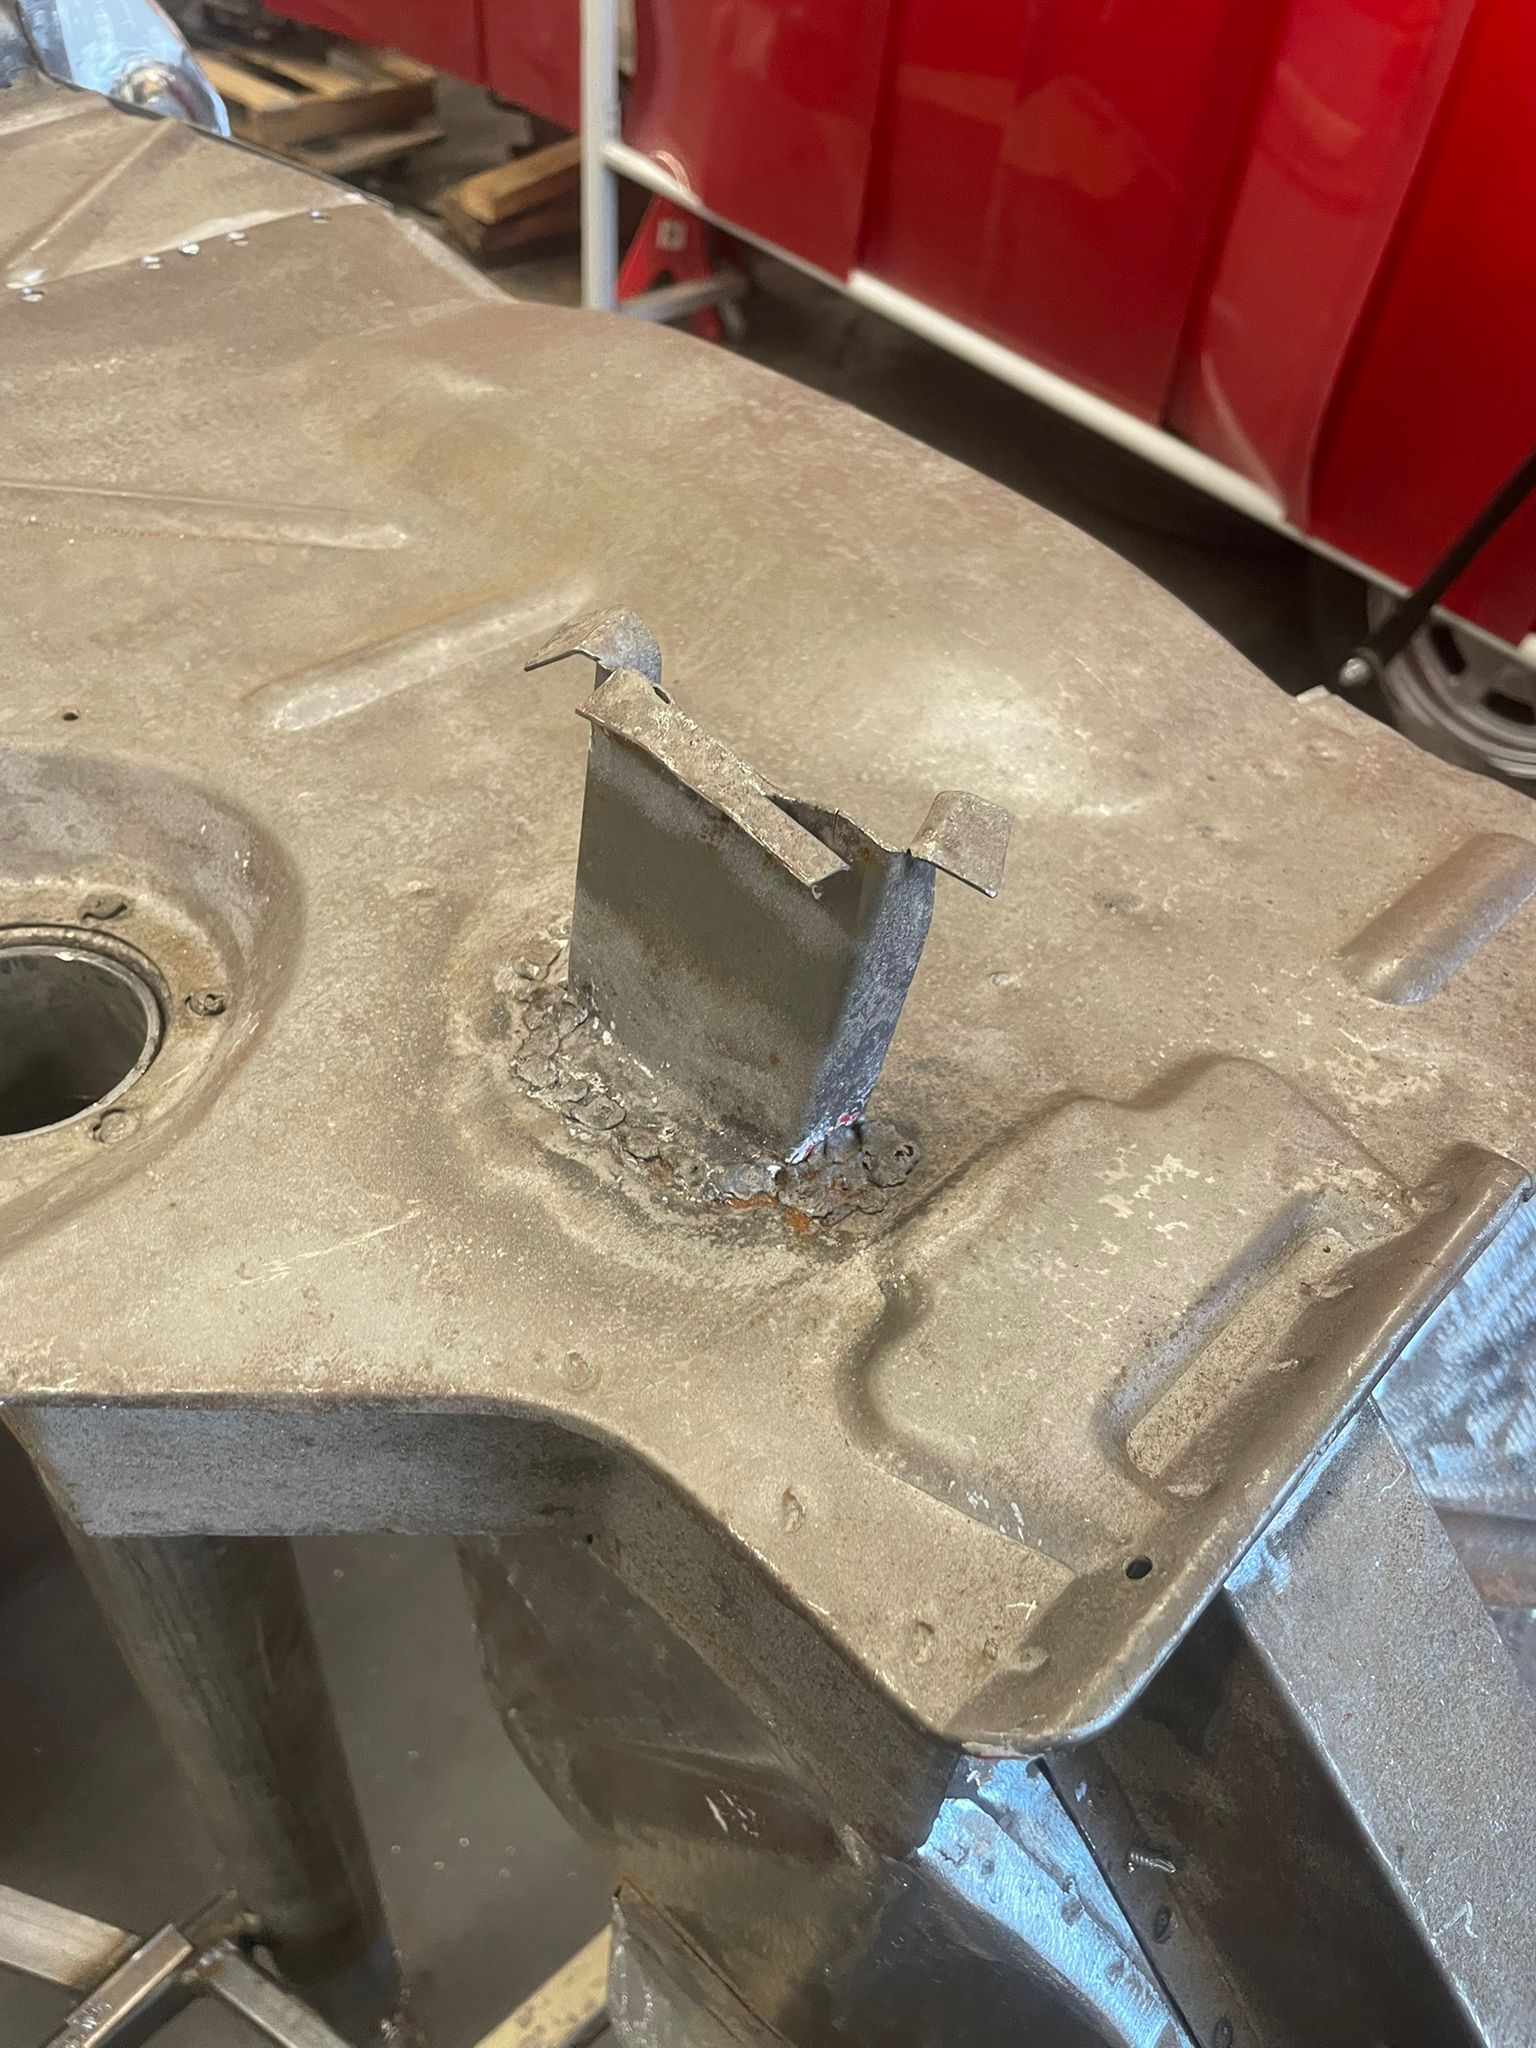
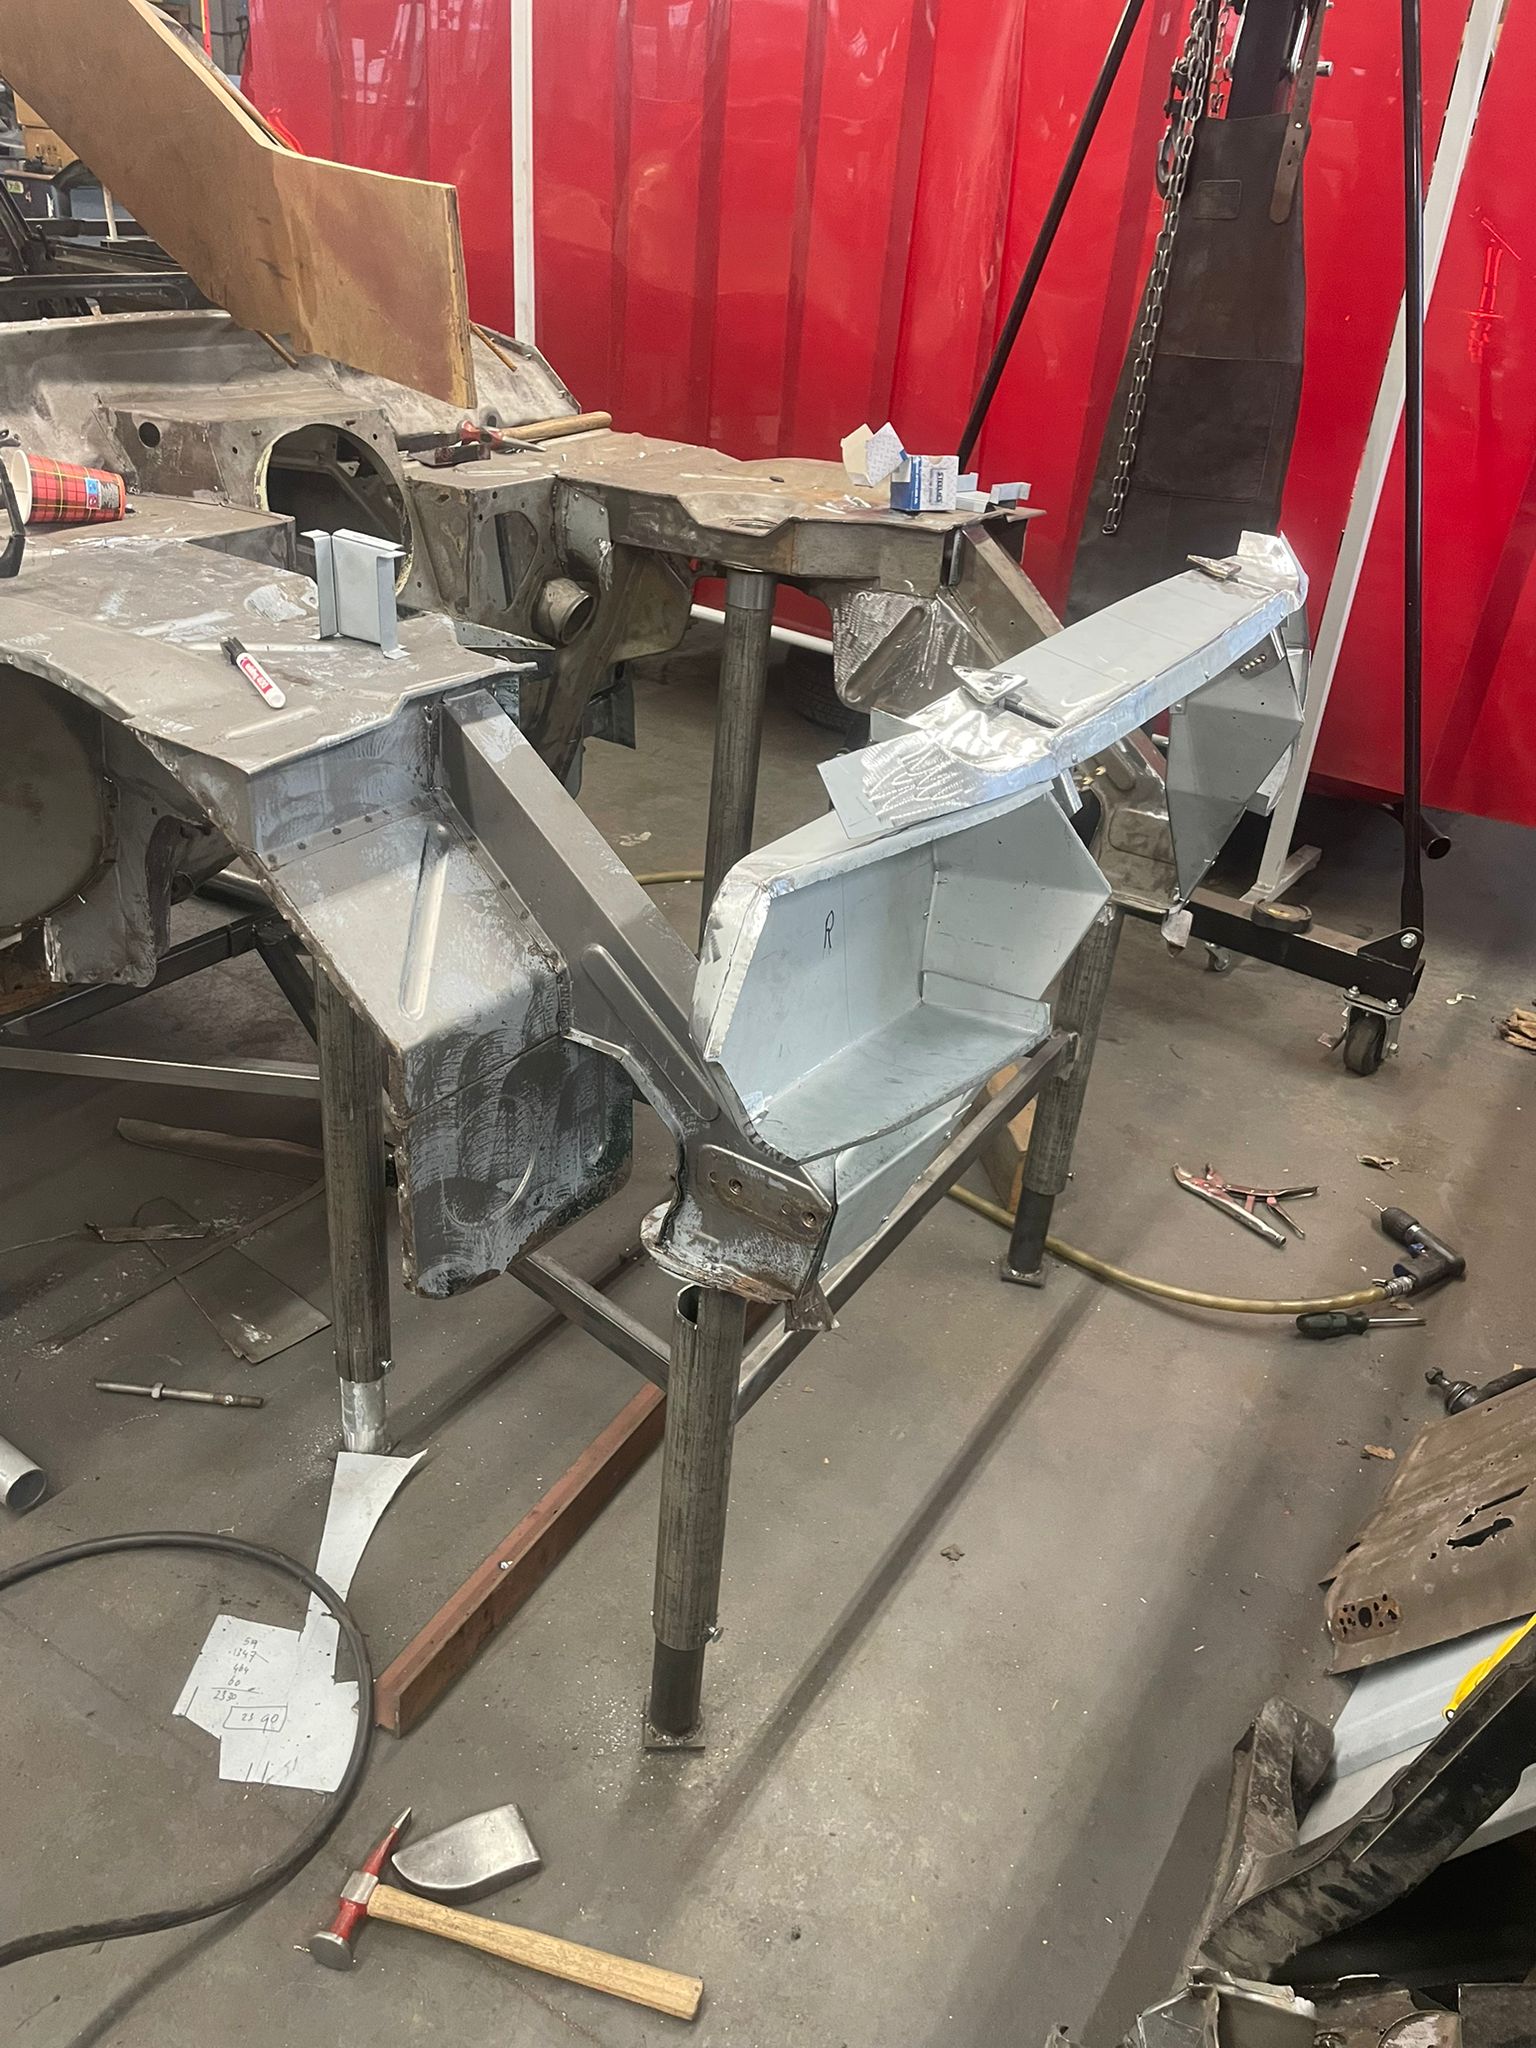
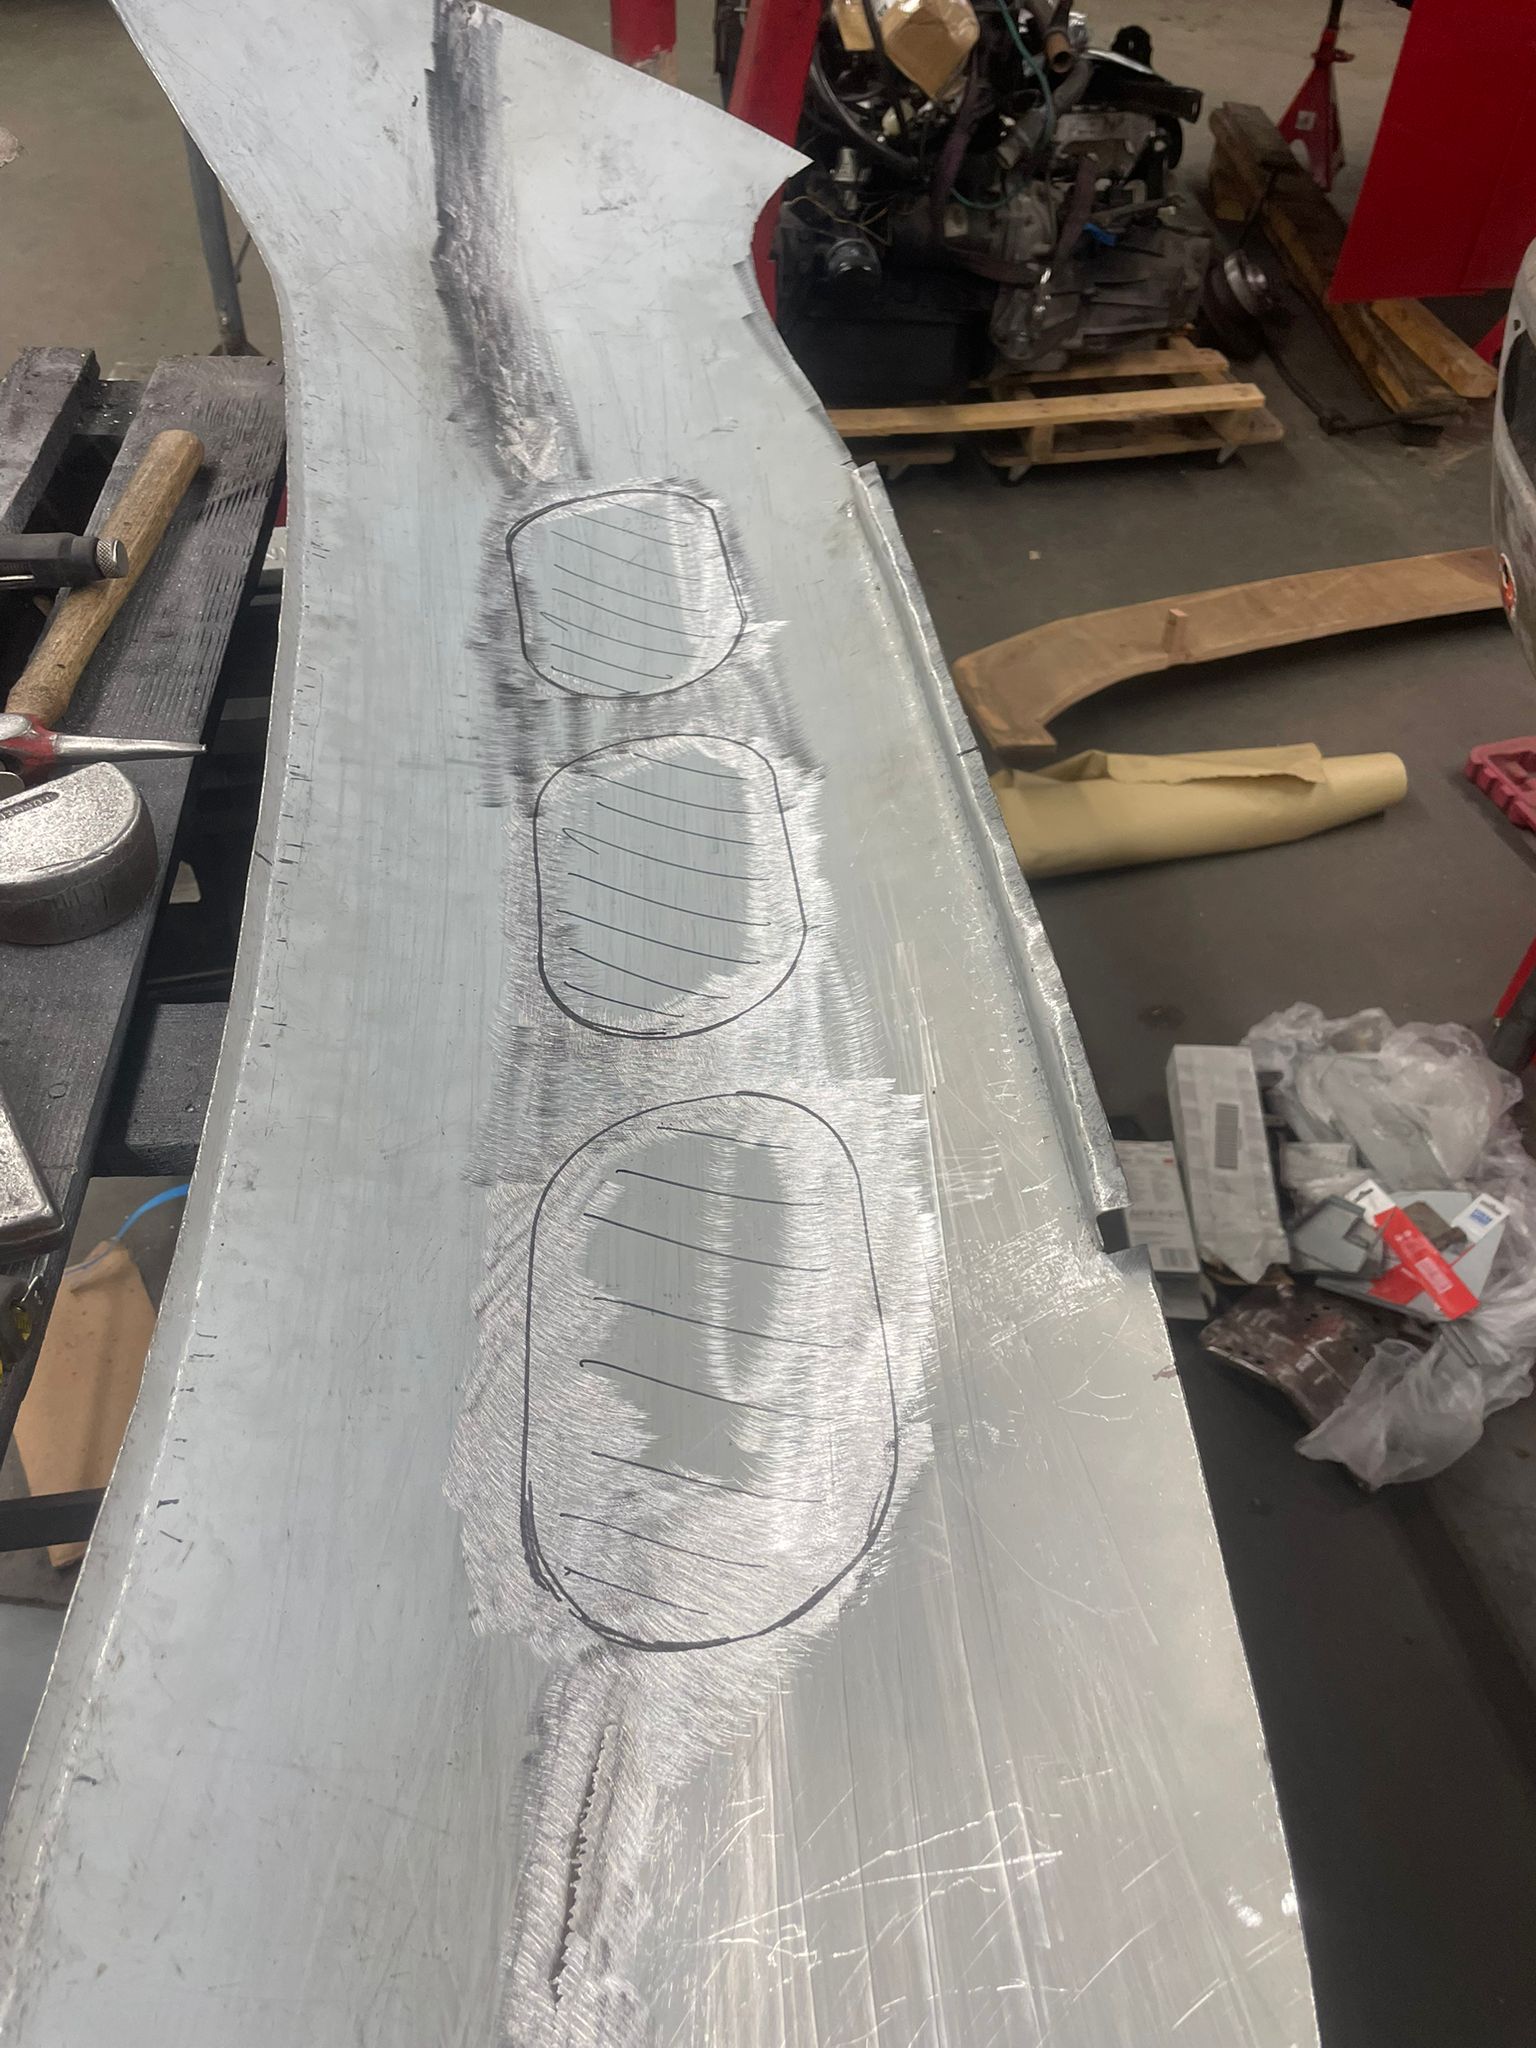
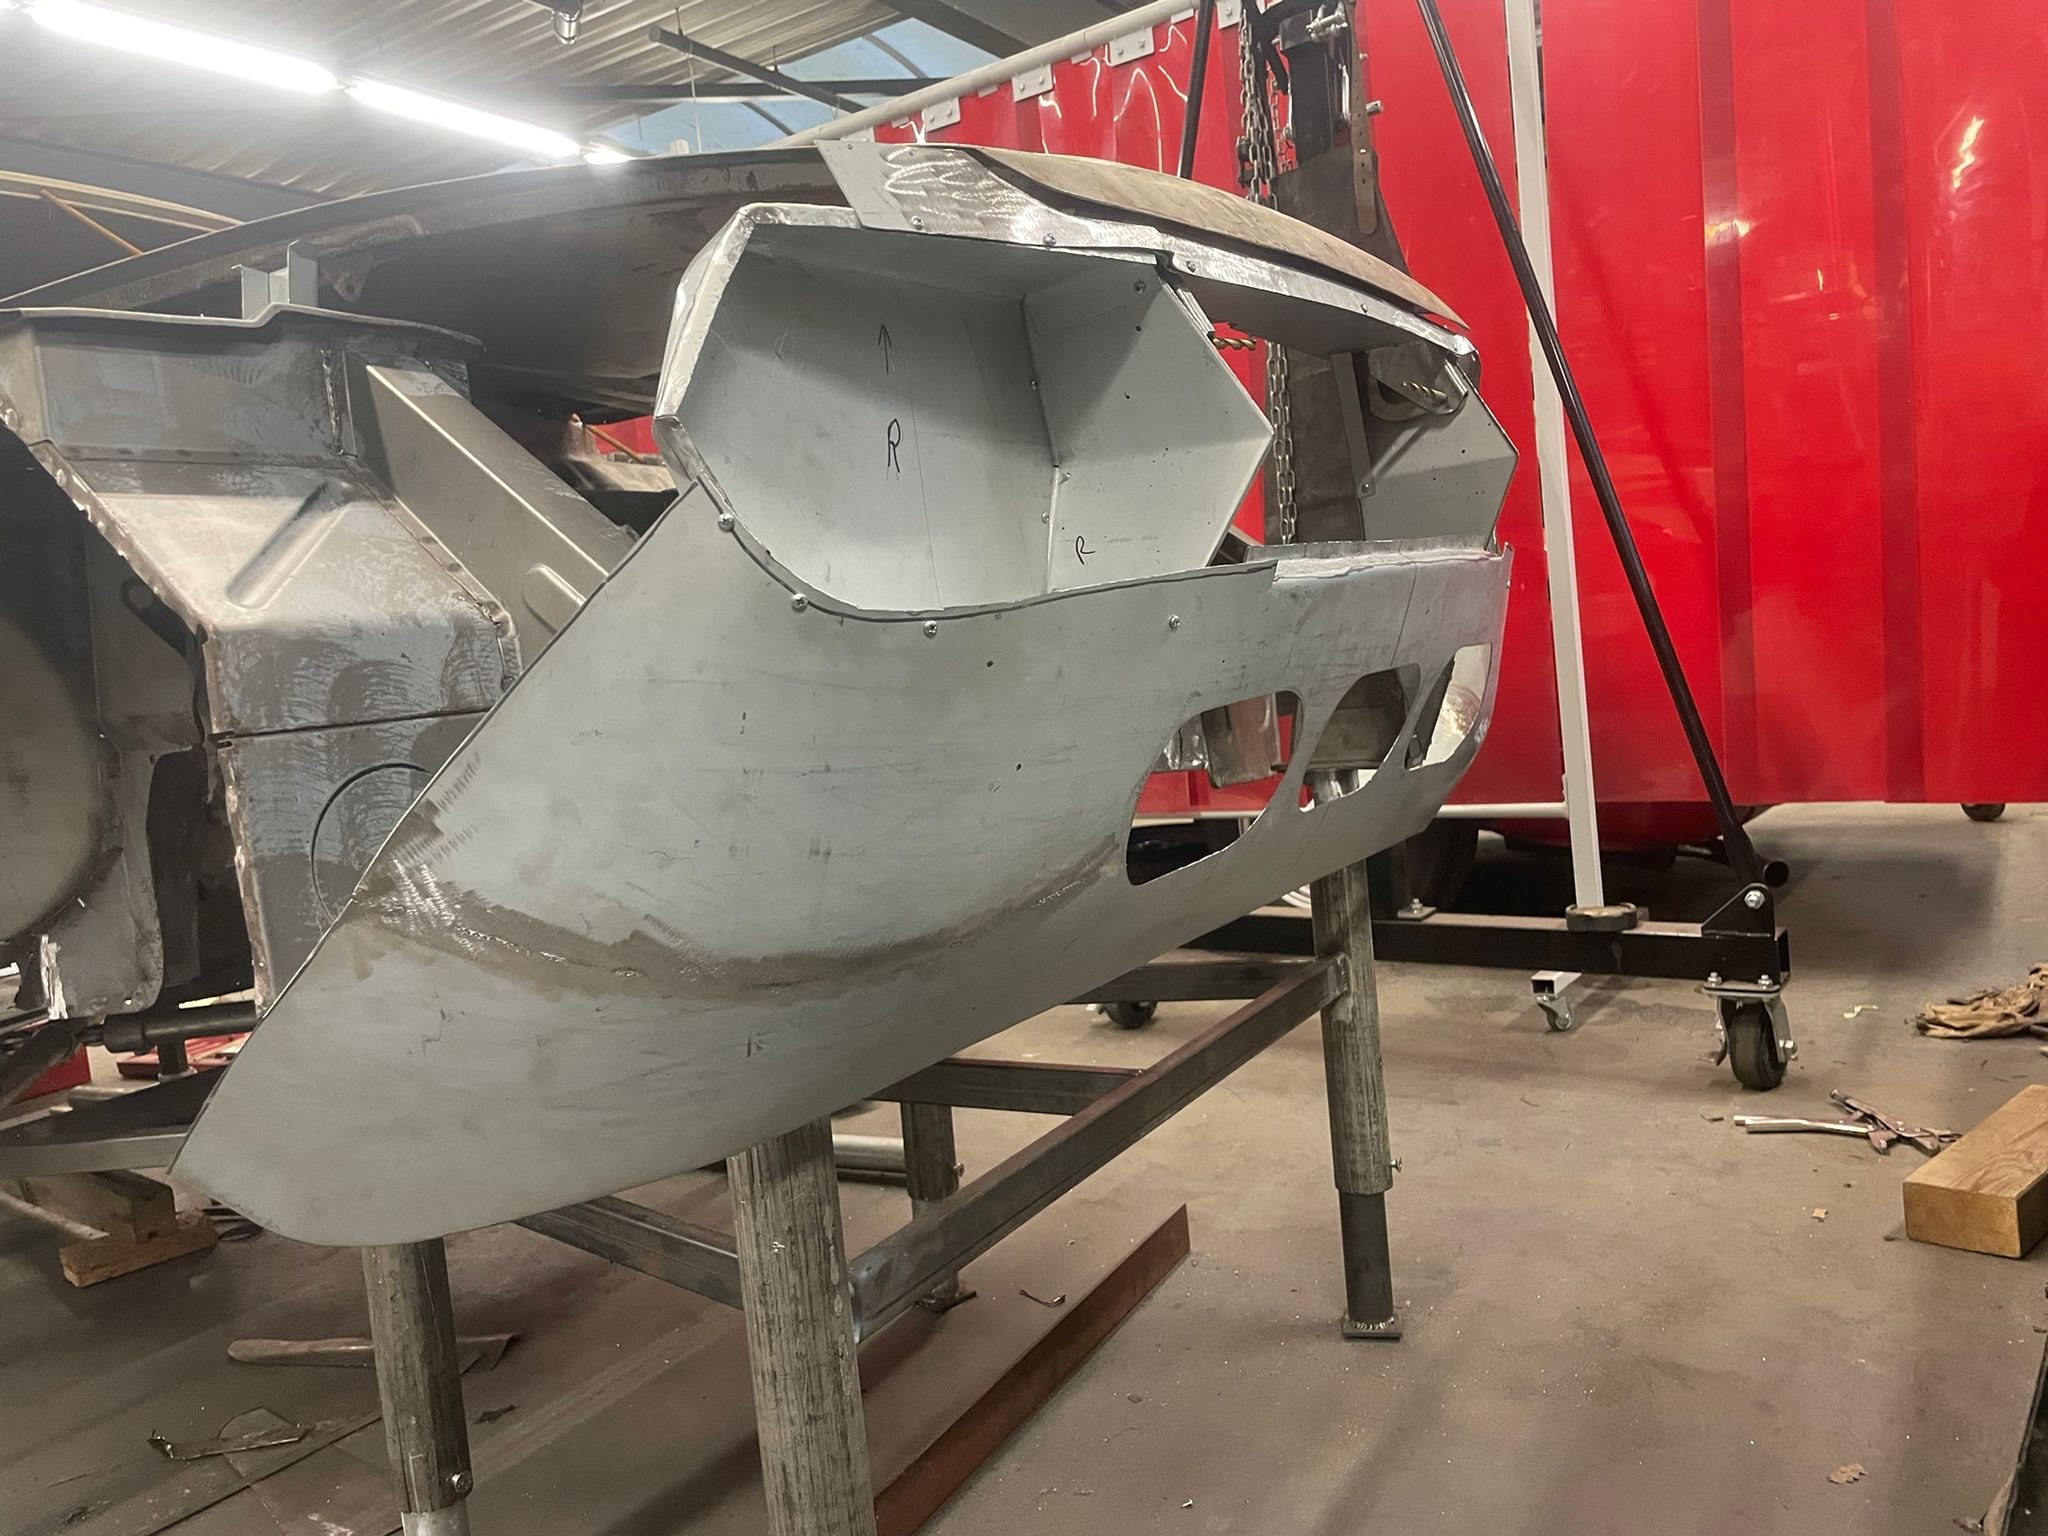
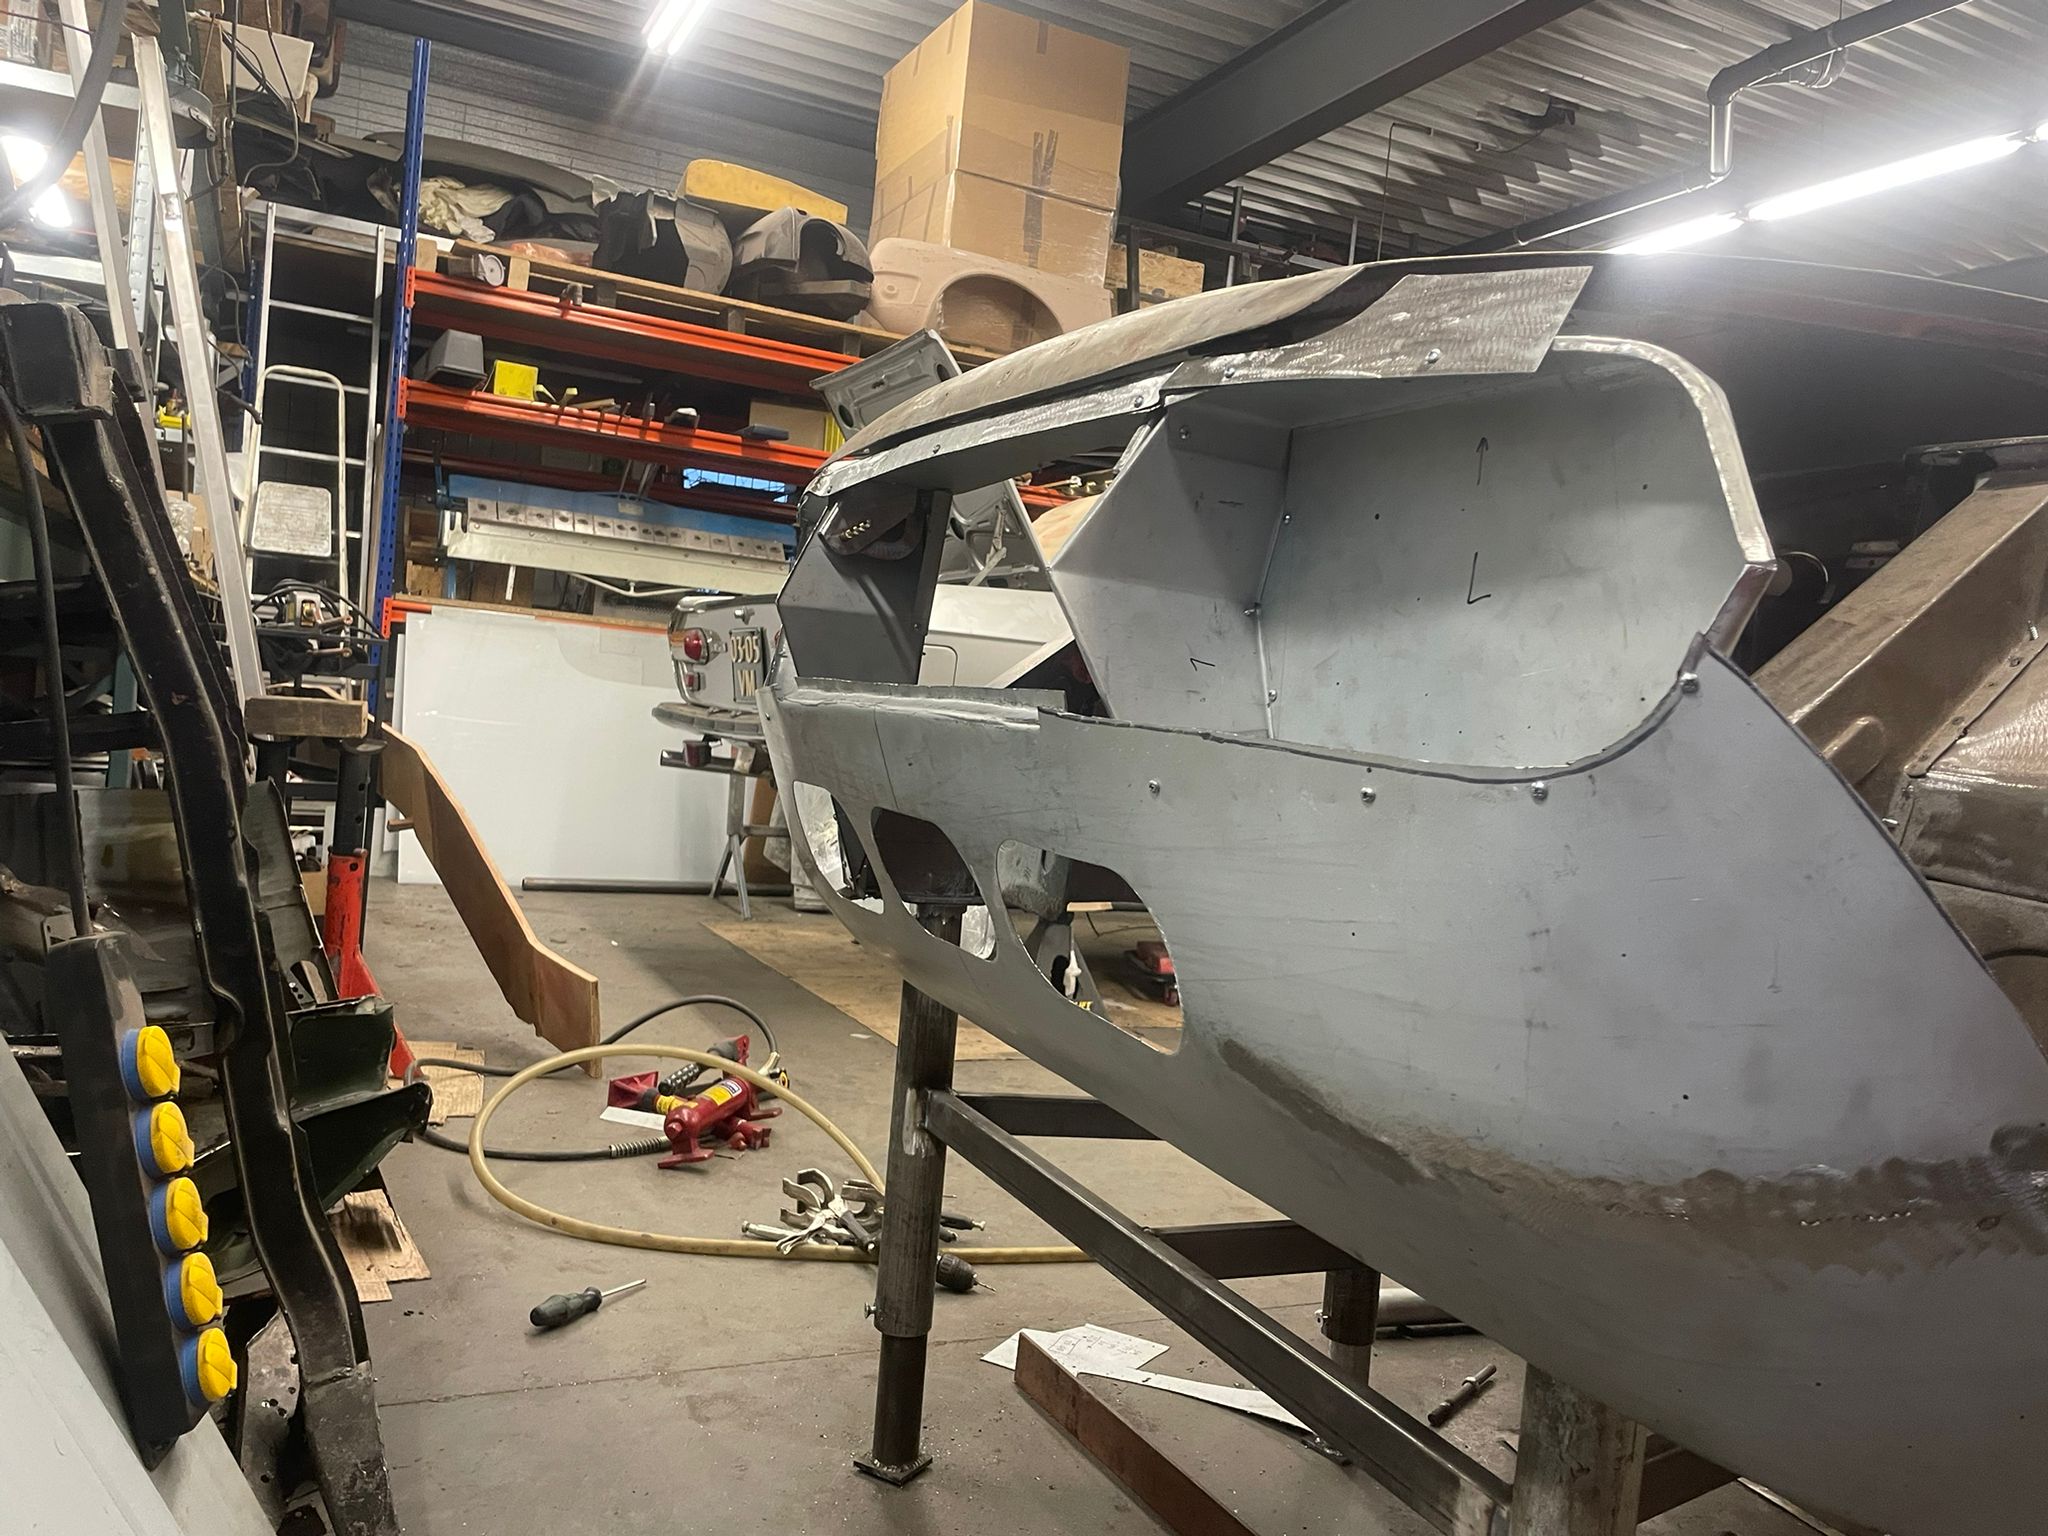
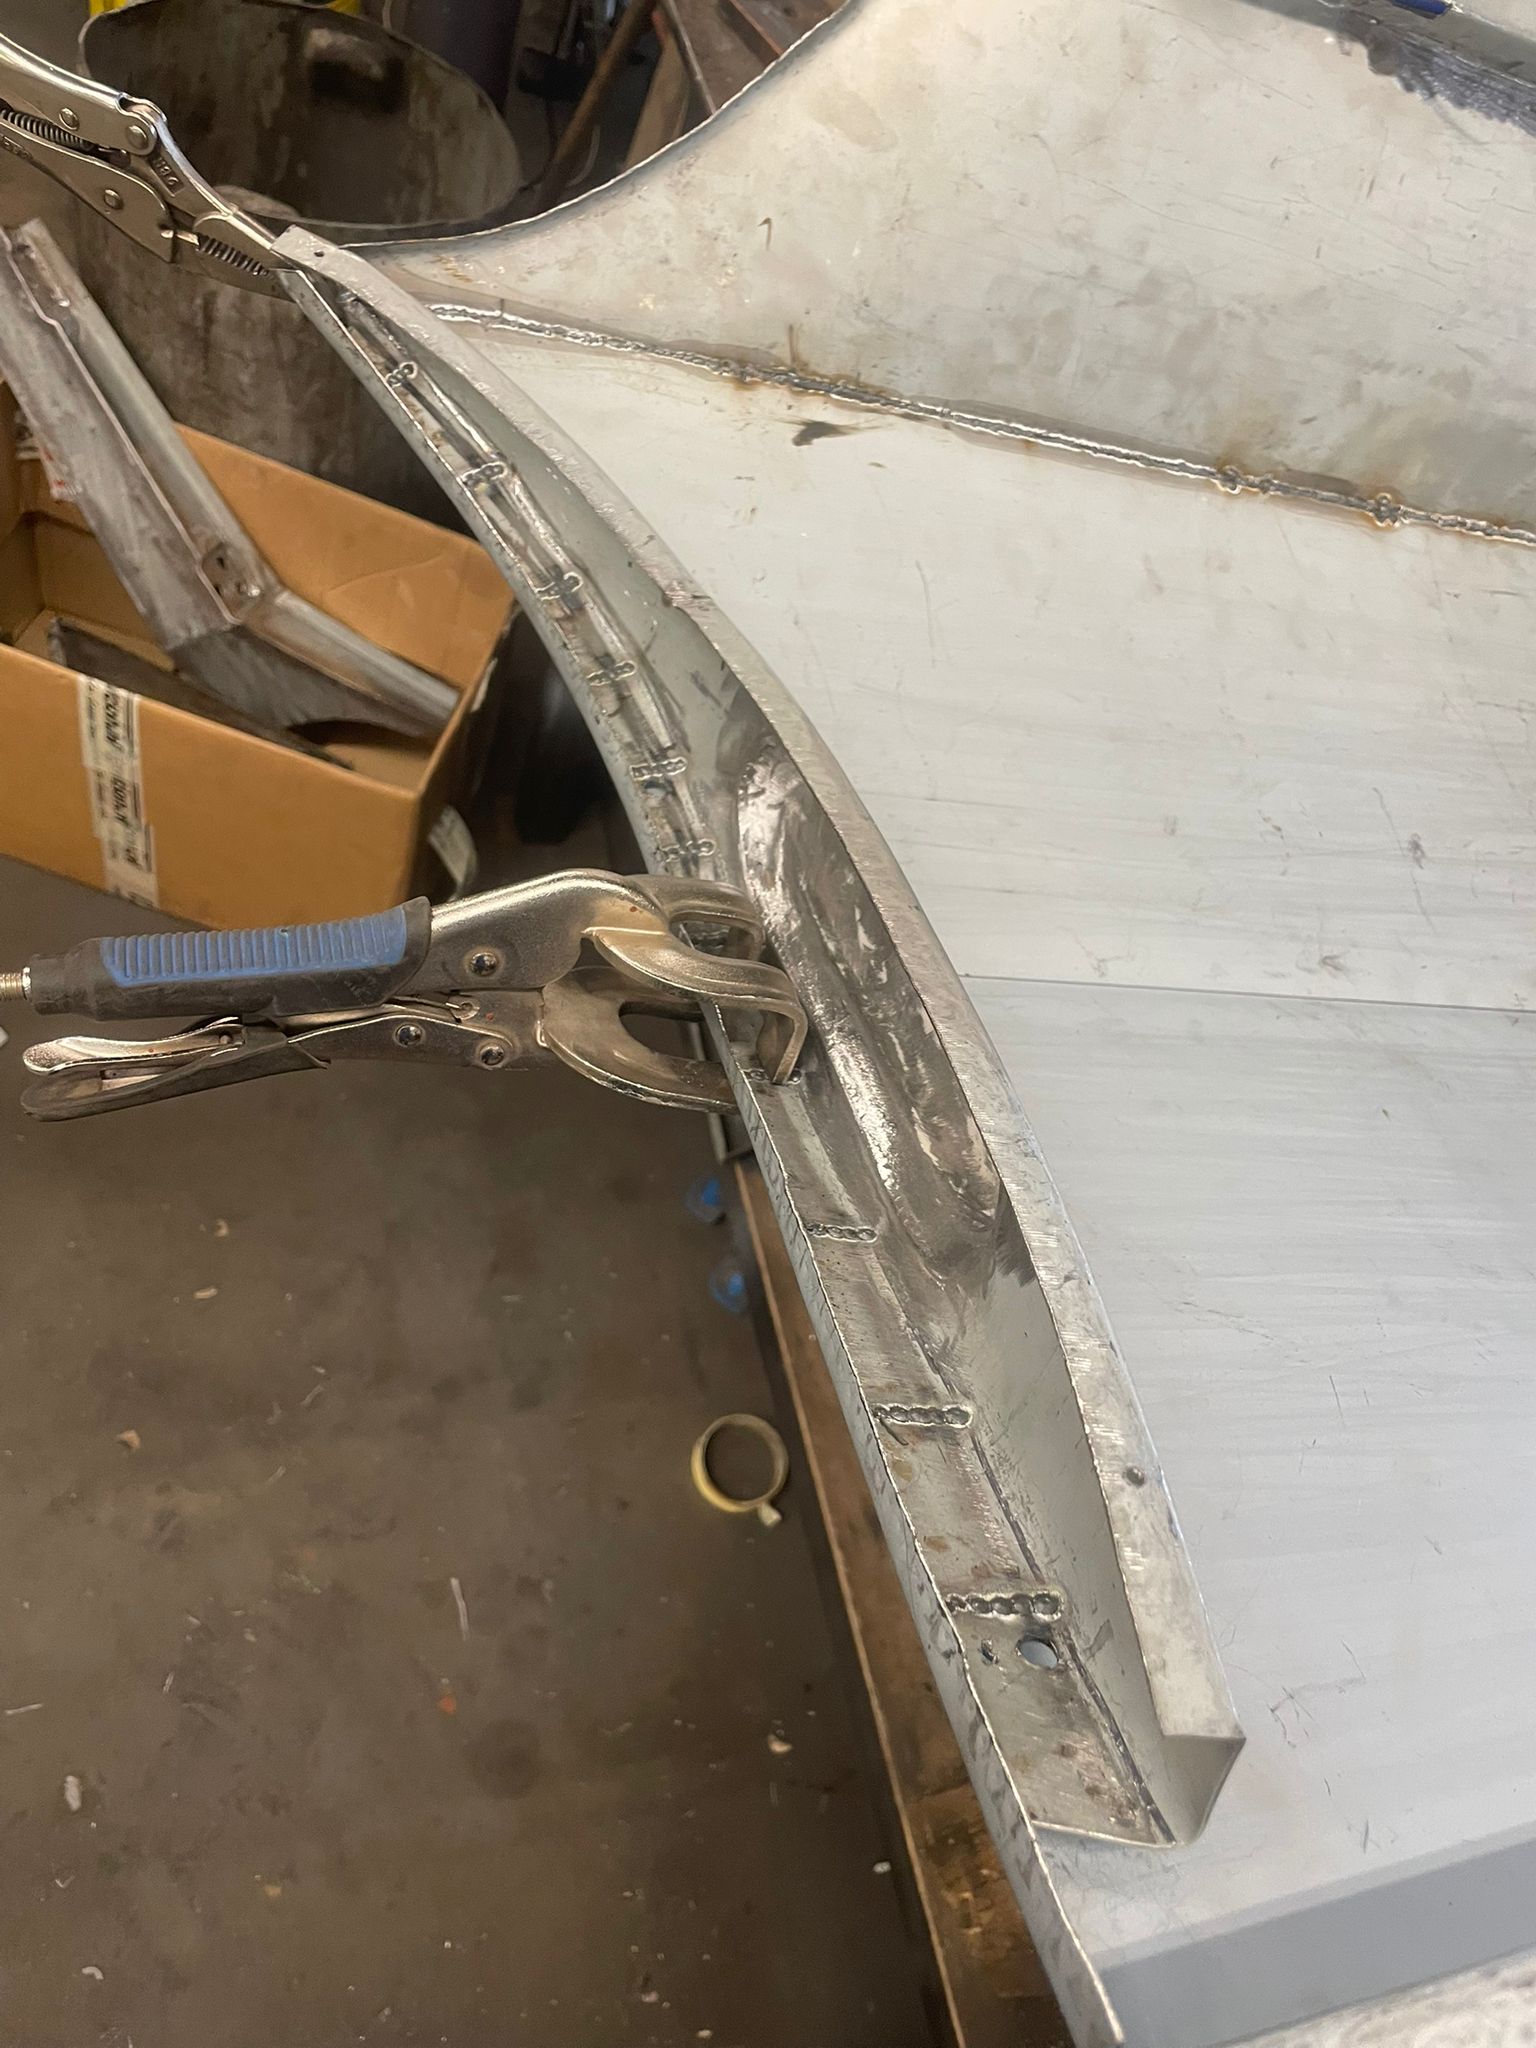
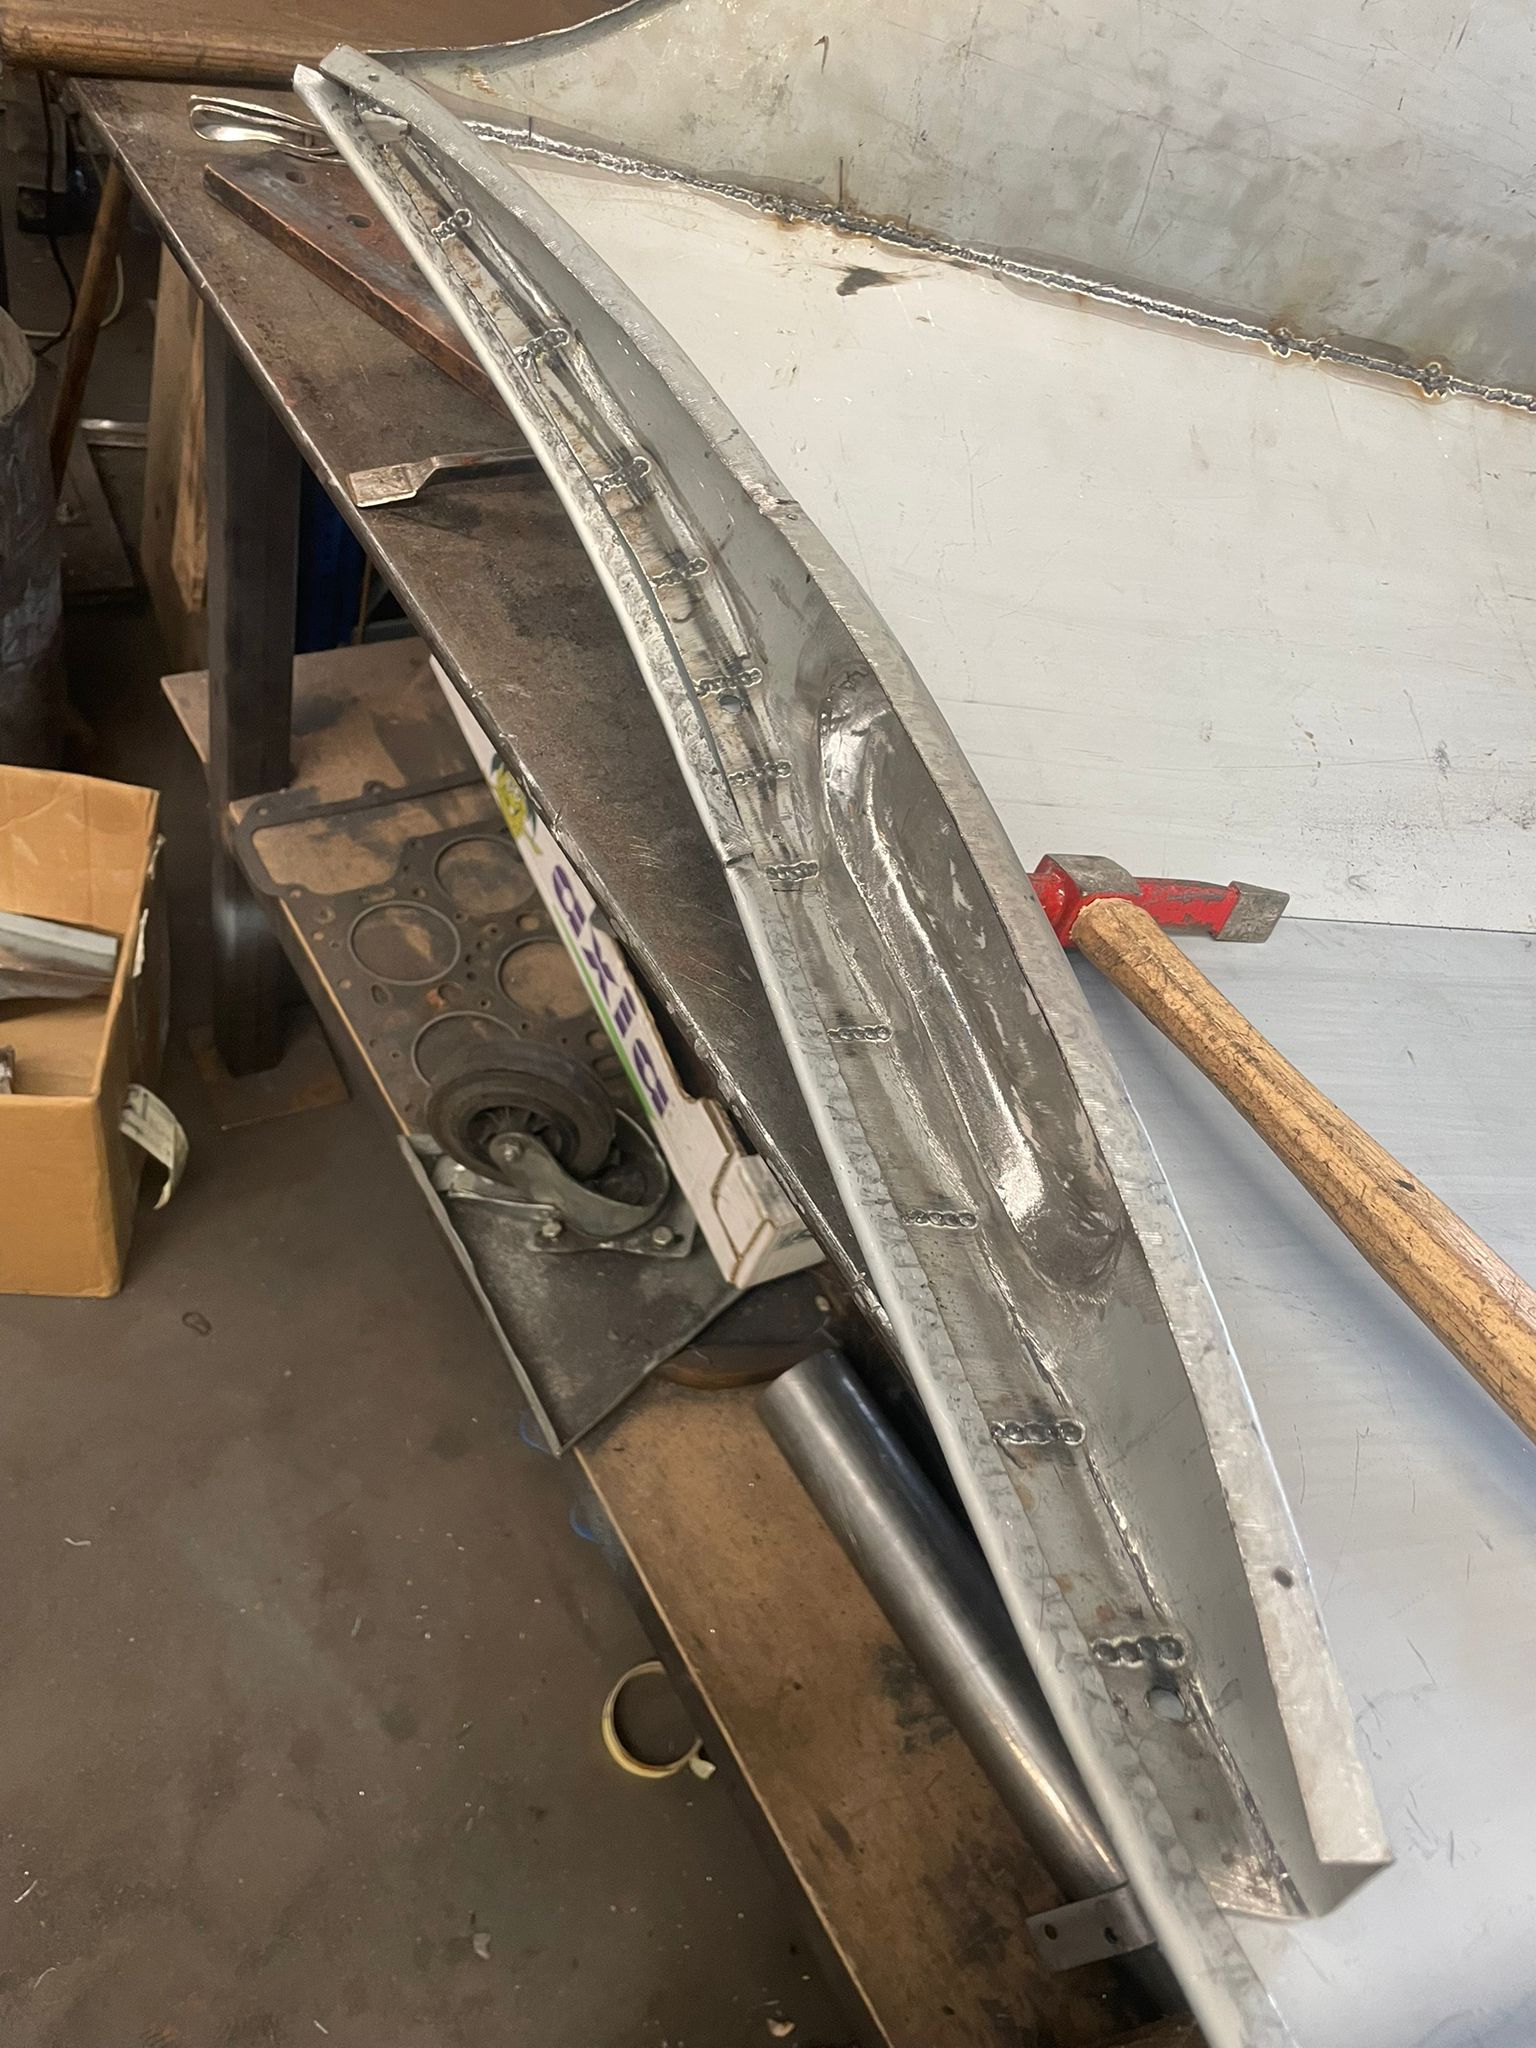
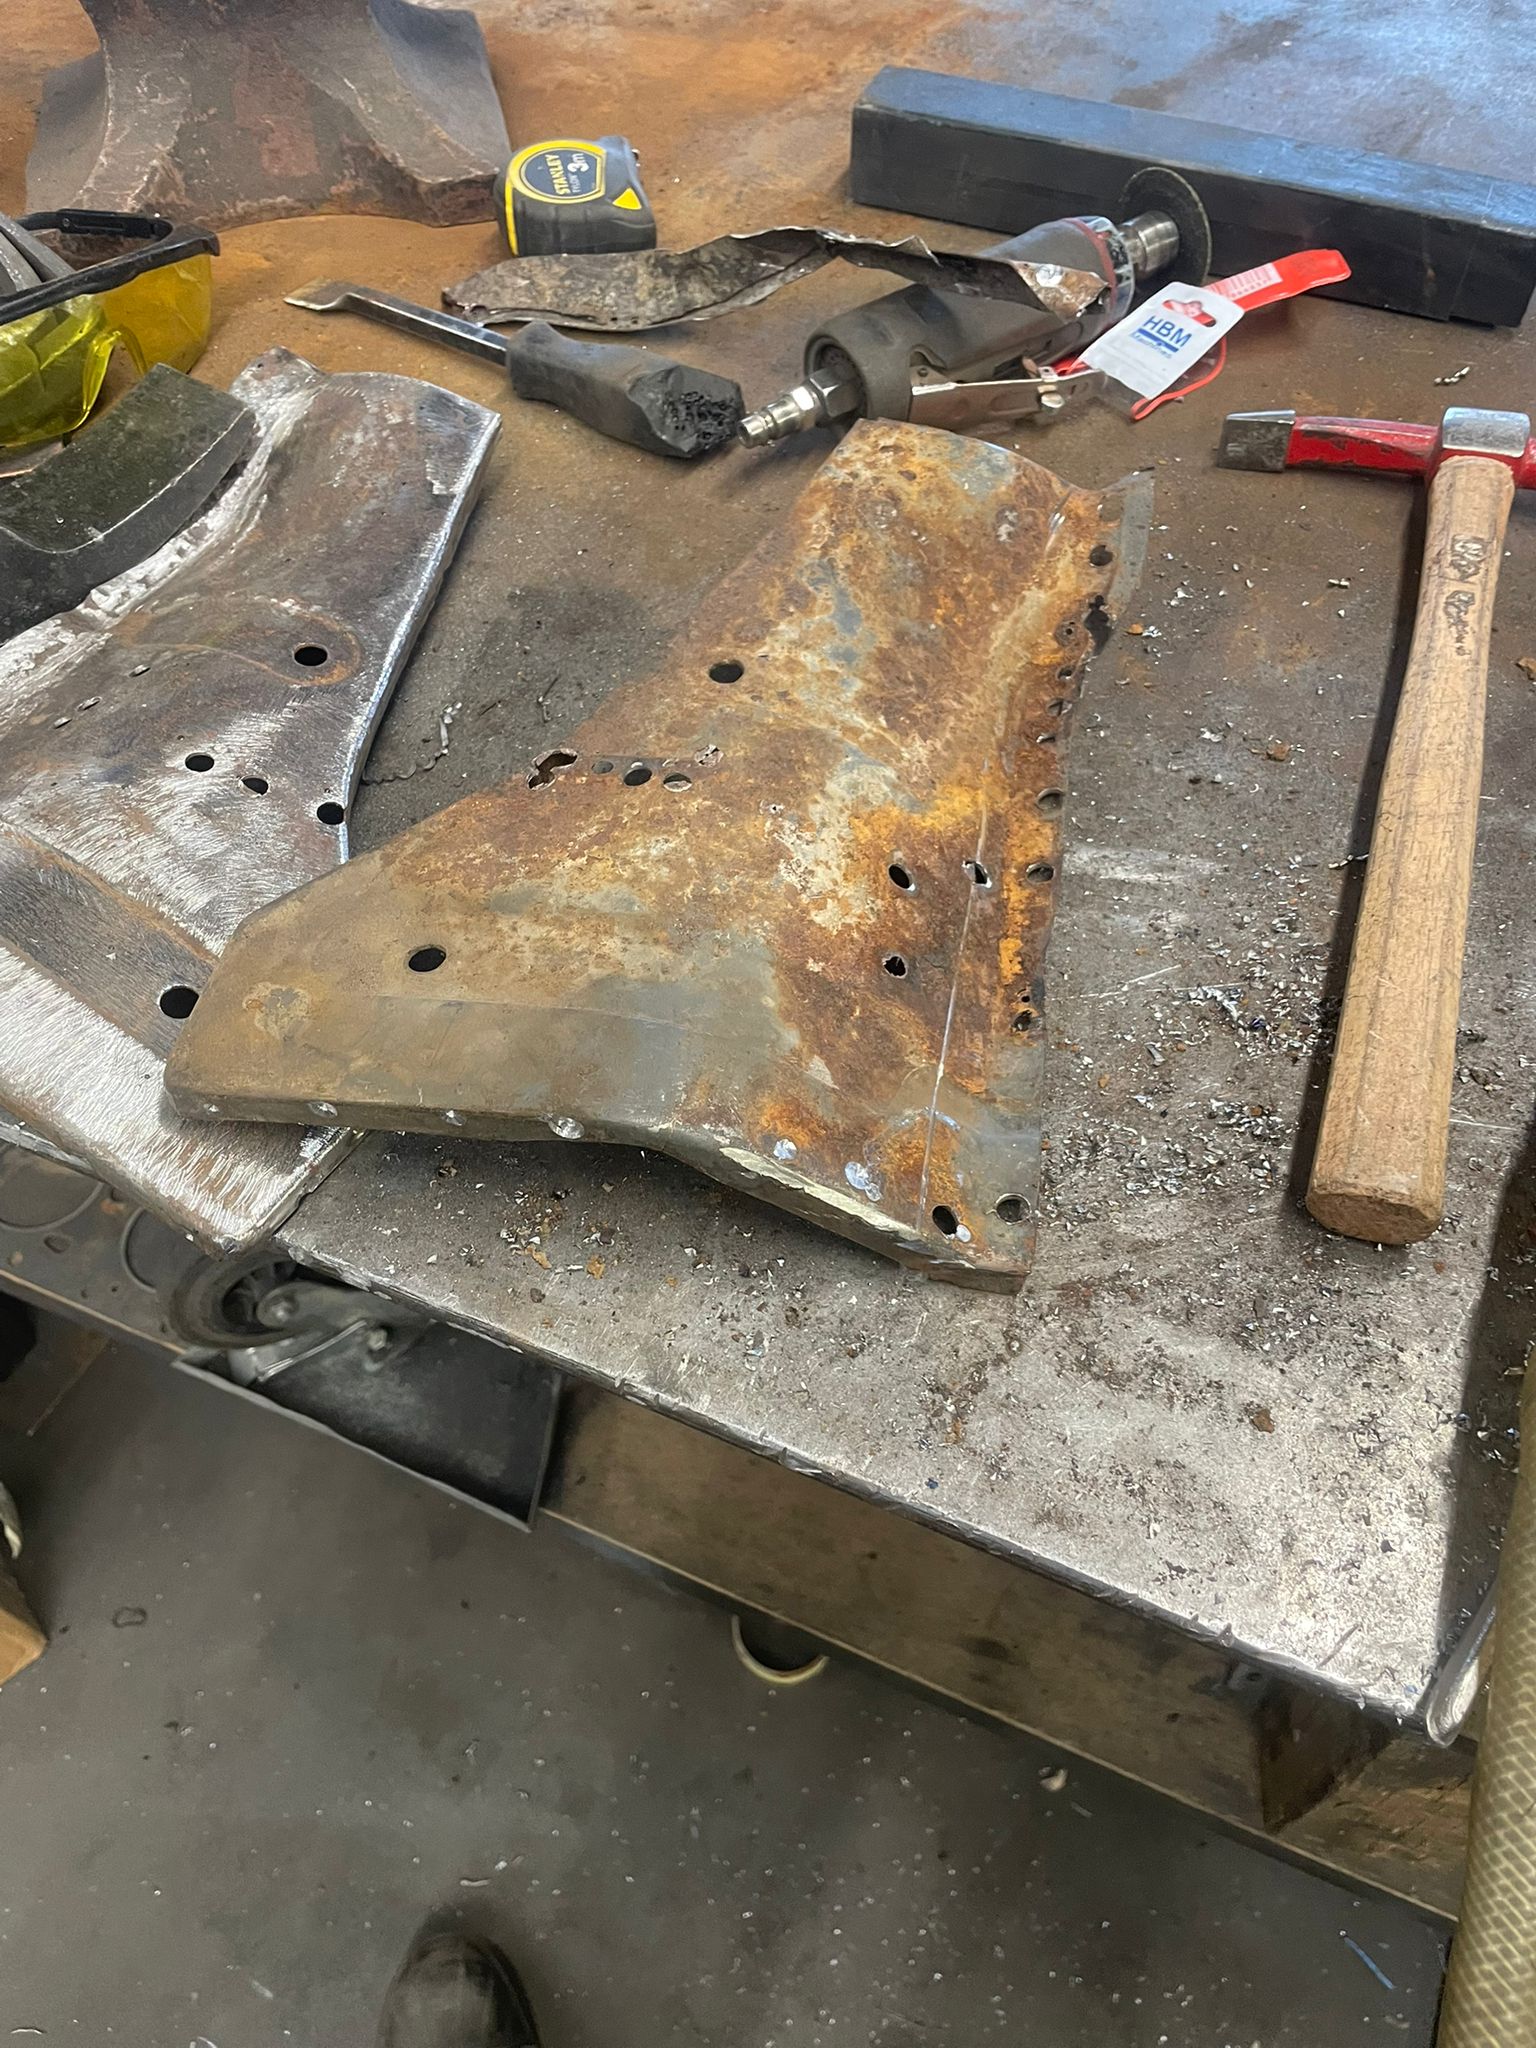
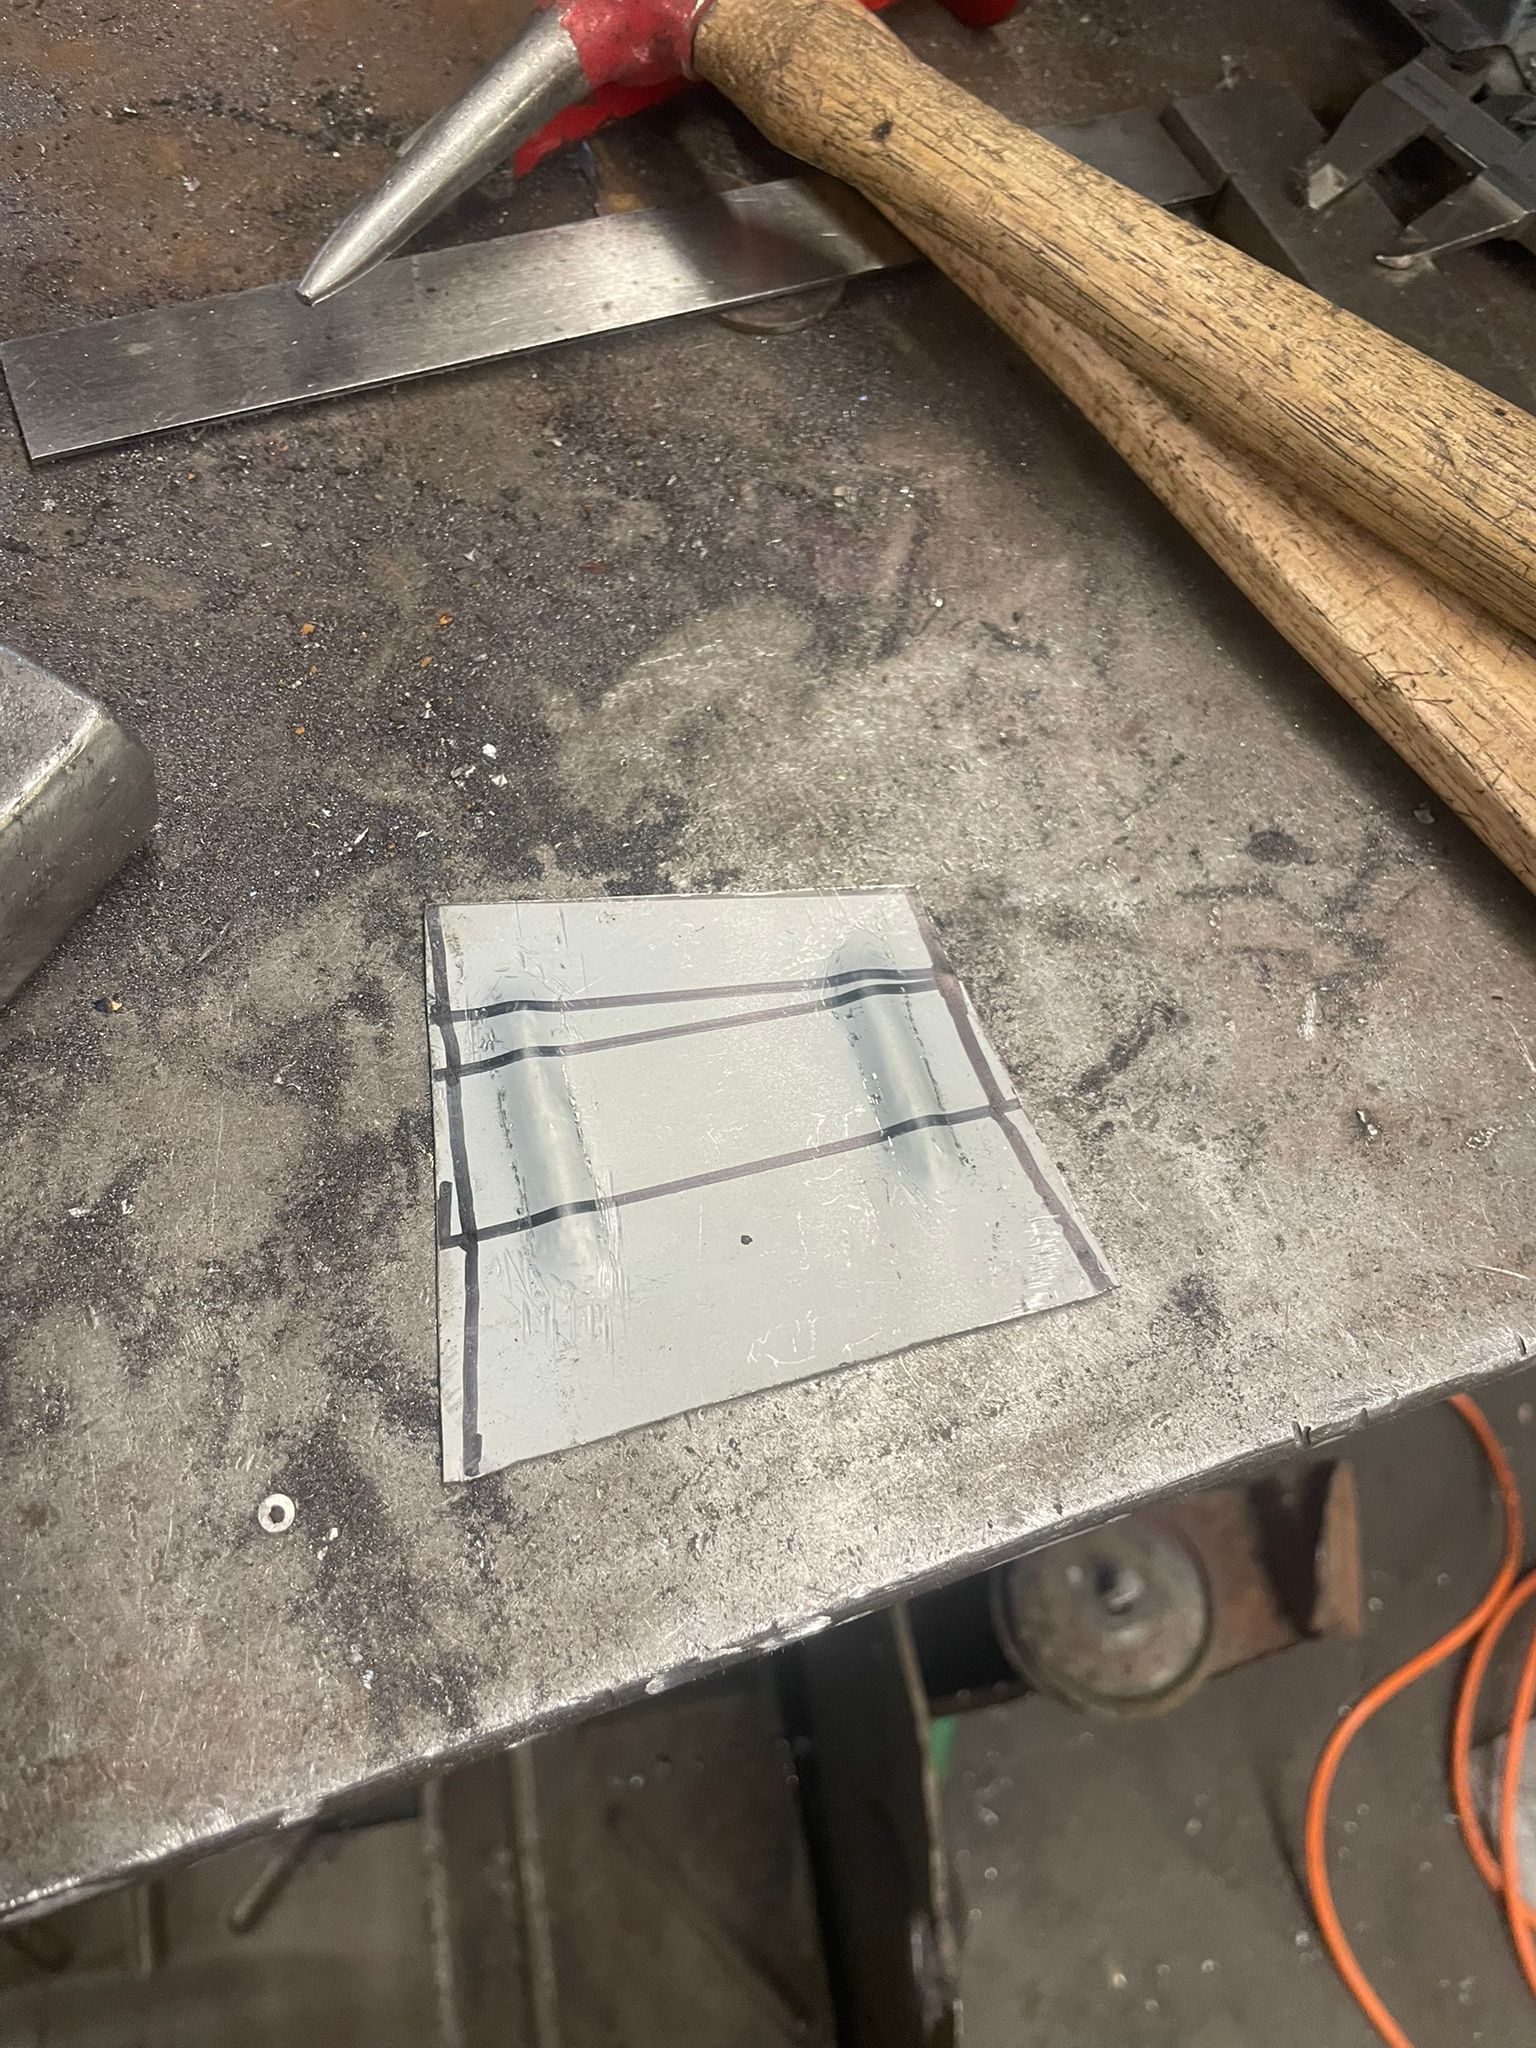
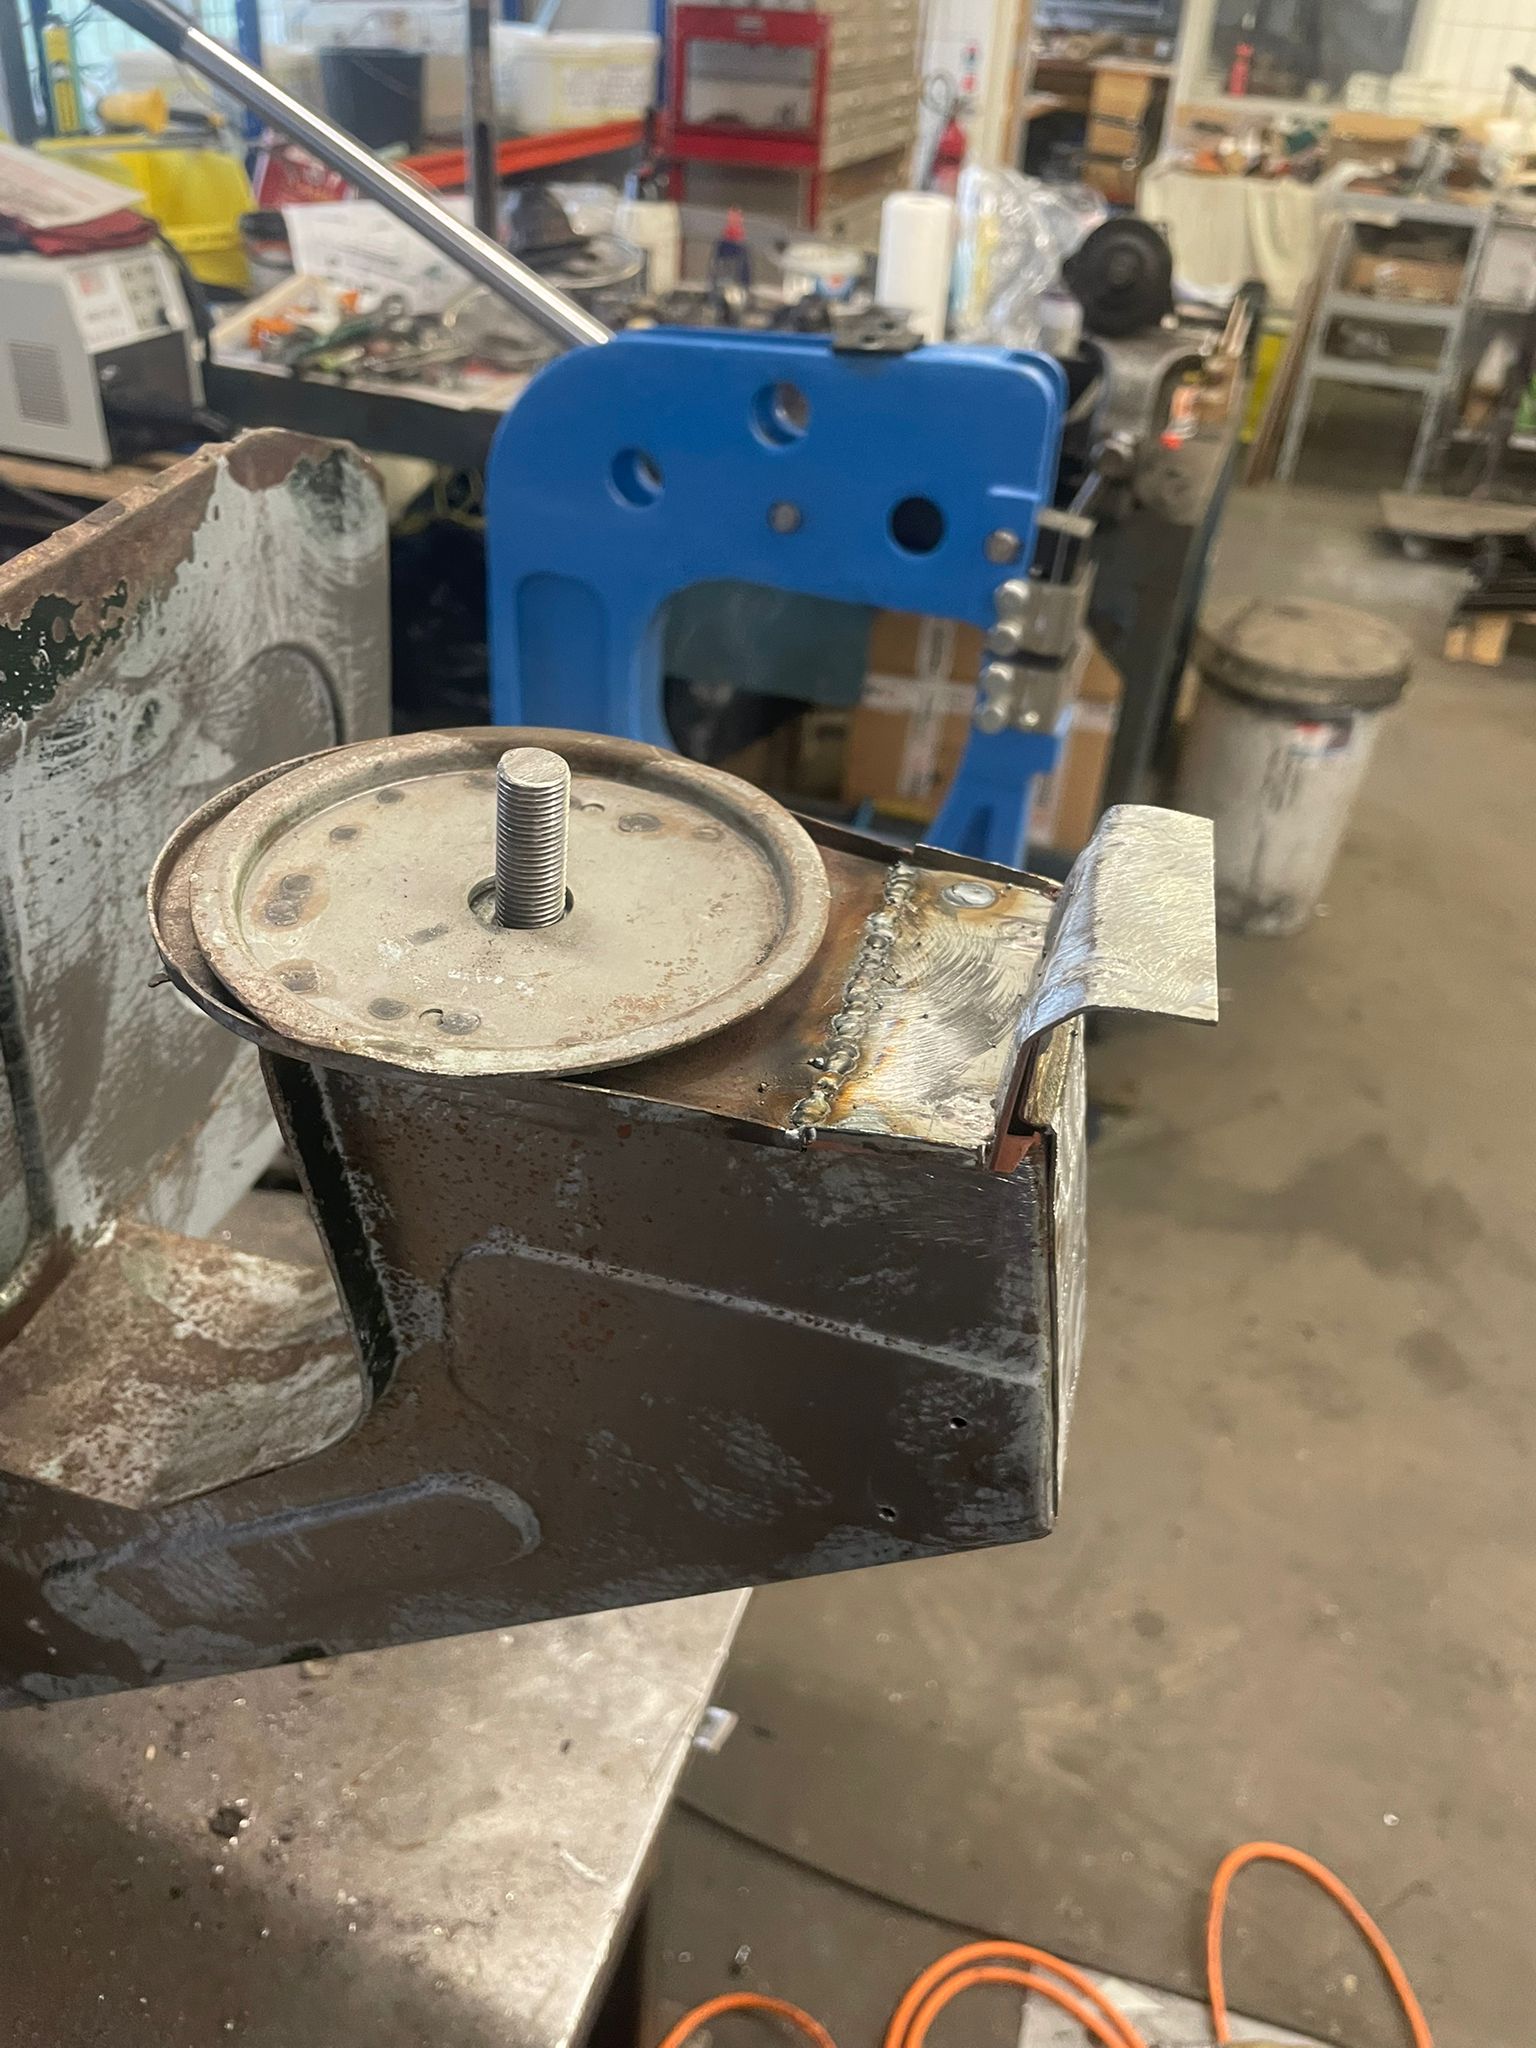
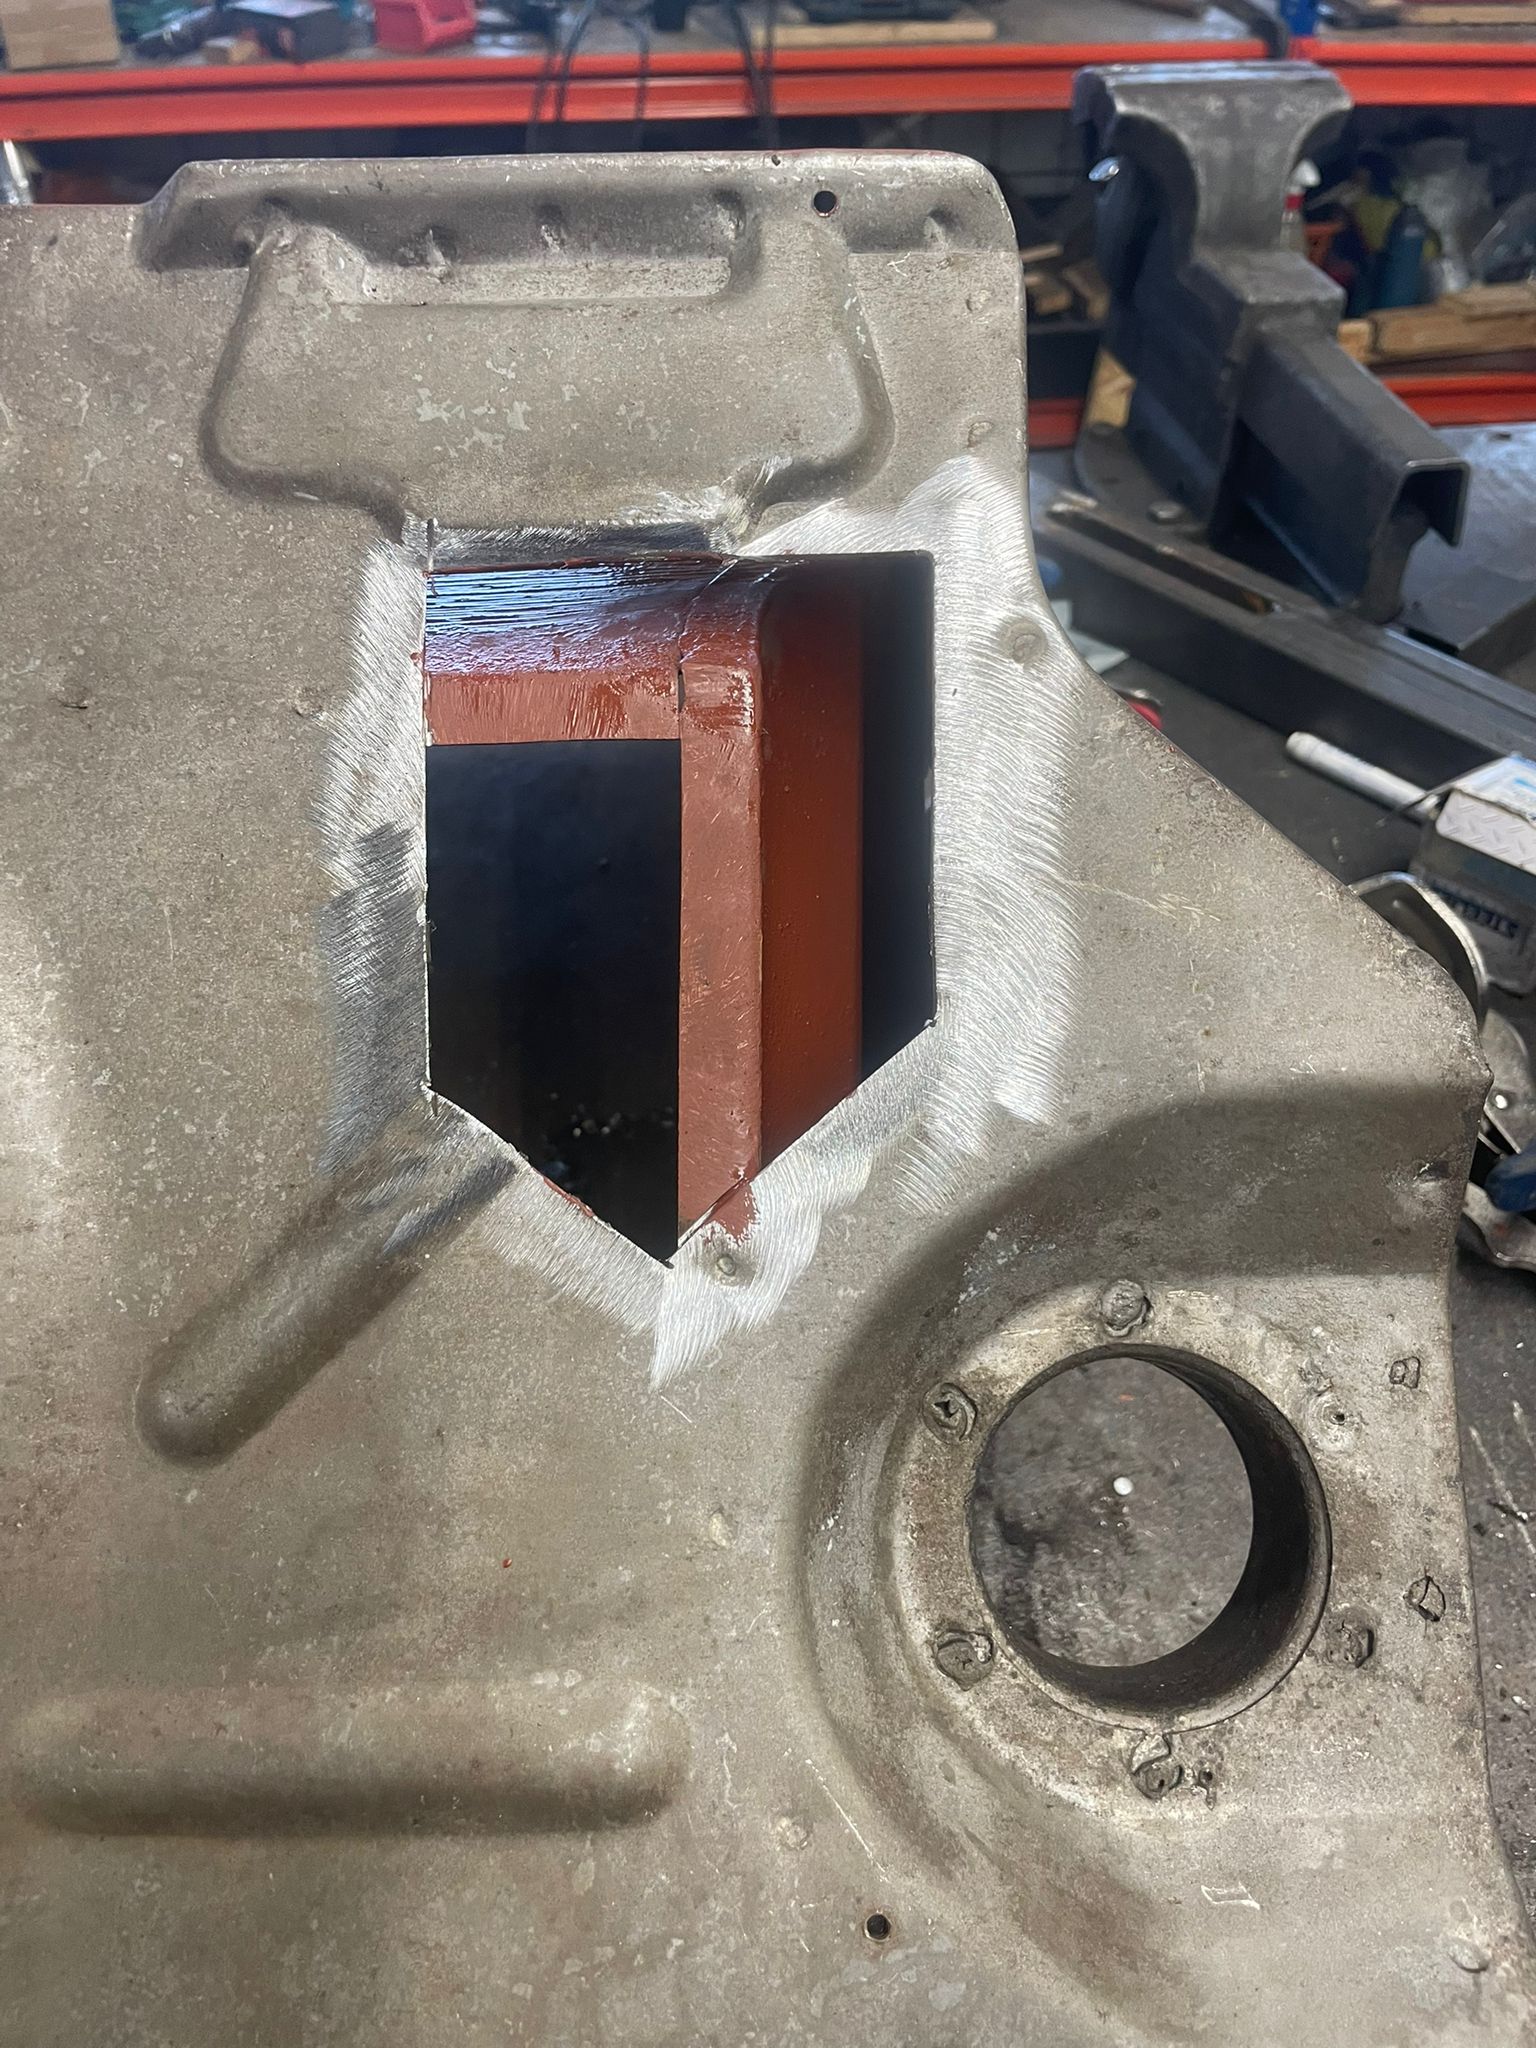
Zagato’s were handbuilt so no 2 cars are the same. Just like a giant jigsaw to make everything line up perfectly
(#134)
Arjan


Another week on the zagato. First i welded up the wing
(#137)
Arjan


Cut the end to size
(#138)
Arjan


Folded the flange and hammered it around the innerpiece
(#139)
Arjan


Then i noticed the bulkhead was pushed to the passengerside and being a bit to narrow
(#140)
Arjan


All subframepoints are perfect in place so i will start from there and work my way upwards. Cleaned the crossmember
(#141)
Arjan


Removed the vertical chassisleg from the firewall
(#142)
Arjan

(#143)
Arjan


New edges
(#144)
Arjan


Bottomsection was missing a piece
(#145)
Arjan

(#146)
Arjan


New supportbracket for the valance
(#147)
Arjan

(#148)
Arjan


Cleaned the inside and painted
(#149)
Arjan


Closed up
(#150)
Arjan


New frontsection welded in
(#151)
Arjan


Vertical chassislegs repaired and blasted the inside
(#152)
Arjan


Perfectly alligned the drilled out spotwelds
(#153)
Arjan


Building up the drivers side
(#154)
Arjan


Needs some adjustments on the tops of the innerwings
(#155)